





Table of Contents
Quick Summary
- AI tools now help homeowners visualize renovation concepts using actual room photos instead of generic inspiration images. You can upload room images and generate realistic design variations with different colors, materials, and layouts, with Higgsfield generating those options through an AI Image Generator directly from a reference photo.
- You can upload room images and generate realistic design variations with different colors, materials, and layouts.
- The process works best when you take multiple clear photos and refine results through small, specific prompt changes.
- AI allows you to test furniture, paint shades, flooring, and décor combinations before spending money on purchases.
- Creating a mood board from AI-generated designs helps communicate your preferences clearly to interior designers.
- This reduces consultation time, improves decision-making, and lowers costly design revisions by turning vague ideas into visual references.
Hiring an interior designer usually starts the same way: you sit down for a consultation, try to describe what you want using words like “cozy but modern” or “warm but not cluttered,” and hope the designer’s mental image matches yours. That gap between what’s in your head and what you can actually communicate is where a lot of renovation budgets quietly go sideways – you pay for a concept, it’s not quite right, you pay for revisions, and the meter keeps running.
AI image generation has gotten good enough to close most of that gap before you ever pay for a consultation. You don’t need design vocabulary, sketching skills, or software experience. You need a photo of your room and a plain description of what you want, and you can walk into that first designer conversation already knowing roughly what you’re going for – which tends to make the paid part of the process faster and cheaper, since you’re refining a concept instead of inventing one from scratch.
Here’s how to actually do it.
What’s Changed: AI Can Now “See” Your Room, Not Just Generate a Fantasy Version of It
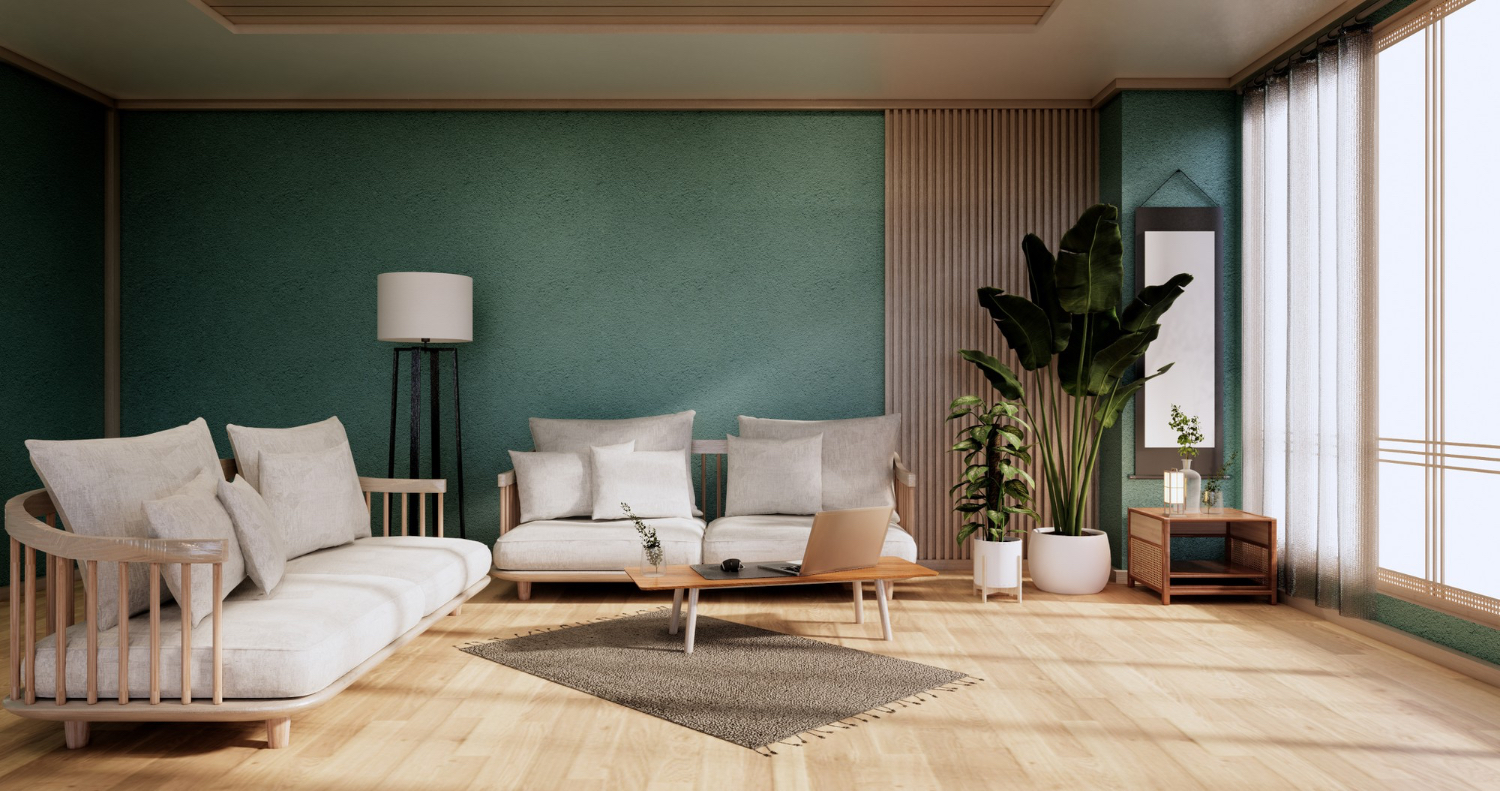
Courtesy - magnificOlder AI image tools were mostly text-to-image: you typed a description and got a picture that may or may not have resembled your actual space. The more useful shift for renovation planning is image-to-image – you upload a real photo of your room, and the model edits that photo rather than inventing a new one from nothing.
Newer multimodal image models, including GPT Image 2, can take a photo of your actual room and understand its real structure: where the windows are, how the ceiling height and proportions work, where the walls and doorways sit. That matters a lot for renovation planning, because a generated idea is only useful if it’s plausible inside the room you actually have – not a generic showroom photo that happens to look nice.
The other shift is in how you communicate with it. You don’t need to know design terminology like “biophilic,” “transitional style,” or “60-30-10 rule” to get something useful. You can describe what you want the way you’d describe it to a friend – “make this feel warmer and less cluttered, maybe more wood tones, keep the layout the same” – and the model will translate that into an actual visual. The translation from vague feeling to concrete image is exactly the gap that used to require either a design vocabulary or a designer’s interpretation.
Step-By-Step: Building Your Own Renovation Mood Board
Step 1: Take Real Photos of the Room, Not Just One
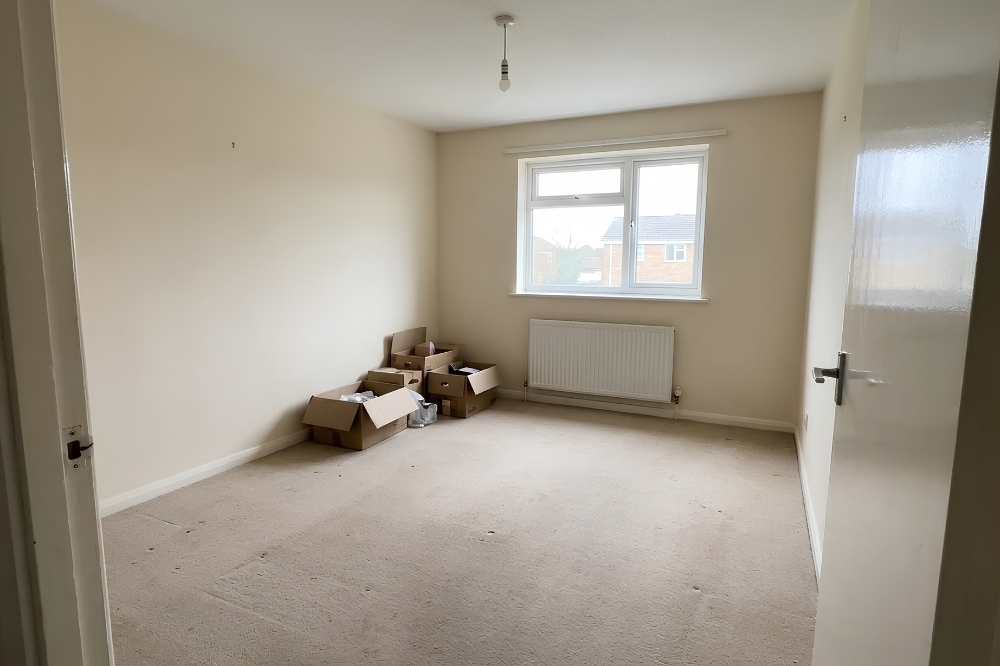
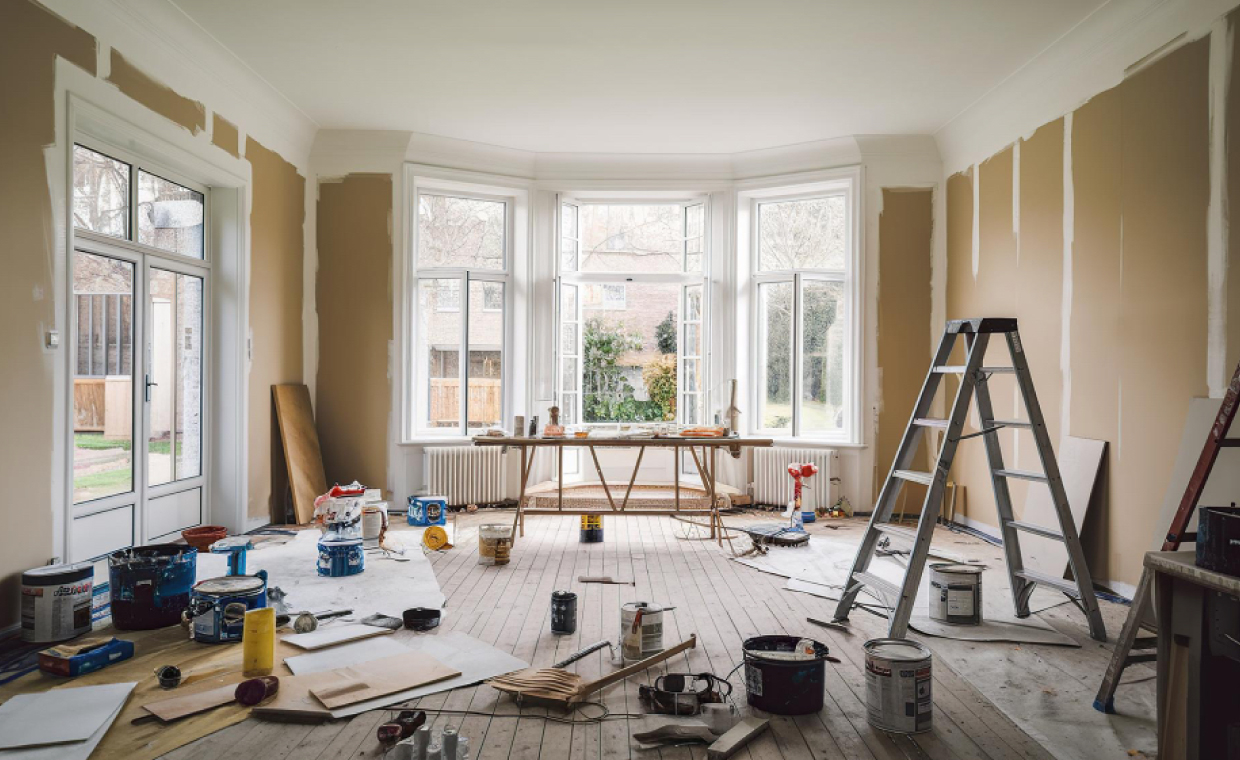
Courtesy - AIBefore opening any AI tool, take several photos of the space from different angles – standing in each corner, facing each wall, and one from the doorway looking in. The model can only work with what it can see, so the more complete a picture you give it of the actual room (windows, outlets, radiators, awkward corners and all), the more realistic and useful the output will be. Natural daytime light, if possible, gives the model the clearest read on the room’s real proportions and colors.
Step 2: Start Broad, In Plain Language
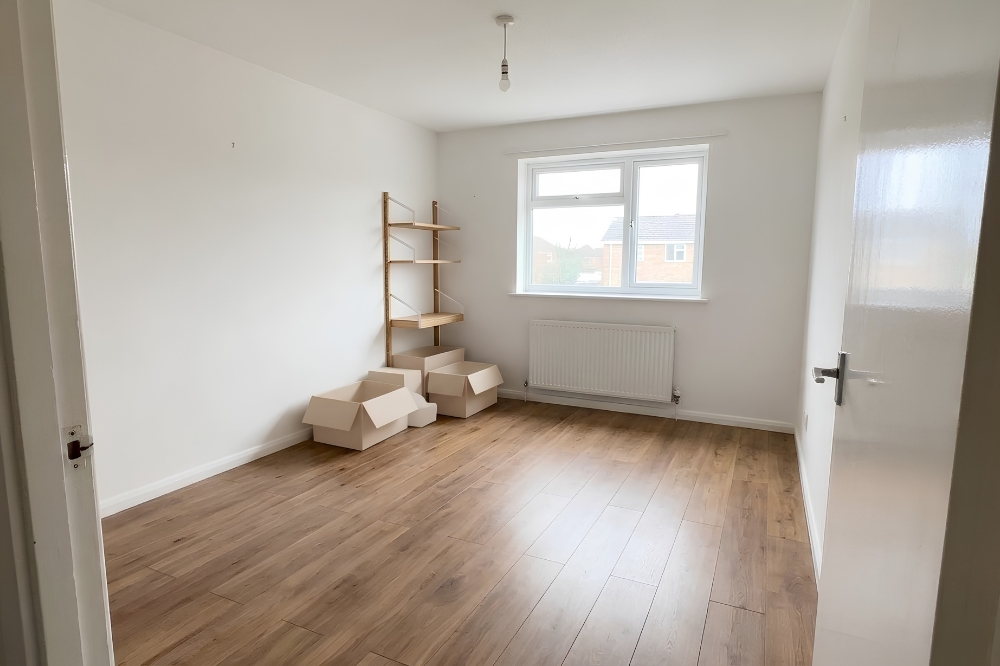
Courtesy - AIUpload your clearest photo and describe the overall direction you’re after, without worrying about getting the terminology right. Something like:
“This is my living room. I want it to feel brighter and more modern, but still warm – not stark or cold. Keep the same furniture layout, just change the colors, materials, and finishes.”
You’ll get back a version of your room – same layout, same windows, same general proportions – restyled according to that description. This first pass is meant to be rough. Its job is to give you a direction to react to, not a final answer.
Step 3: Iterate In Small, Specific Moves
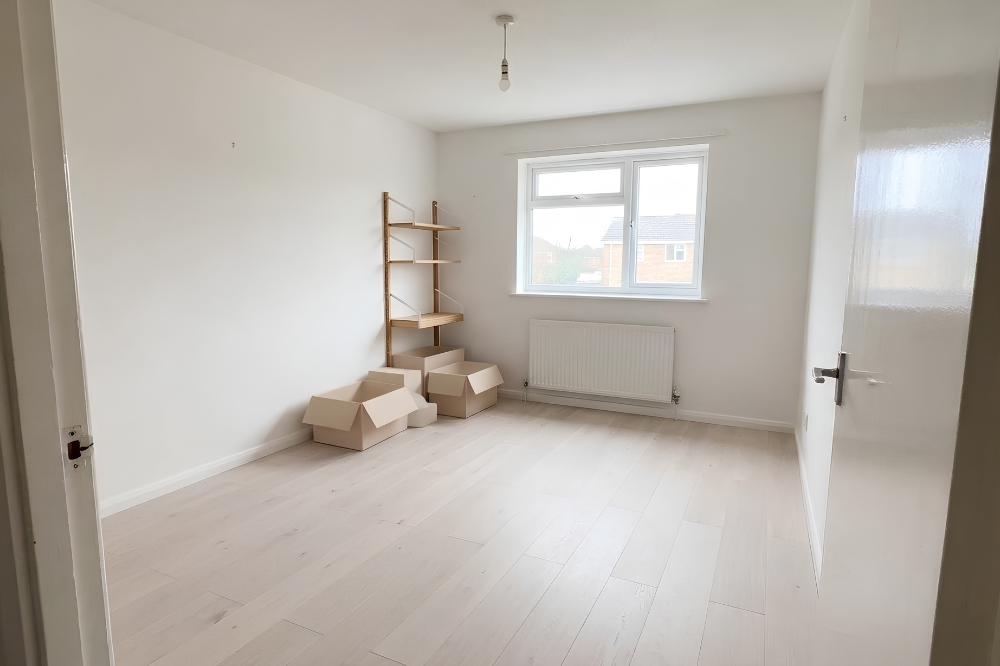
Courtesy - AIThis is the step most people skip, and it’s the one that actually produces something useful. Don’t try to nail the perfect prompt on the first attempt – react to what you get back and adjust one thing at a time:
- “I like the wall color, but make the flooring a lighter wood.”
- “Remove the rug and try a patterned one instead.”
- “Make the lighting warmer, like evening light instead of daylight.”
Because the model is editing your actual uploaded room rather than starting over each time, you can hold most of the image constant and change one variable at a time – which is exactly how a real design process works, just compressed into minutes instead of meetings.
Step 4: Test Specific Furniture and Color Combinations Before Buying Anything
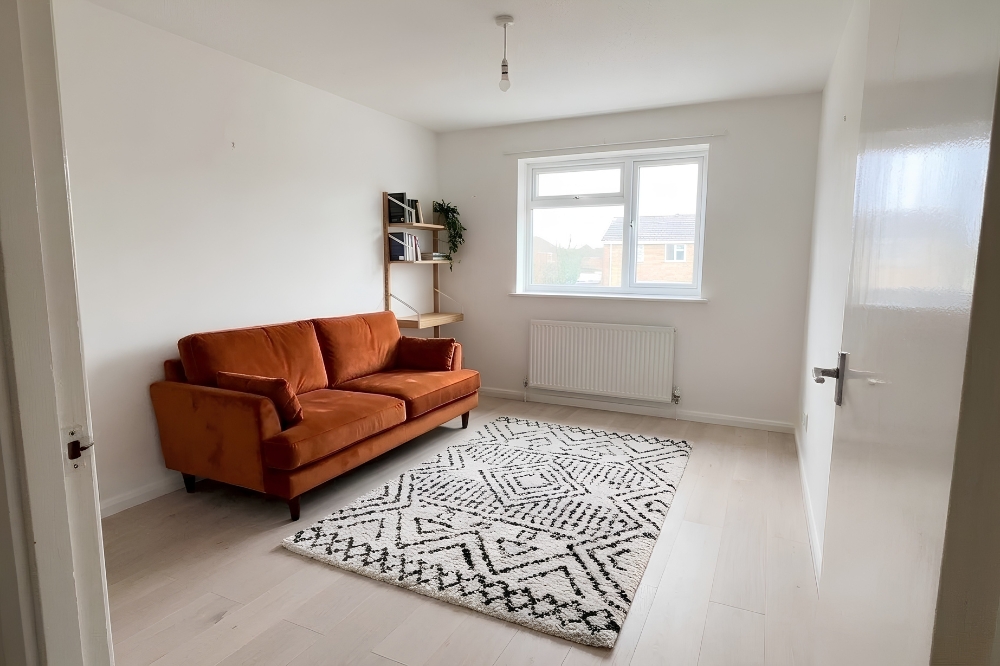
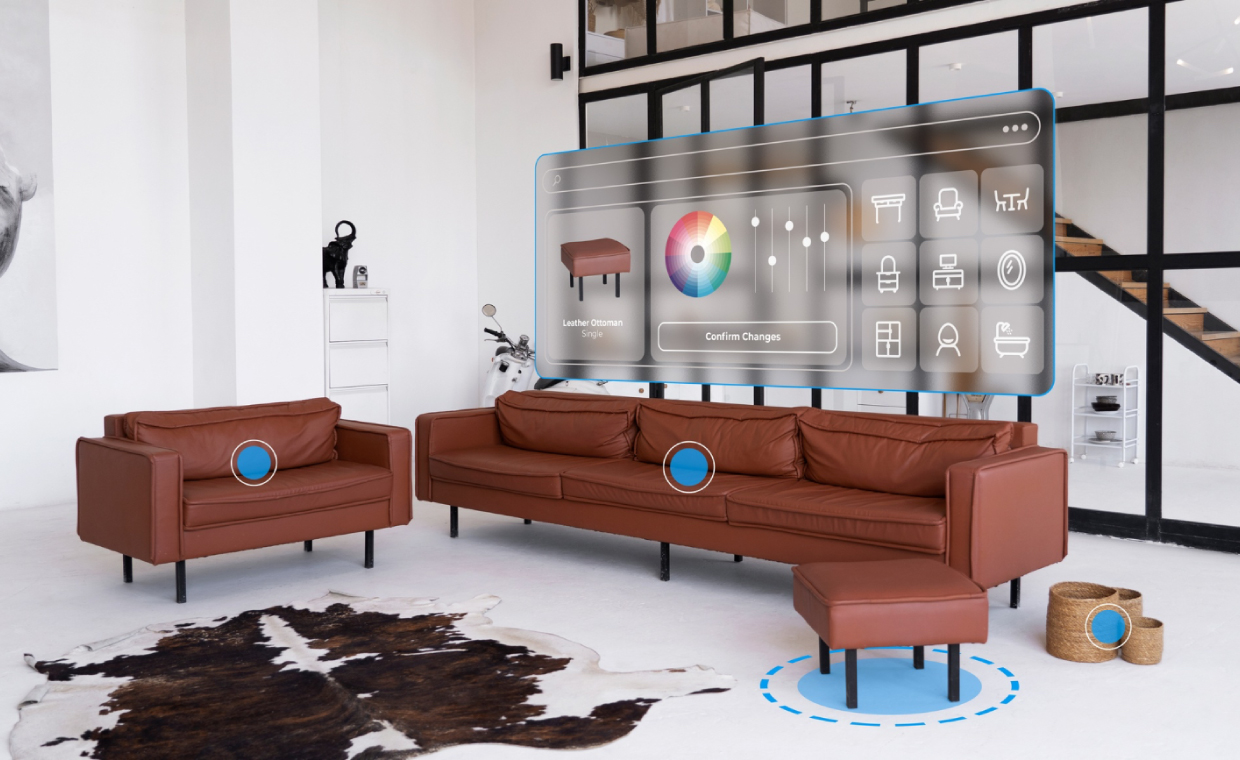
Courtesy - AIOnce you have a direction you like, get concrete. Ask it to swap in specific elements you’re actually considering – a particular sofa color, a tile pattern, a paint shade – so you can see how they actually look in your room’s actual lighting and proportions before spending money. Higgsfield handles this kind of iteration through an AI Image Generator that holds the rest of the room steady while you swap one element at a time. This step alone can save real cost, since one of the most common renovation mistakes is buying a piece that looked great in a showroom or online listing but feels wrong once it’s actually in the room.
Step 5: Generate A Wider, More Immersive View of the Finished Concept
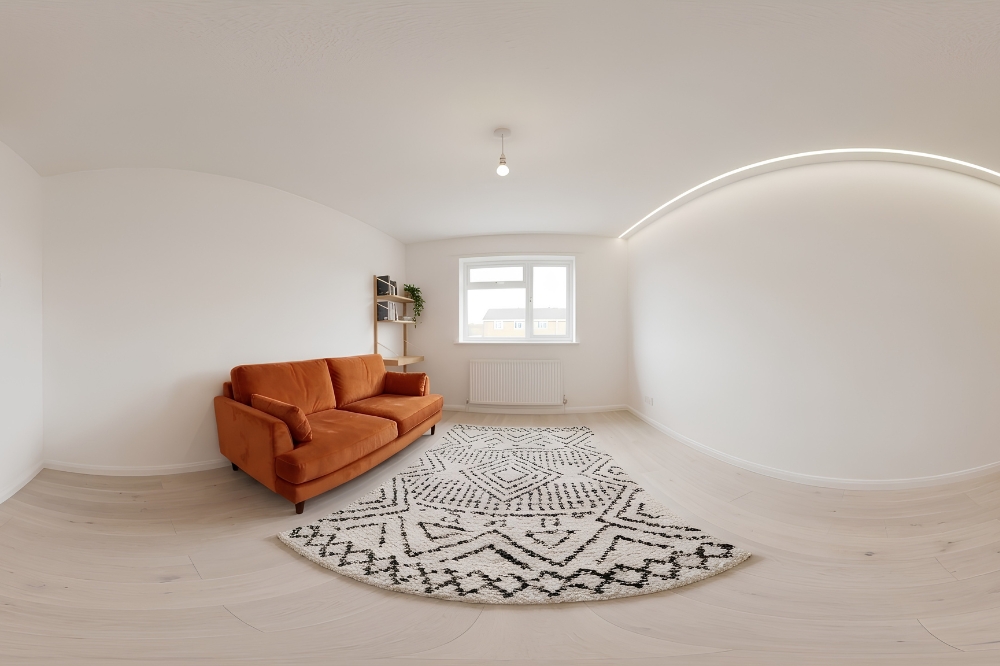
Courtesy - AIOnce you’ve landed on a design you like, you can go a step further than a single static image. GPT Image 2, for instance, can generate wide, panoramic-style renders of a scene – and with the right prompt (specifically asking for a continuous, wraparound view of the room), you can produce an image that approximates a 360° look around the finished space, which you can then drop into any free online 360-panorama viewer to “walk through” the result. It’s worth being clear-eyed about what this is: it’s a generated approximation built to look convincing in a panorama viewer, not a stitched photograph of a real room. But for the purpose of getting a feel for how a finished space might surround you, it’s a meaningfully more immersive way to evaluate a concept than a single flat image.
Step 6: Turn Your Favorite Results into a Simple Reference Set
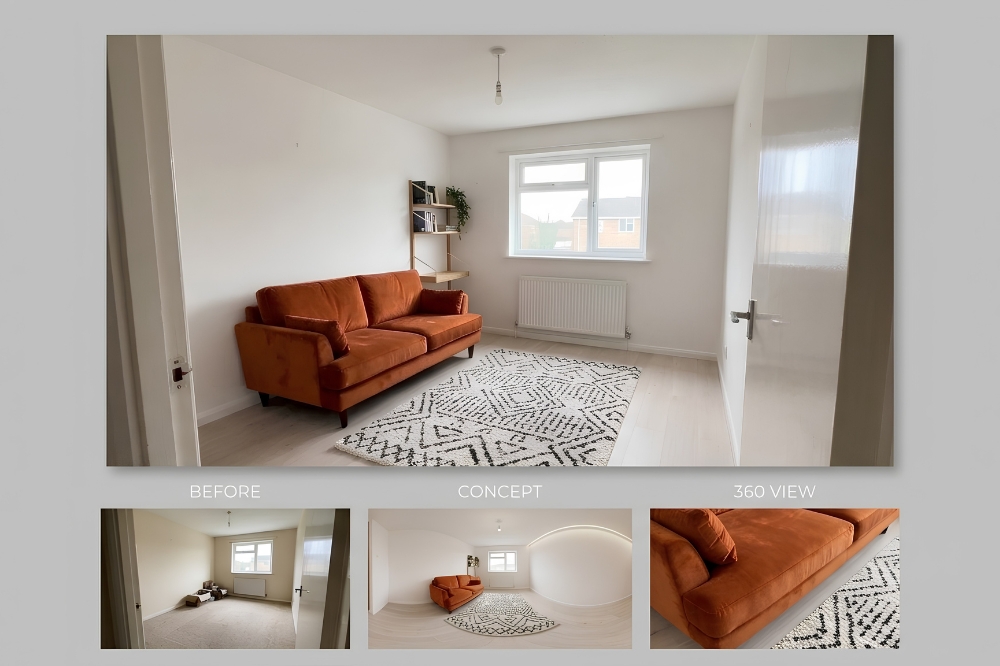
Courtesy - AIBy the end of this process you should have a handful of images: a few full-room concepts, a few close-up material or color tests, and maybe one wider panoramic view. Save these into a single folder or a simple slide deck. This becomes your reference set – not a finished plan, but a clear, visual starting point.
Walking Into the Designer Conversation with This in Hand
This is where the real cost savings show up. A consultation that starts with “I want something cozy” requires the designer to spend billable time extracting your preferences through questions and trial concepts. A consultation that starts with “here’s roughly the direction I want, here’s what I tried, here’s what I liked and didn’t like” starts at a completely different point – the designer is refining and professionalizing a concept instead of inventing one from a vague description.
It’s worth being honest about the limits here, too. None of this replaces what a professional actually does with structural changes, code compliance, contractor management, or sourcing real materials at scale – and renders never perfectly match real-world lighting, fabric texture, or material quality. What this process gets you is clarity about direction, which is the cheapest thing to get wrong and the most expensive thing to fix after a designer has already built a full concept around a misunderstanding.
If You Can Code: A Few Ways to Push This Further
Everything above works fine through a regular chat interface, but if you’re comfortable writing a bit of code, calling the GPT Image 2 API directly opens up some workflows that are tedious to do by hand:
- Batch-test an entire house at once. Instead of uploading one room at a time, write a script that loops through photos of every room and applies the same style direction – say, a consistent “warm minimalist” palette – so you get a coherent whole-home concept in one run instead of dozens of manual uploads.
- Generate side-by-side variations automatically. Have the script generate the same room with three or four different finish packages (different flooring, wall color, and lighting combinations) so you can compare them in a single grid instead of regenerating and re-comparing one at a time.
- Build a simple before/after gallery. Pair each original room photo with its generated redesign and auto-generate a clean comparison page or PDF – a more polished way to bring a reference set into a designer meeting than a folder of loose images.
- Track changes over multiple iterations. Since you can script repeated edits (swap the rug, then the wall color, then the lighting) and save each intermediate version automatically, you end up with a visual history of how the design evolved, which is genuinely useful if you end up second-guessing an earlier direction.
None of this is necessary to get value out of the process – the manual, chat-based version covers most people’s needs. But if scripting is already a comfortable tool in your kit, it turns a one-room experiment into something closer to a full home-planning pipeline.
The Takeaway
The expensive part of an interior design consultation has never really been the designer’s taste – it’s the back-and-forth required to translate a vague feeling into a concrete plan. AI image tools that can read your actual room and respond to plain-language feedback let you do most of that translation work yourself, for free, before a single billable hour starts. By the time you sit down with a designer, you’re not starting from “I’m not sure,” you’re starting from “here’s what I tried, here’s what worked, here’s what I want to figure out next” – and that’s a conversation that goes faster and costs less.
Also Read: Transforming Home Design Projects with AI Tools
FAQs on How to Use AI for Home Renovation Ideas
1. How can AI help with home renovation planning?
AI helps generate visual design ideas, compare styles, and preview changes in your actual space before renovation begins.
2. Do I need design knowledge to use AI renovation tools?
No. Most AI tools understand simple everyday language, so no technical design expertise is required.
3. Can AI replace an interior designer?
No. AI is great for idea generation, but professional designers are still essential for structural planning, materials, and execution.
4. What photos work best for AI room redesign?
Use clear, well-lit photos from multiple angles to give AI accurate room dimensions and details.
5. Is using AI for renovation cost-effective?
Yes. It can reduce expensive mistakes and help finalize design direction before paying for professional consultations.
Author & Expert Review
Written By:  Nidhi Patel | Civil Engineer & Content Writer

| Credentials: B.E. (Mahatma Gandhi Institute of Technical Education and Research Centre), Registered with Gujarat Technological University (GTU). Experience: Civil Engineer with 3+ years of content writing experience, currently writing blogs for Gharpedia, part of SDCPL. Expertise: Specializing in SEO-optimized blogs and long-form articles focused on home improvement, construction, interiors and architect topics. I create well-researched, reader-focused content that balances technical accuracy with clarity, making complex subjects easy to understand. Find her on: LinkedIn |
Verified By Expert: Farhan Shaikh – Senior Manager – Architect, SDCPL | Associate Member – IIA

This article has been reviewed for architectural and interior design accuracy by Farhan Shaikh, Senior Manager – Architect at Sthapati Designers & Consultants Pvt. Ltd. As the lead for all architectural and interior projects at SDCPL and an Associate Member of the Indian Institute of Architects (IIA), he brings hands-on experience in architectural planning, interior design, project coordination, and sustainable strategies. His review ensures the content reflects practical design considerations, industry best practices, and real-world applicability across both architecture and interior spaces.
Find him on : LinkedIn