




Table of Contents
Quick Summary
- What is Wainscot (or wainscoting)? Wainscot is a decorative wooden panelling installed on the lower portion of interior walls.
- Traditionally used to protect walls from wear and damage, it now serves both functional and aesthetic purposes.
- Originating in 13th-century England, wainscoting remains timeless due to its versatility.
- Common materials include solid wood, beadboard, MDF, and plywood panels.
- Modern panels are easier to install and more cost-effective than traditional beadboard slats.
- Wainscoting height usually ranges from chair-rail level to plate-rail height.
- Installation involves measuring, cutting, fixing panels, and finishing with baseboards and cap trims.
- Pre-priming and painting before installation ensures better durability.
- Wainscot adds elegance, texture, and character to any room.
Old homes are not always about chipped walls and creaky floors. These homes have some elements that steal the spotlight, and one such timeless feature is wainscoting, a decorative wall panelling detail that adds instant charm, character, and elegance to any space. Although rarely seen in modern homes, wainscoting is making a stylish comeback now. If you want wainscoting in your home and want to try installing it yourself, Gharpedia brings you a simple DIY guide to help you create this elegant look in your home.
What is Wainscot?
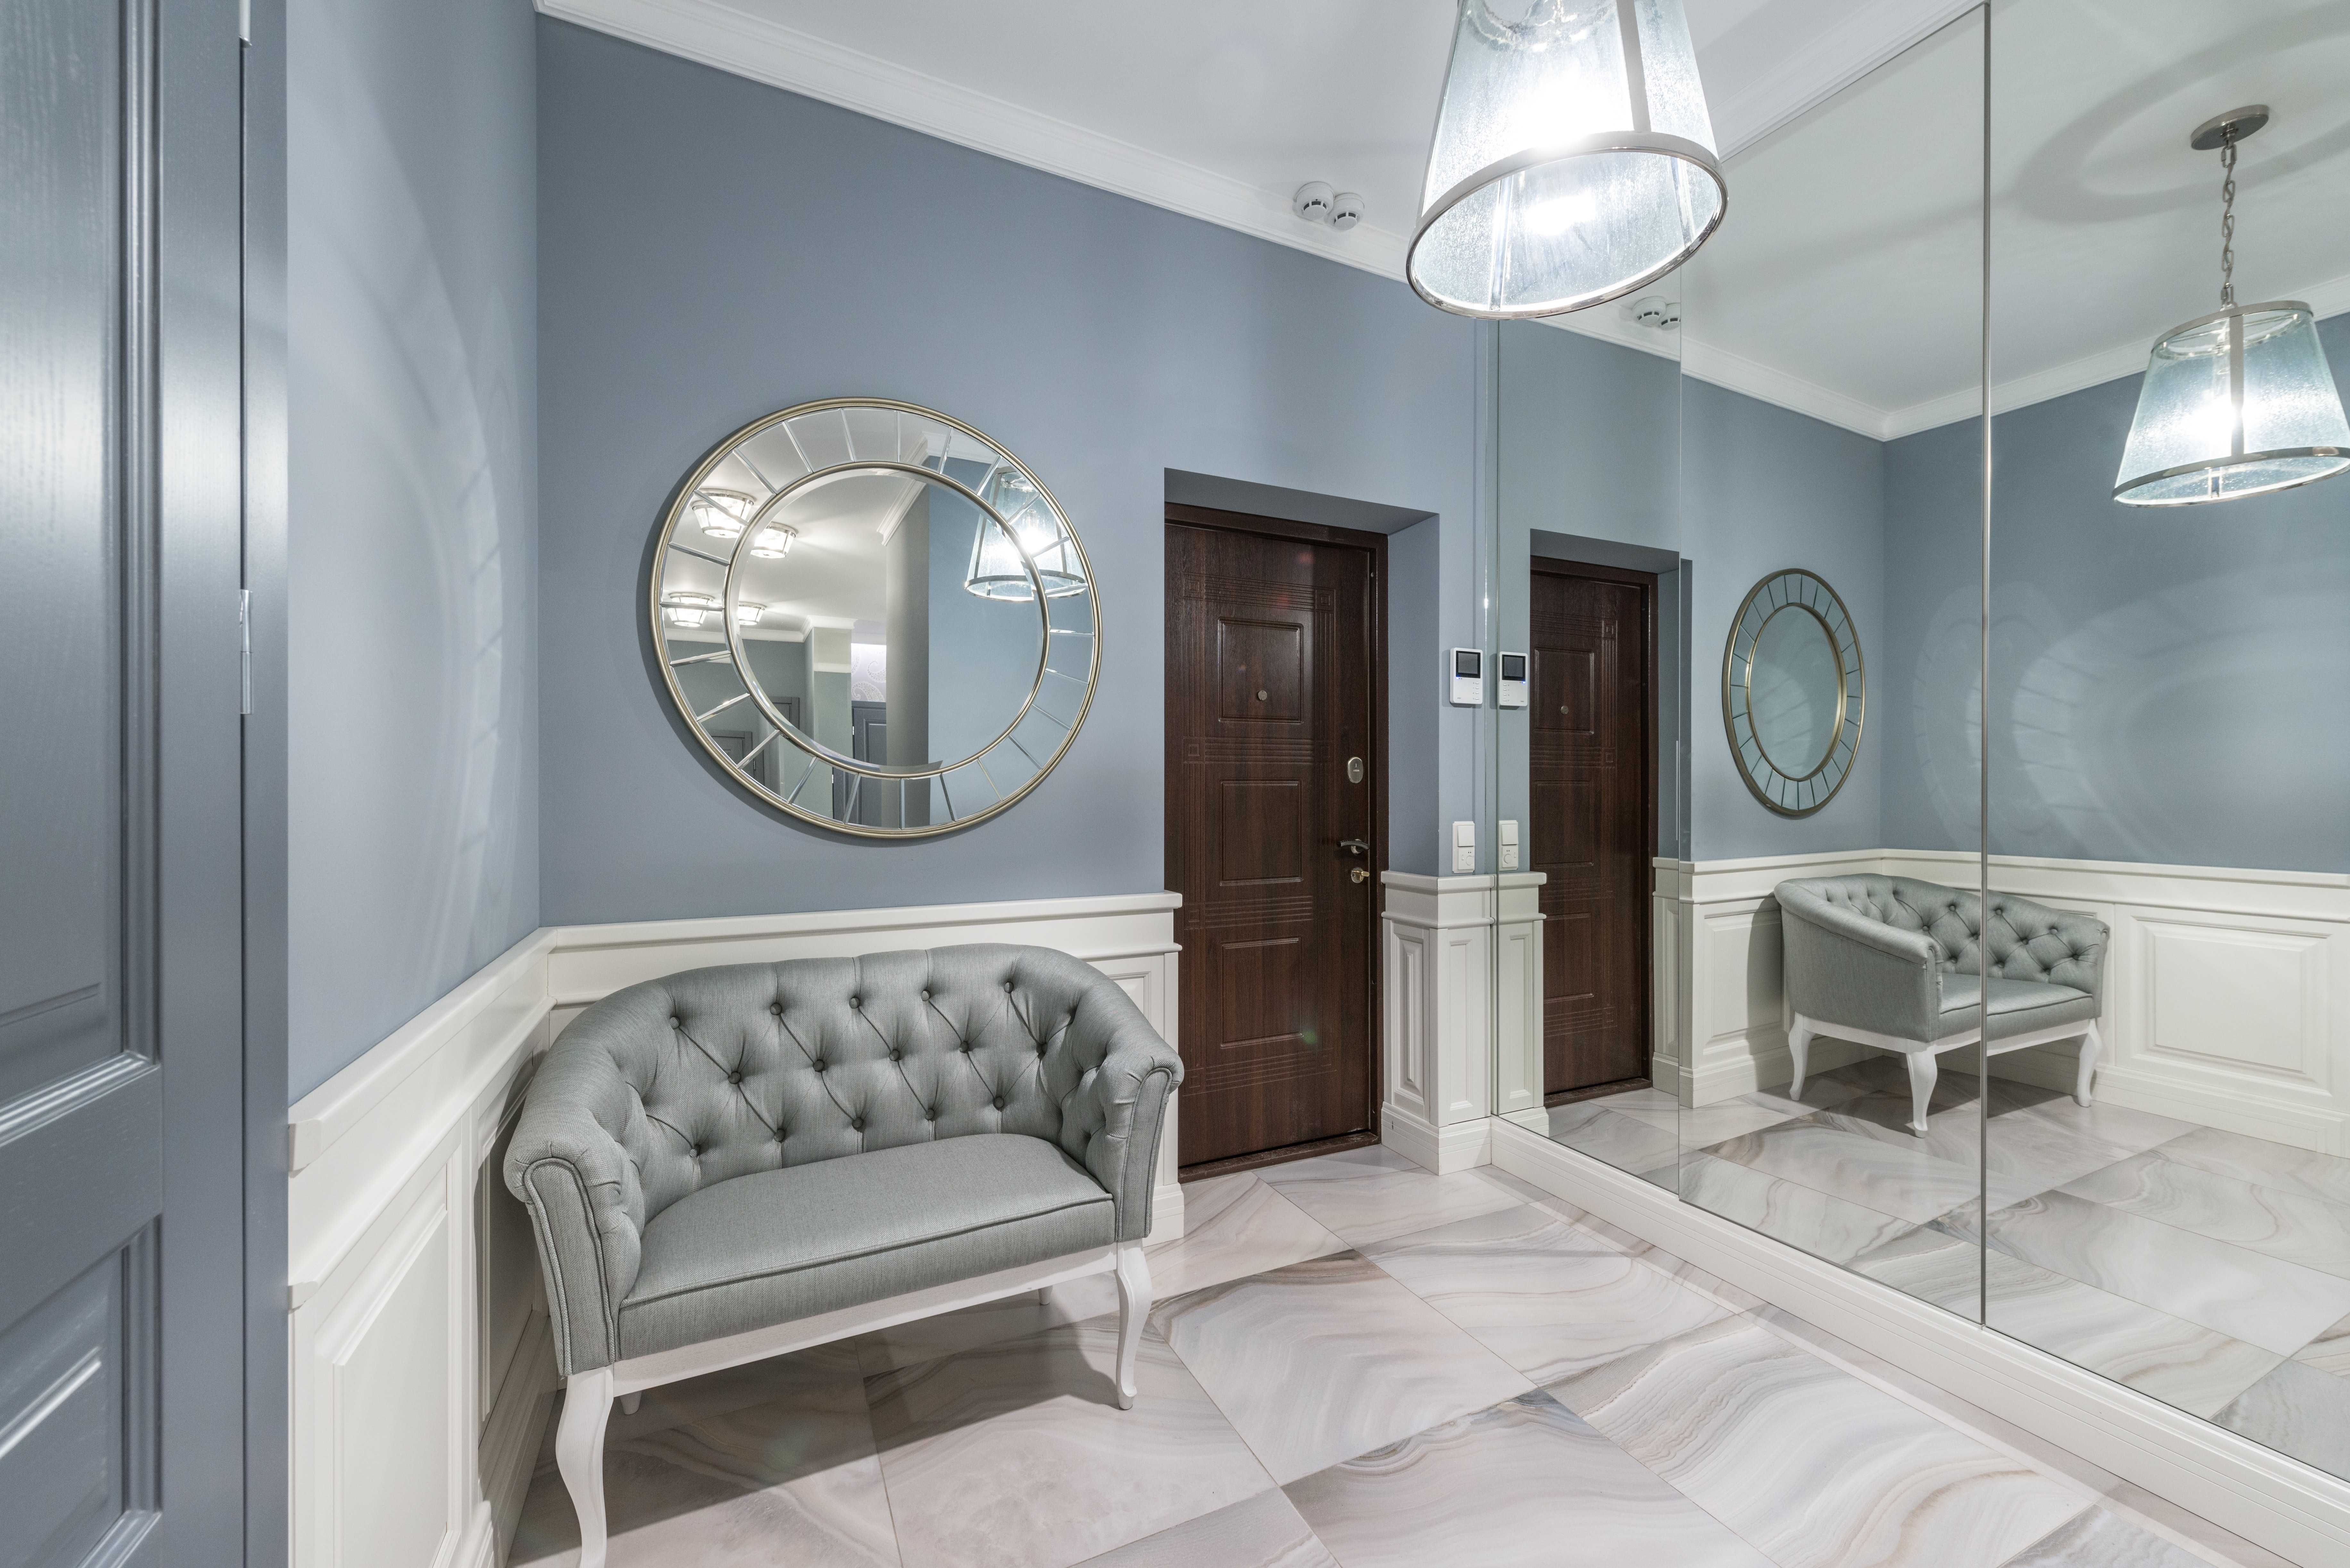
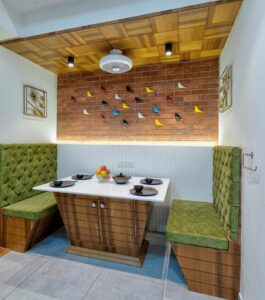
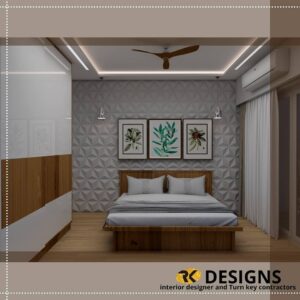
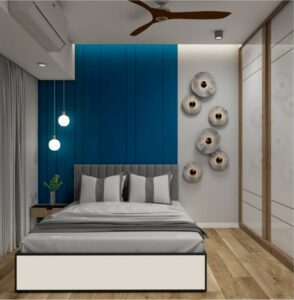
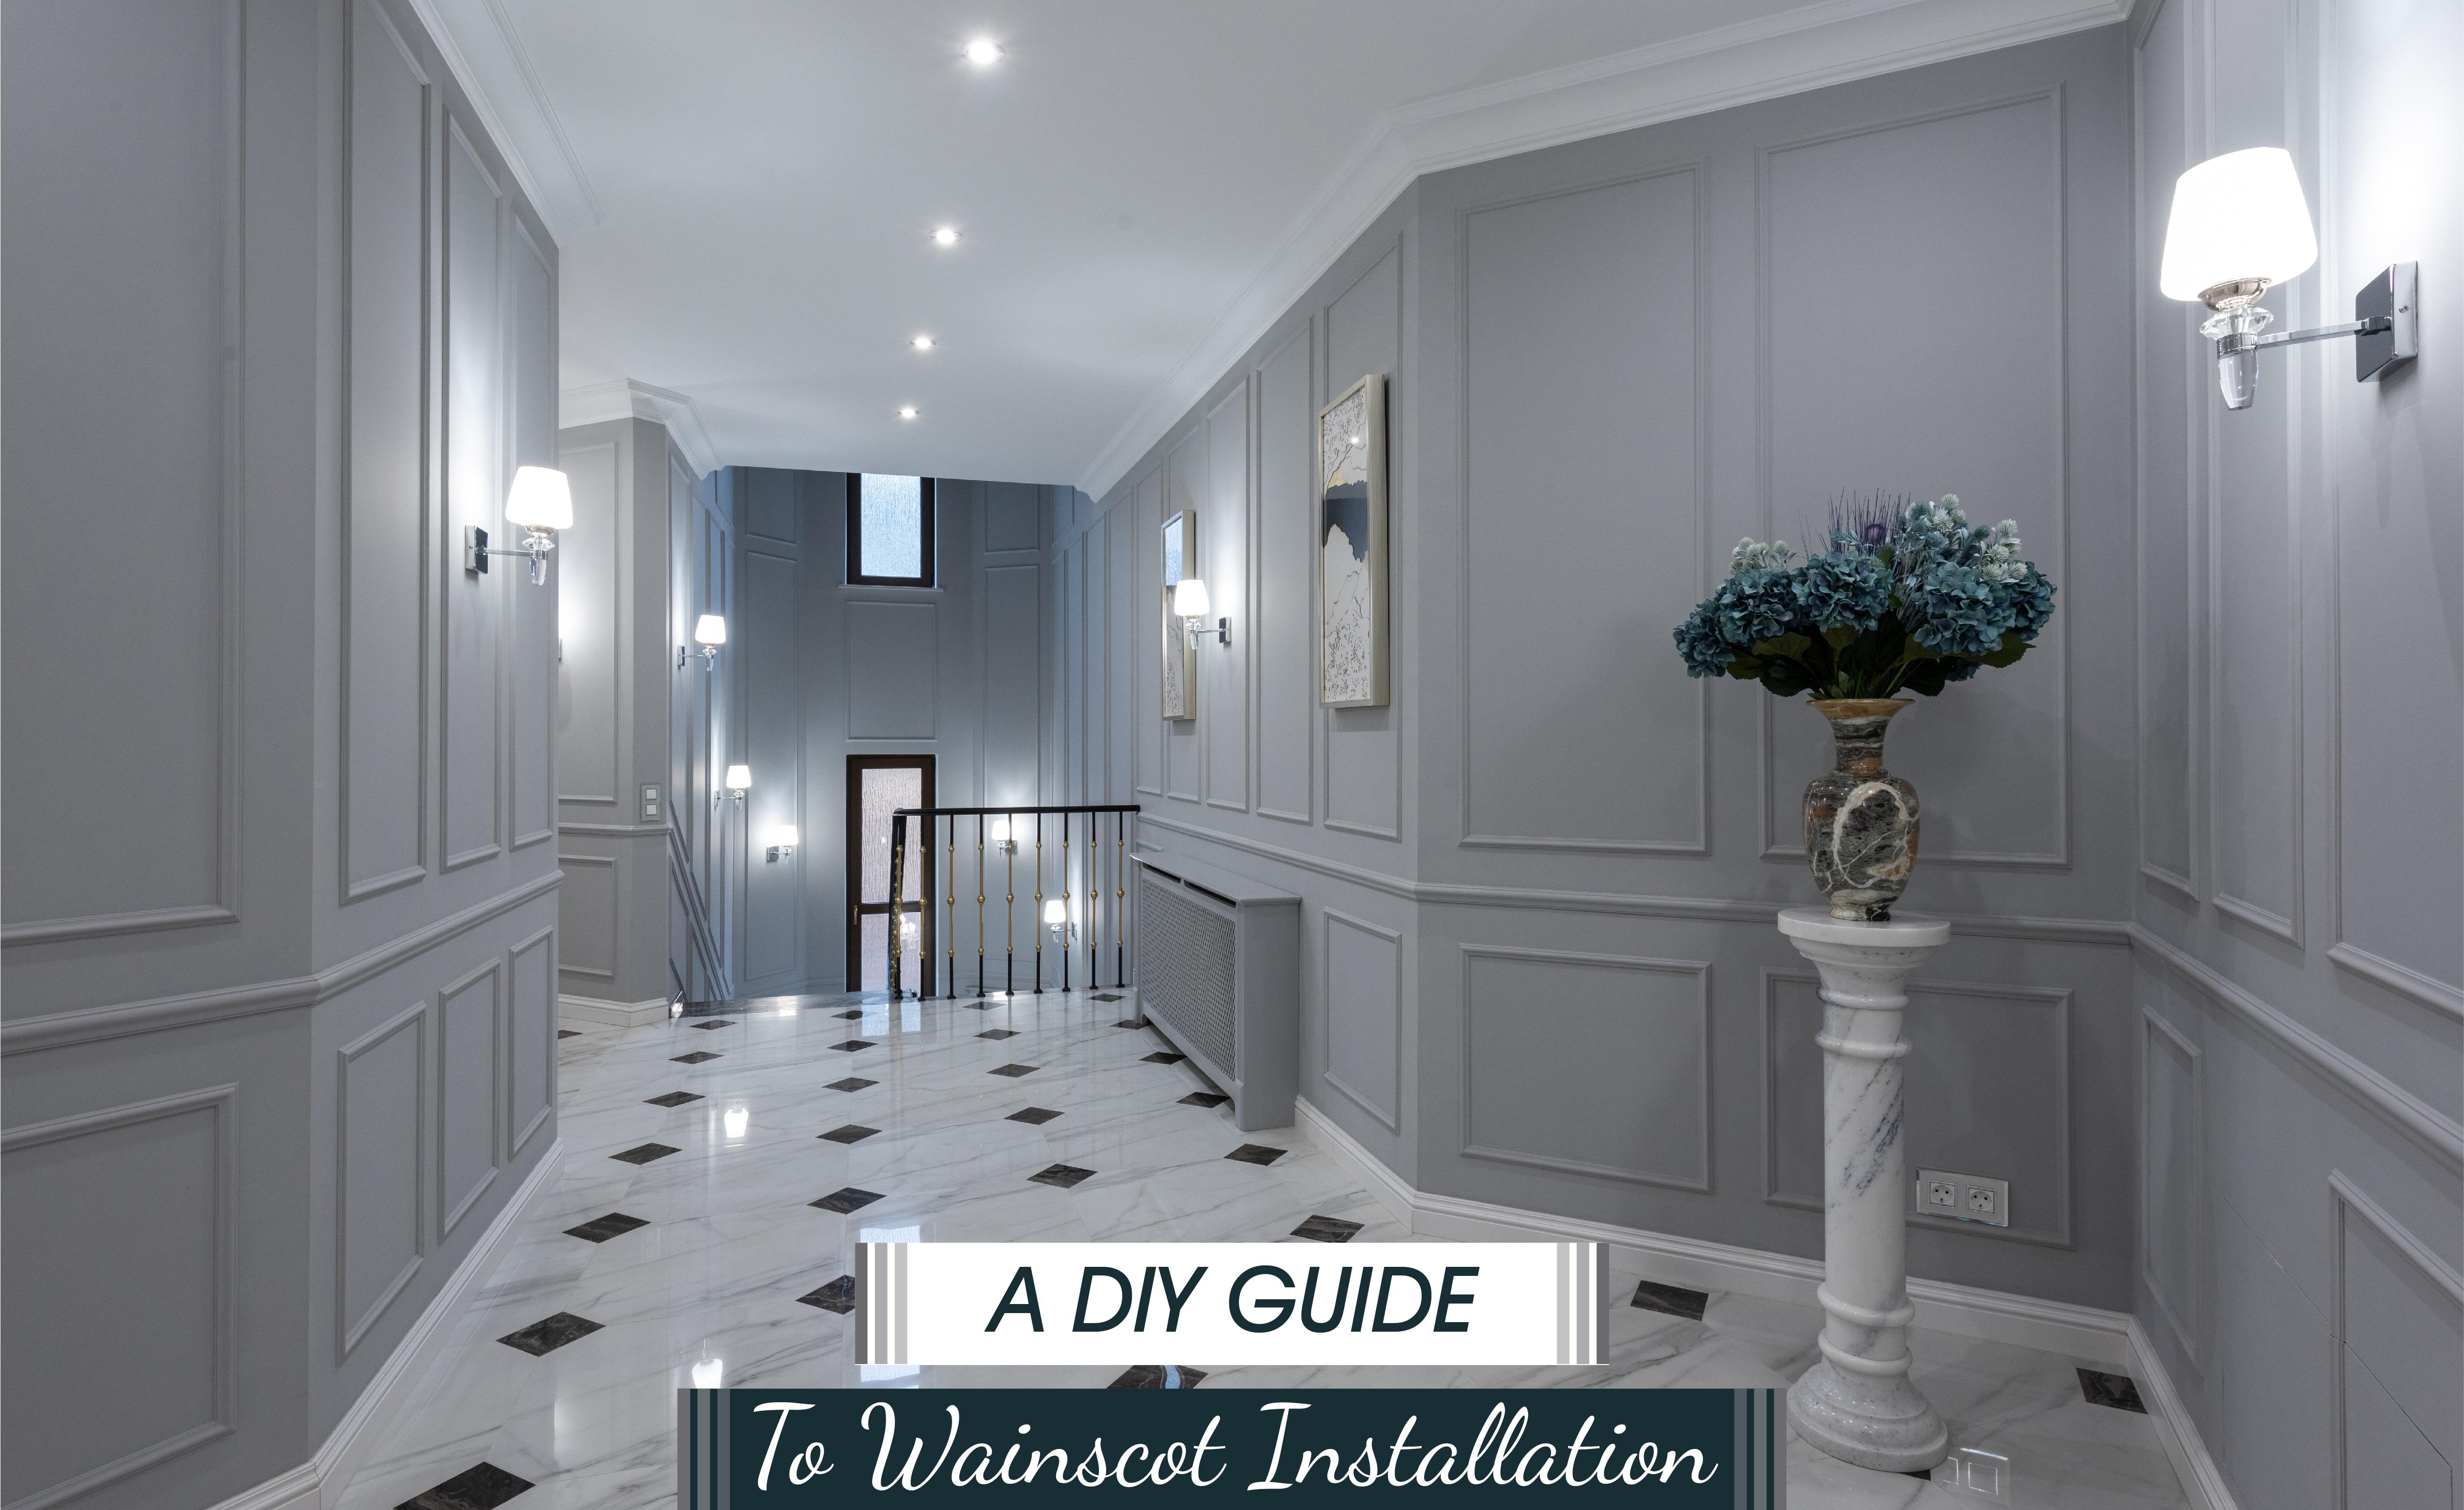
Wainscot is wooden panelling that lines the lower portion of a room’s walls. Also known as wainscoting, this centuries-old decorative wall trim has never gone out of fashion, owing to its versatility.
Wainscot (or wainscoting) is typically a series of solid wood slats or planks that run half or three-quarters up the wall. You see wainscot in older dining rooms and kitchens, where it originally served a practical purpose of protecting plaster walls from damage caused by chairs and daily wear.
According to Nathaniel Lloyd, author of Medieval Wainscoting and the Development of the Linen Panel, wainscoting dates back to the 13th century in England. Early wainscot was made from oak imported into England from the Baltic countries.
What are the Features of Wainscot?
Traditional wainscoting is made from beadboard, or to be precise, milled wooden boards measuring about three-fourth inches thick and four inches wide, with a tongue on one side and a groove on the other. When fitted together, the tongue slides into the groove, creating a seamless and uniform look.
The magic of wainscoting lies in the surface finish you opt for. If you want a classic Arts and Crafts look, you could stain the richly grained wood in dark tones, and if you want something like a charming country-cottage or coastal interiors, simply paint the surface in a soothing colour.
Merits of Installing Wainscoting in Your Home
- Adds architectural depth and visual interest to plain walls.
- Enhances property value with a refined, upscale finish.
- Protects walls from scuffs, dents, and moisture.
- Requires less wall maintenance; no need for frequent repainting.
- Offers a wide range of styles, textures, and finishes.
- Hide wall imperfections and minor cracks.
- Improves insulation and sound absorption quality.
- Allows for elegant two-tone wall designs.
- Complements flooring, cabinetry, and trim, and extends a timeless, long-lasting interior upgrade.
These days, you can buy plywood panels with embossed patterns that look like classic beadboard. Instead of installing individual four-inch beadboard, these panels can be installed in four-foot sections, making the process faster and more cost-effective. Available in sizes such as 48X32 inches and 48X96 inches, these panels are more affordable than solid wood beadboard.
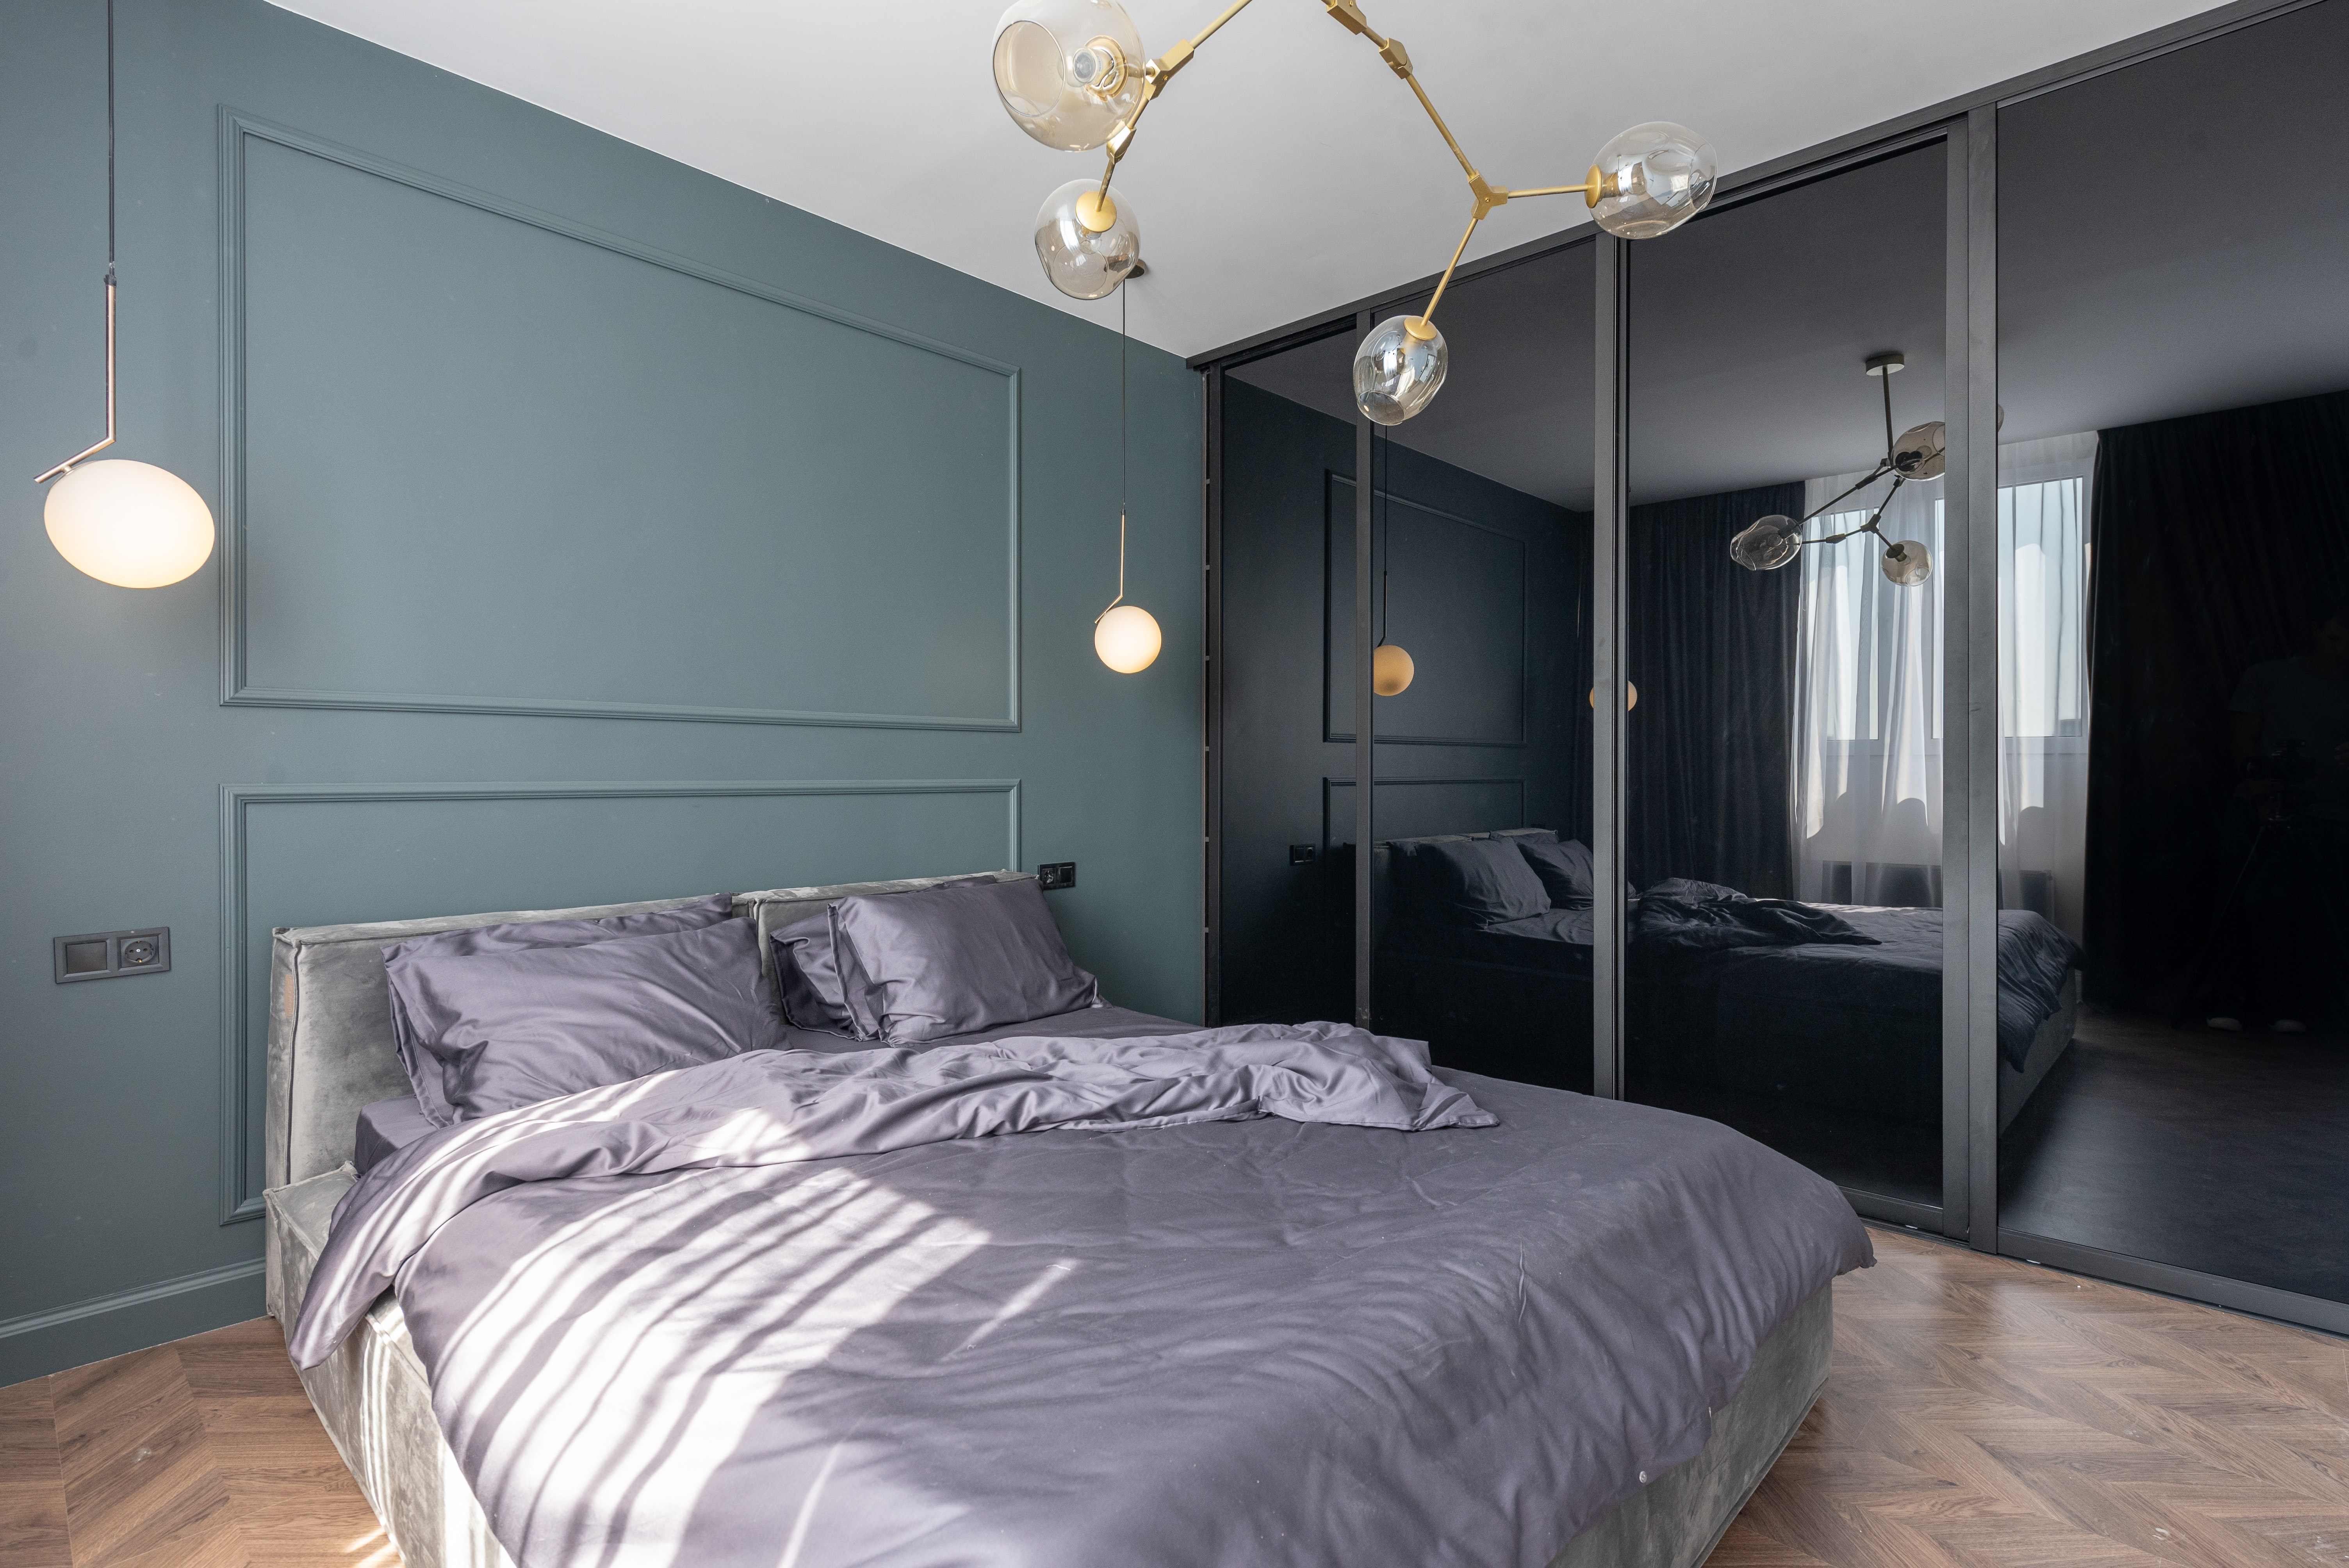
In addition to the beadboard sheets, you’ll need baseboard and a cap piece to finish the top and bottom edges. Look for pre-primed kits that include all three elements.
You can also find beadboard made from medium-density fibreboard (MDF), which won’t expand and contract the way solid wood does, making it a better choice for high-moisture areas like bathrooms, kitchens and laundry rooms.
Demerits of Wainscoting on Walls
- Wainscoting installation involves a higher upfront cost than simple paint or wallpaper.
- Professional installation is required for precise alignment.
- It can reduce the perceived wall height in small or low-ceiling rooms.
- Once installed, flexibility is limited; changes require removal or repair.
- Susceptible to moisture damage if low-quality materials are used.
- The wooden finish requires periodic maintenance, repainting, or touch-ups to maintain its appearance.
- The décor style does not suit ultra-minimal or contemporary design styles.
- Installation time can be longer than standard wall finishes.
If you’re using traditional beadboard panels, you must install them first and then cover the bottom with baseboard. If you’re using a kit and have baseboard pieces with a groove for the beadboard, install the baseboard first.
For this project, we’ve used MDF panelled beadboard sheets. If your beadboard is raw wood, prime the back before installing it to prevent warping. In fact, it’s much easier to do all the priming and painting before mounting the materials on the wall.
After understanding what wainscoting is, let us now move on to the installation process.
How Much Time is Required for Wainscot Installation?
The number of cuts makes this project more complicated than most. Plus, you need to feel comfortable working with a power saw. It should take about a half-day to install wainscoting on one wall, plus time to paint.
What are the Tools Required for Wainscoting installation?
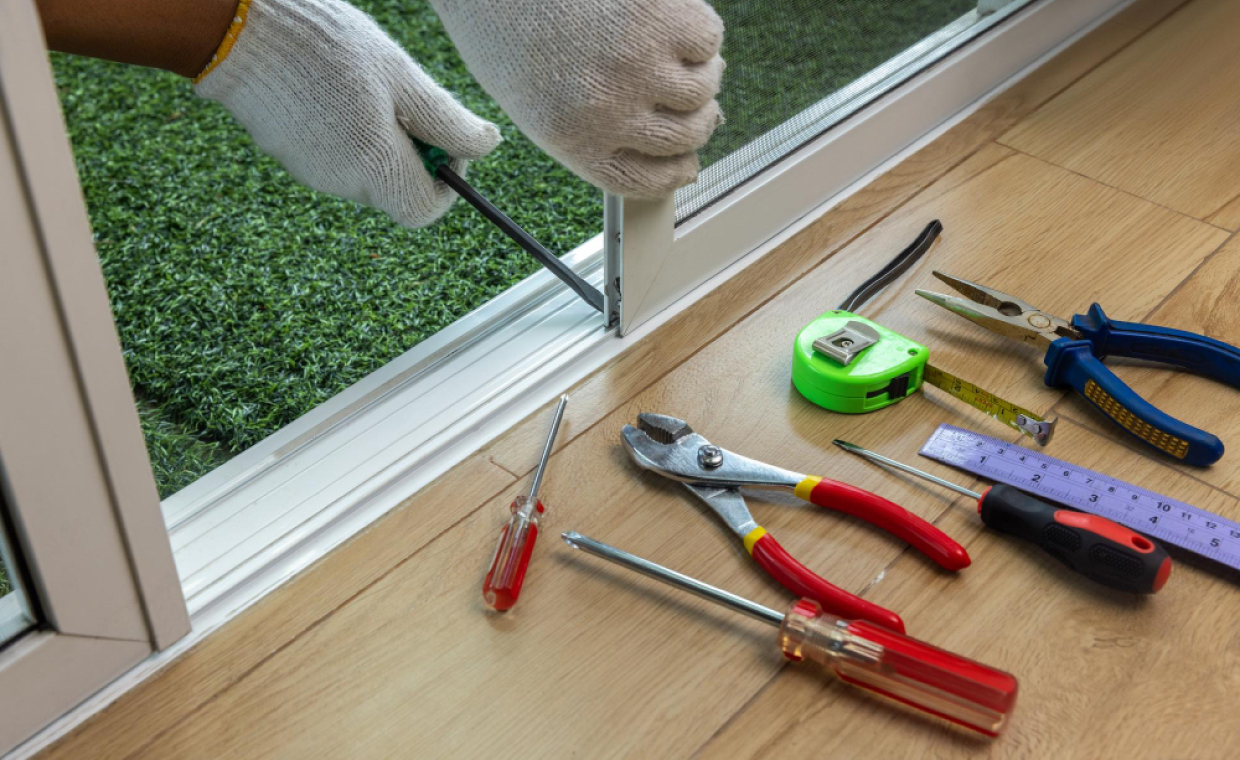
Every installation job requires proper tools. Before you start wainscoting installation, gather the tools:
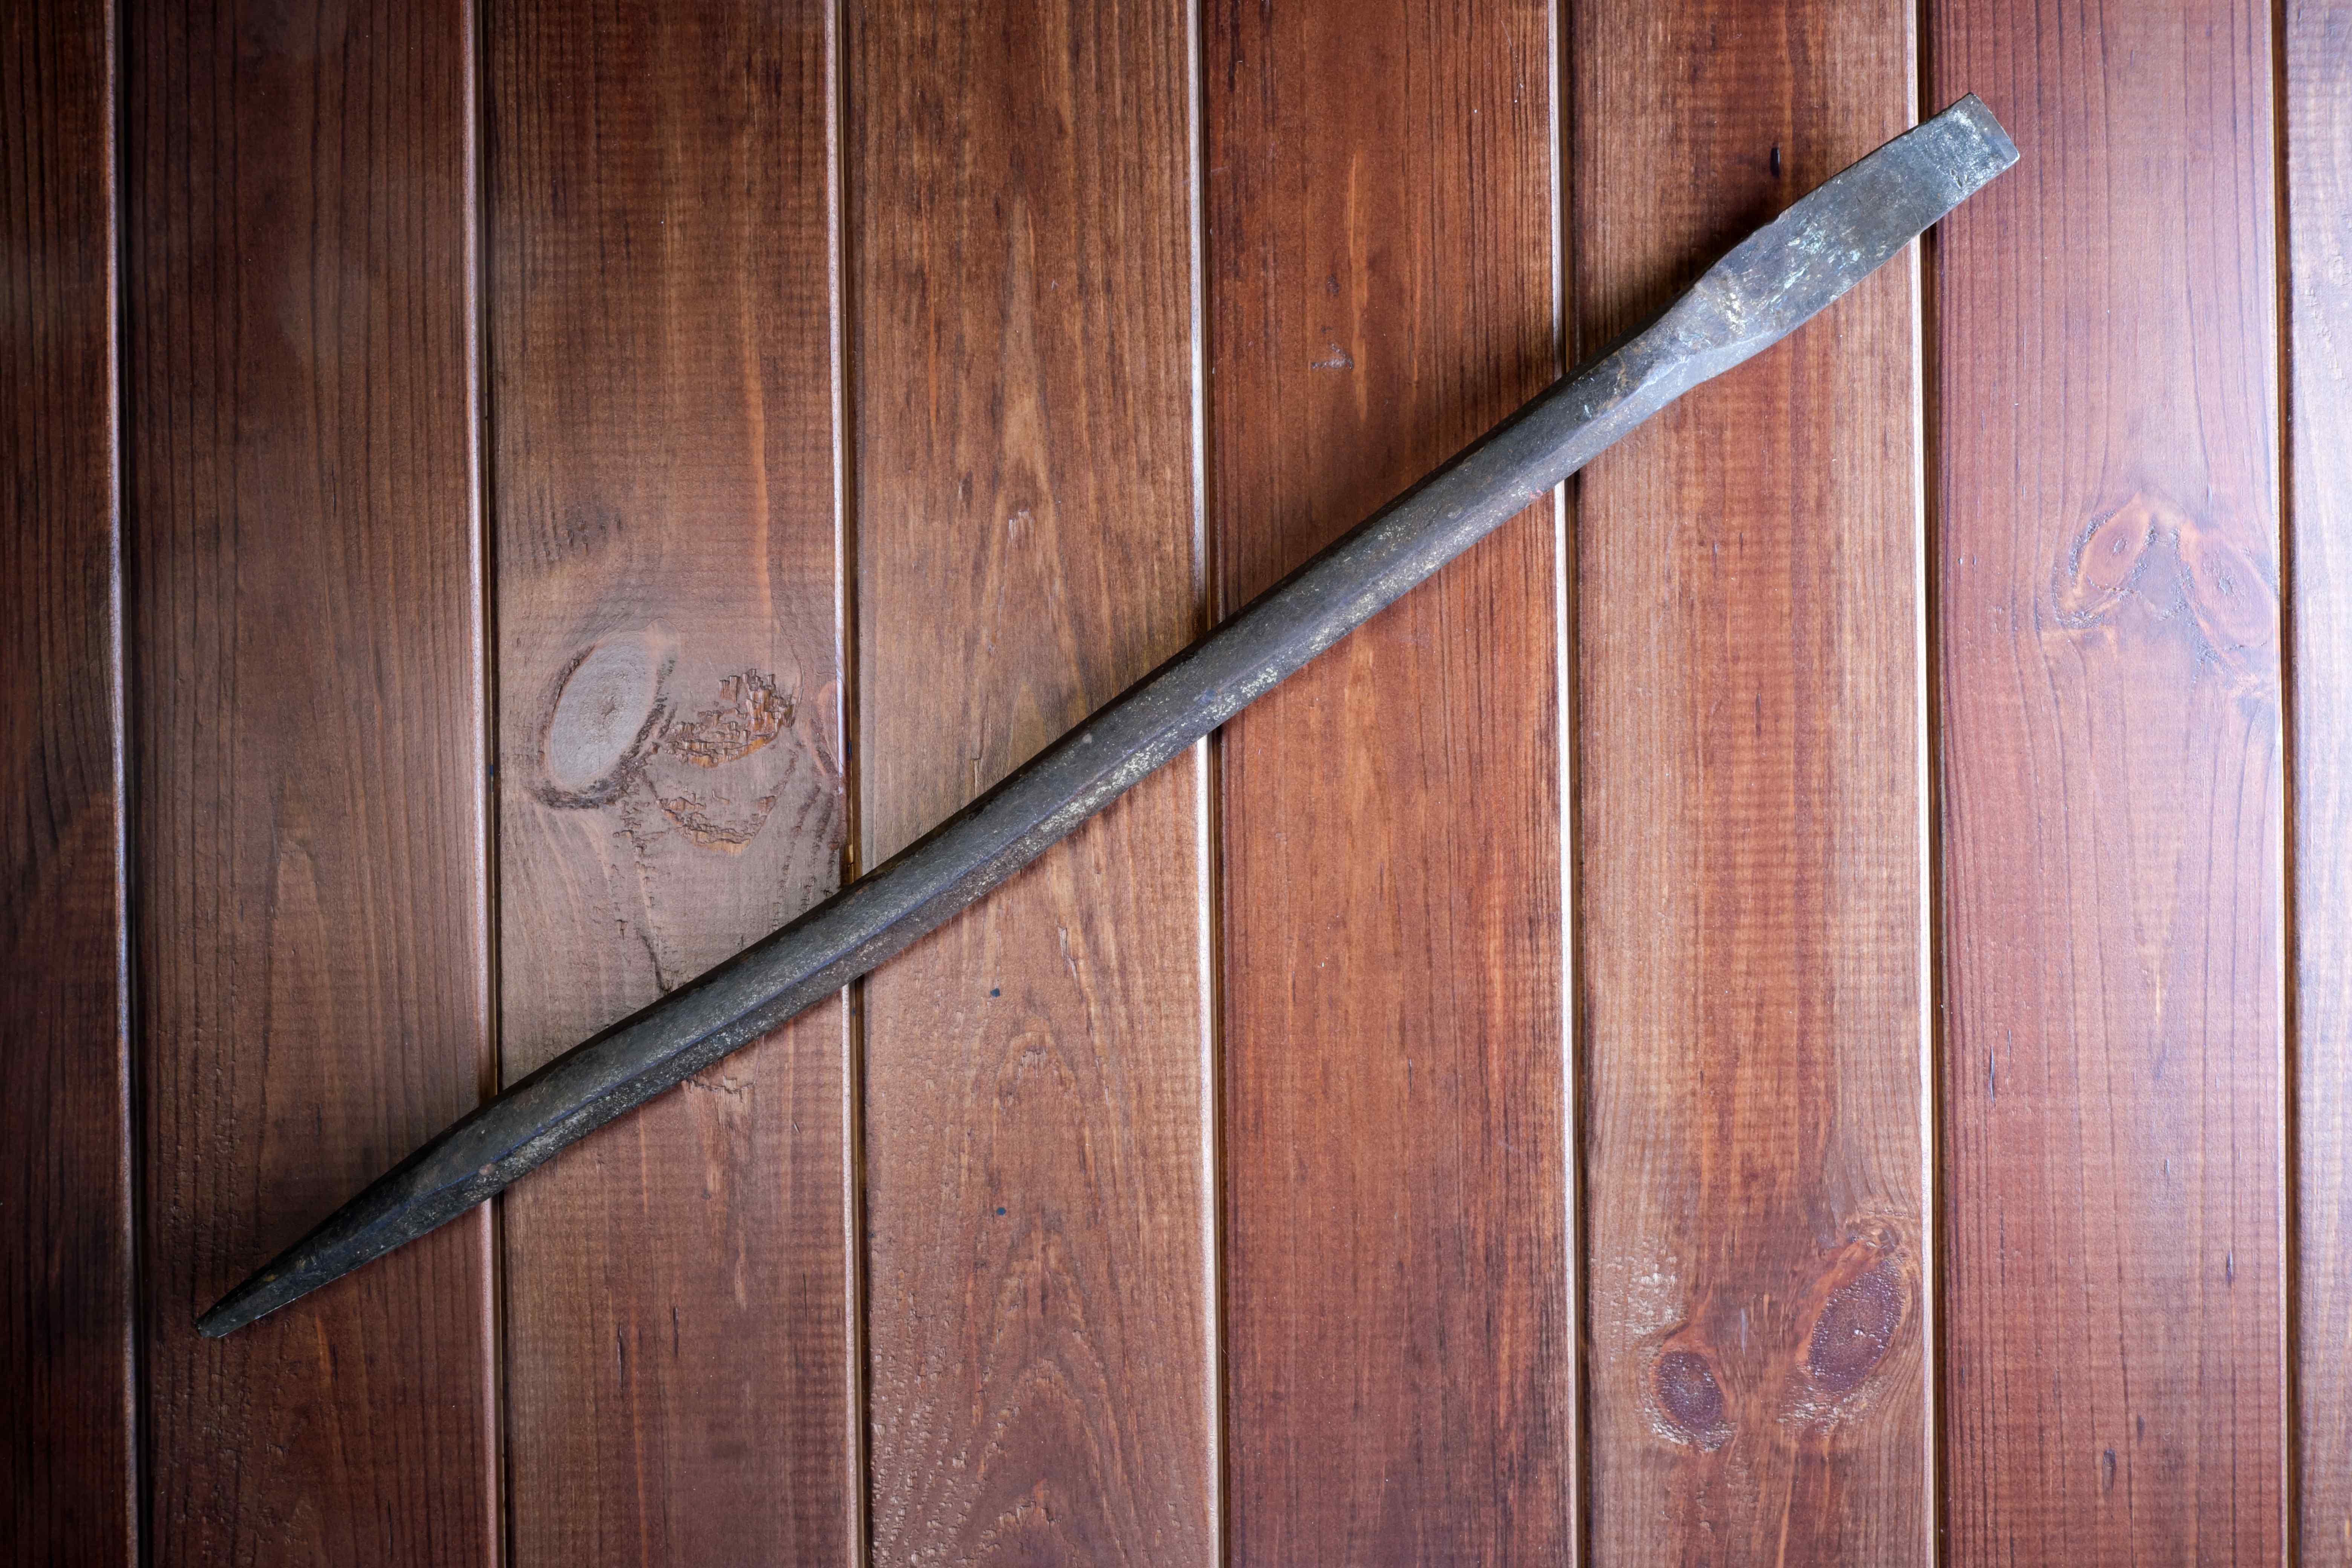
1. Small Pry Bar
2. Scrap Wood
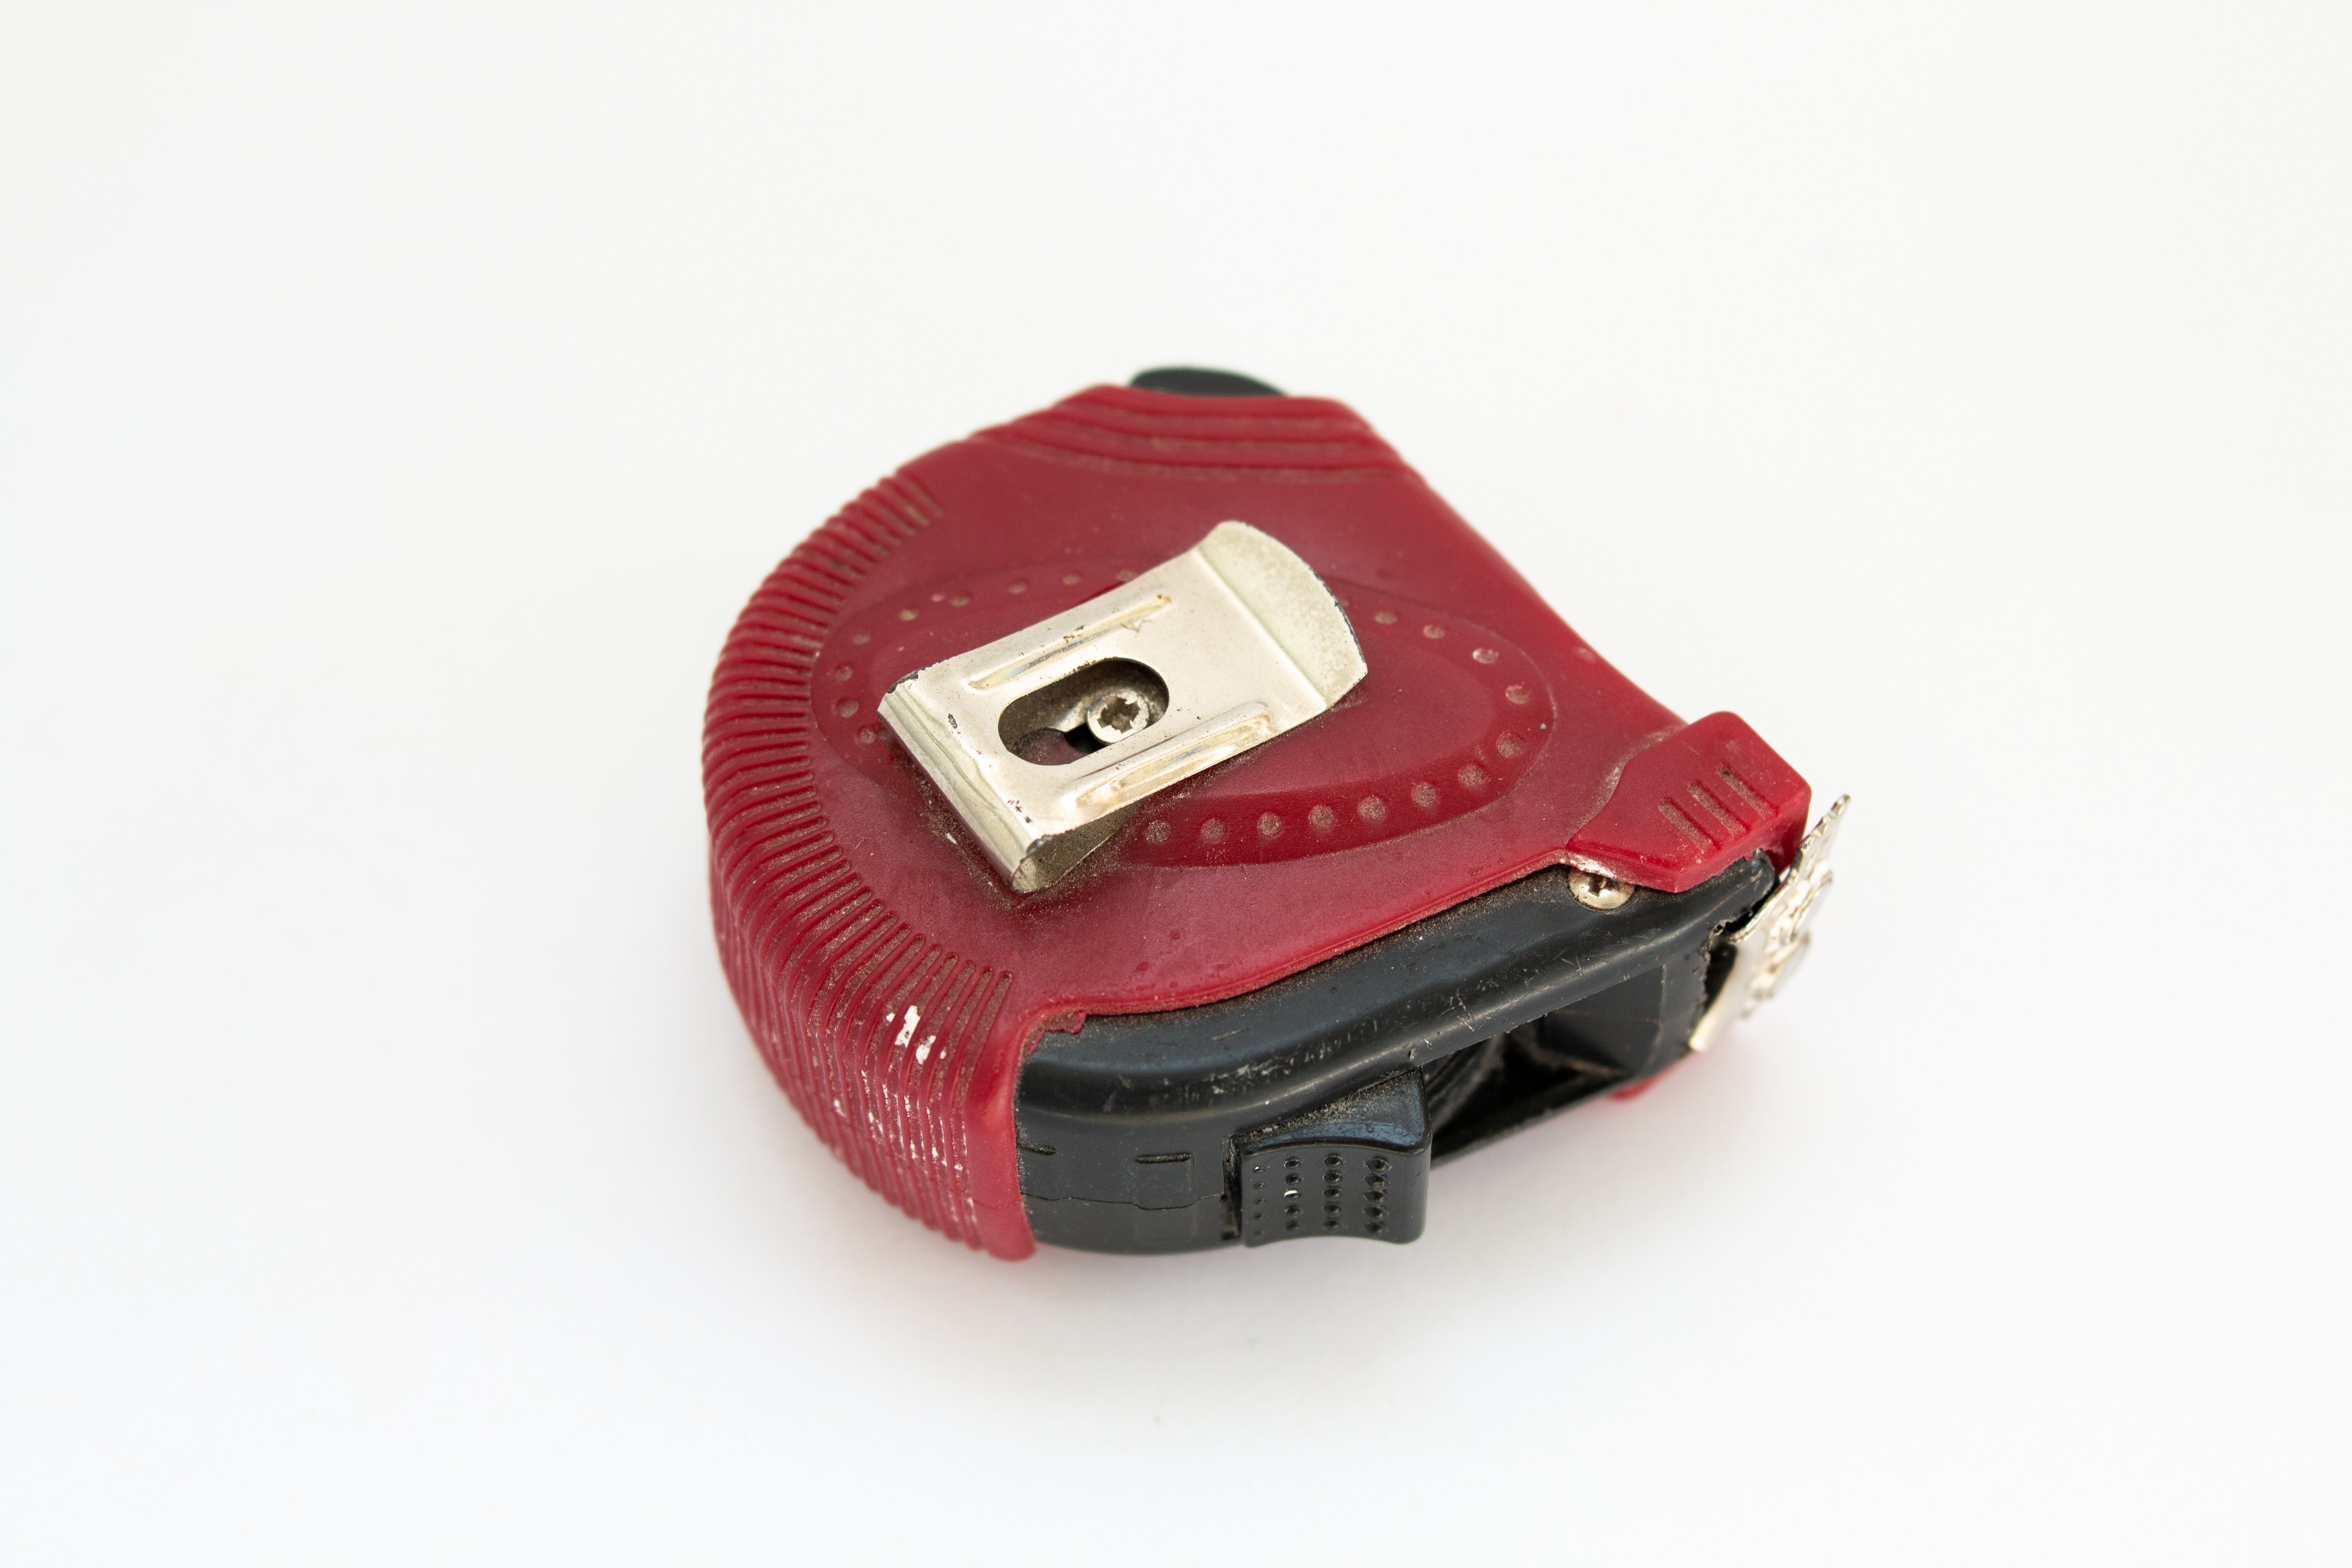
3. Tape Measure
4. Pencil
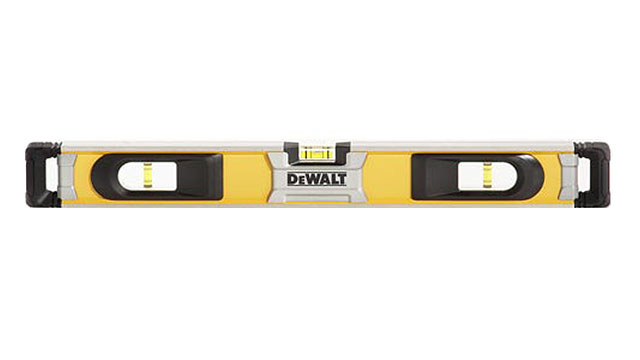
5. Four Feet Level
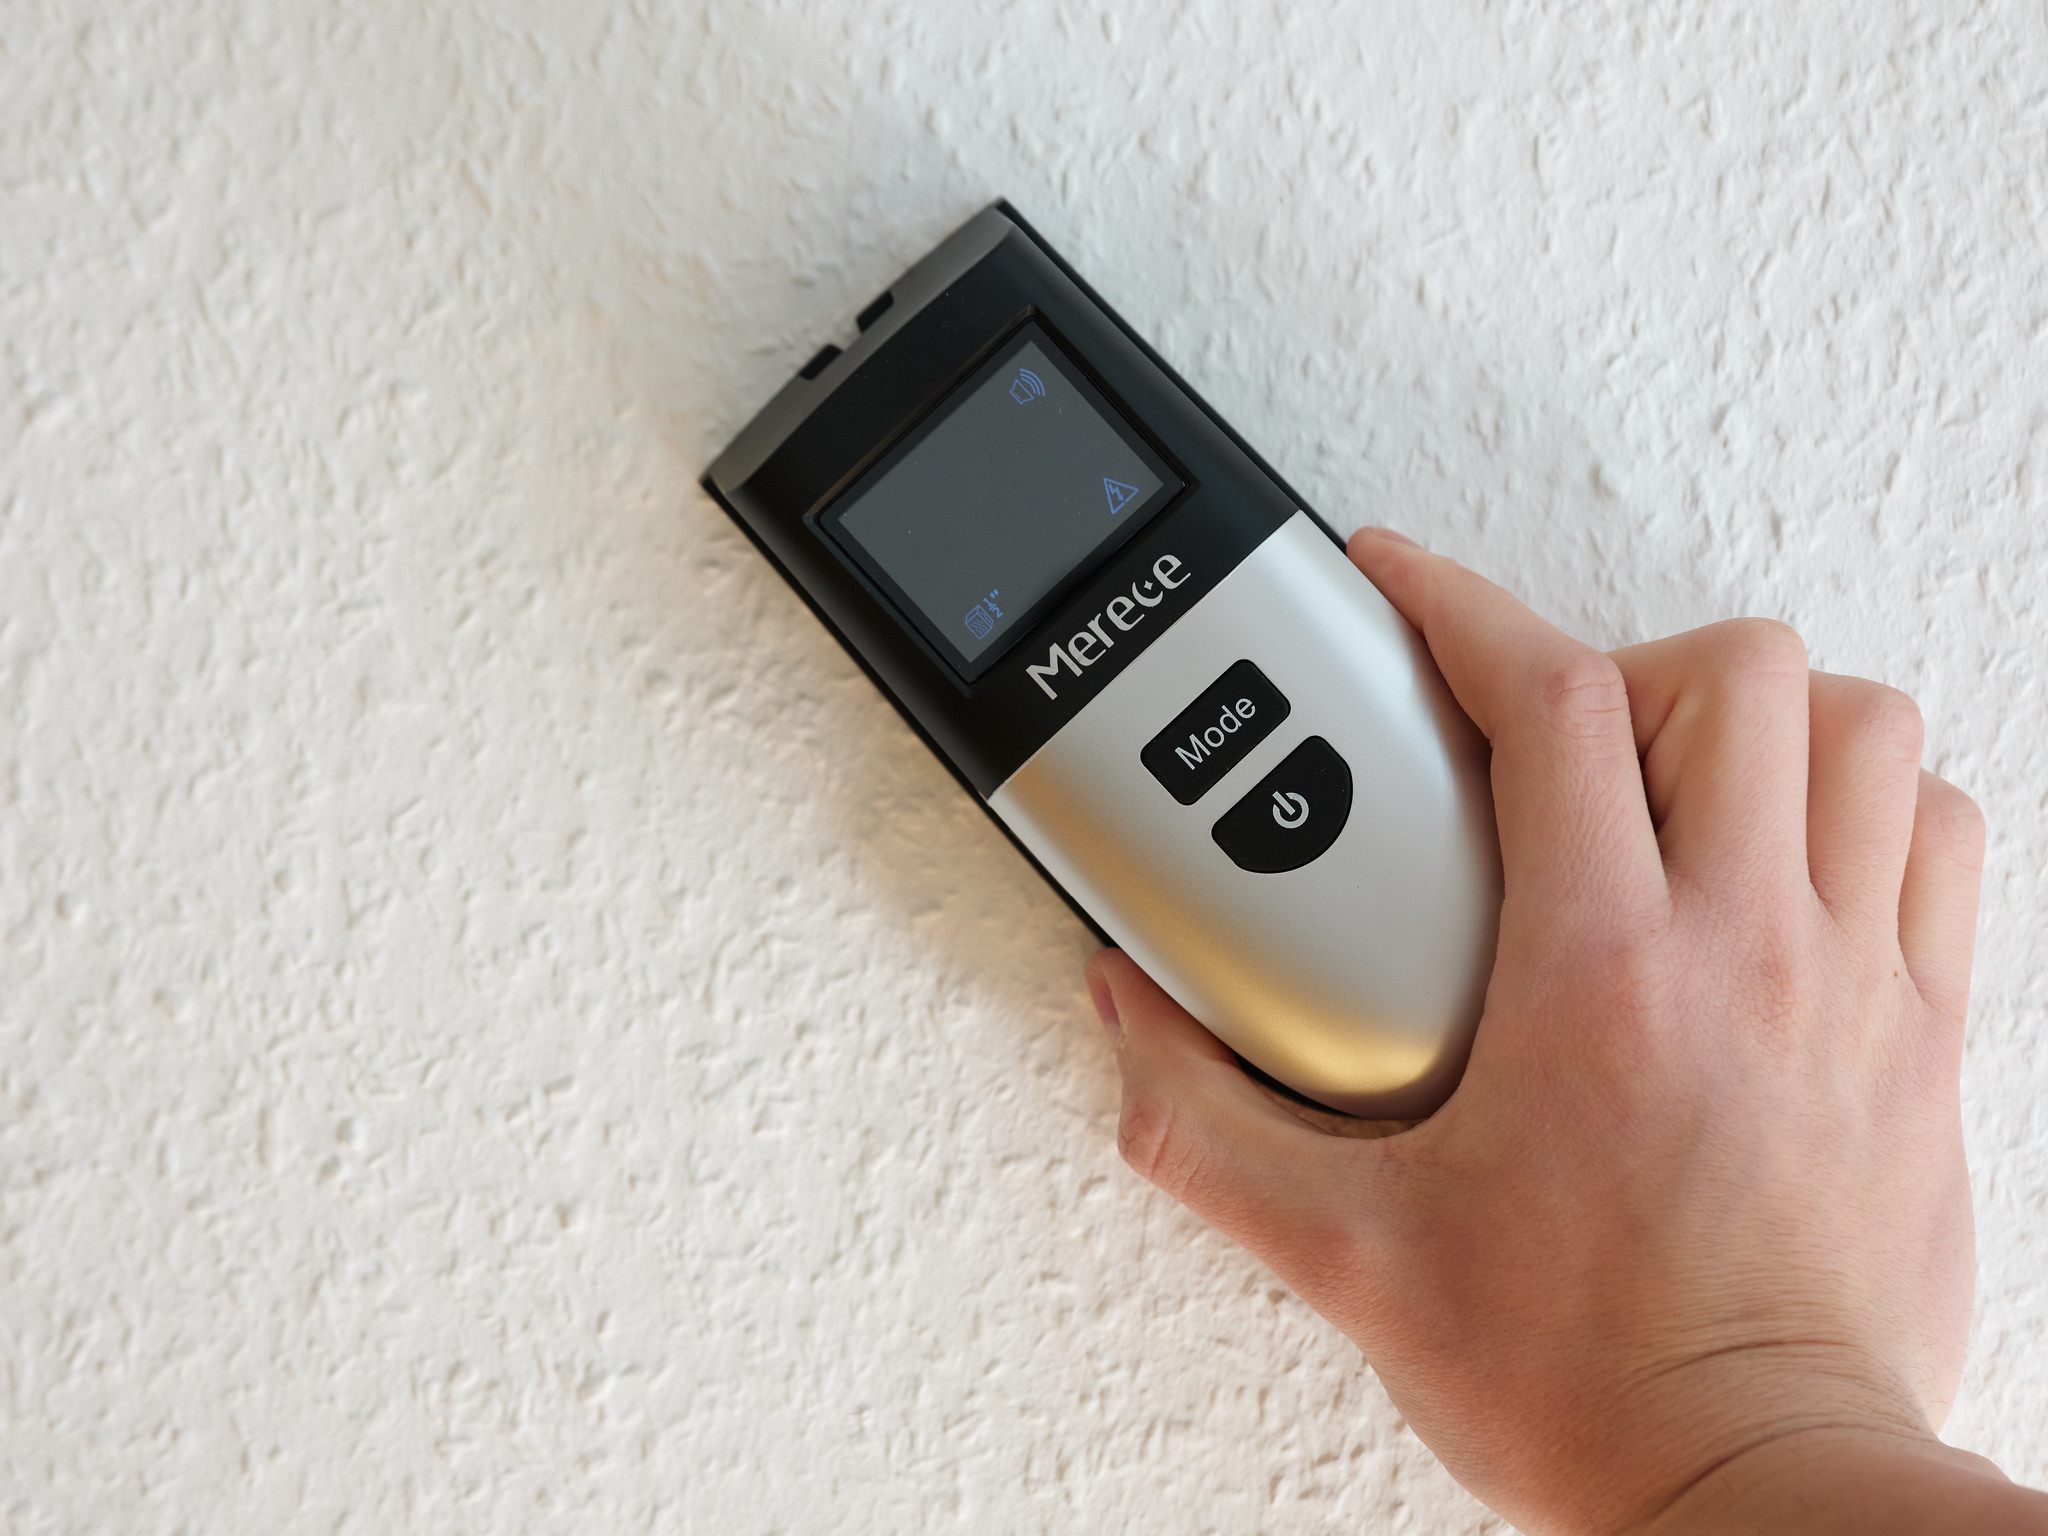
6. Stud Finder
7. Bead Board Panels
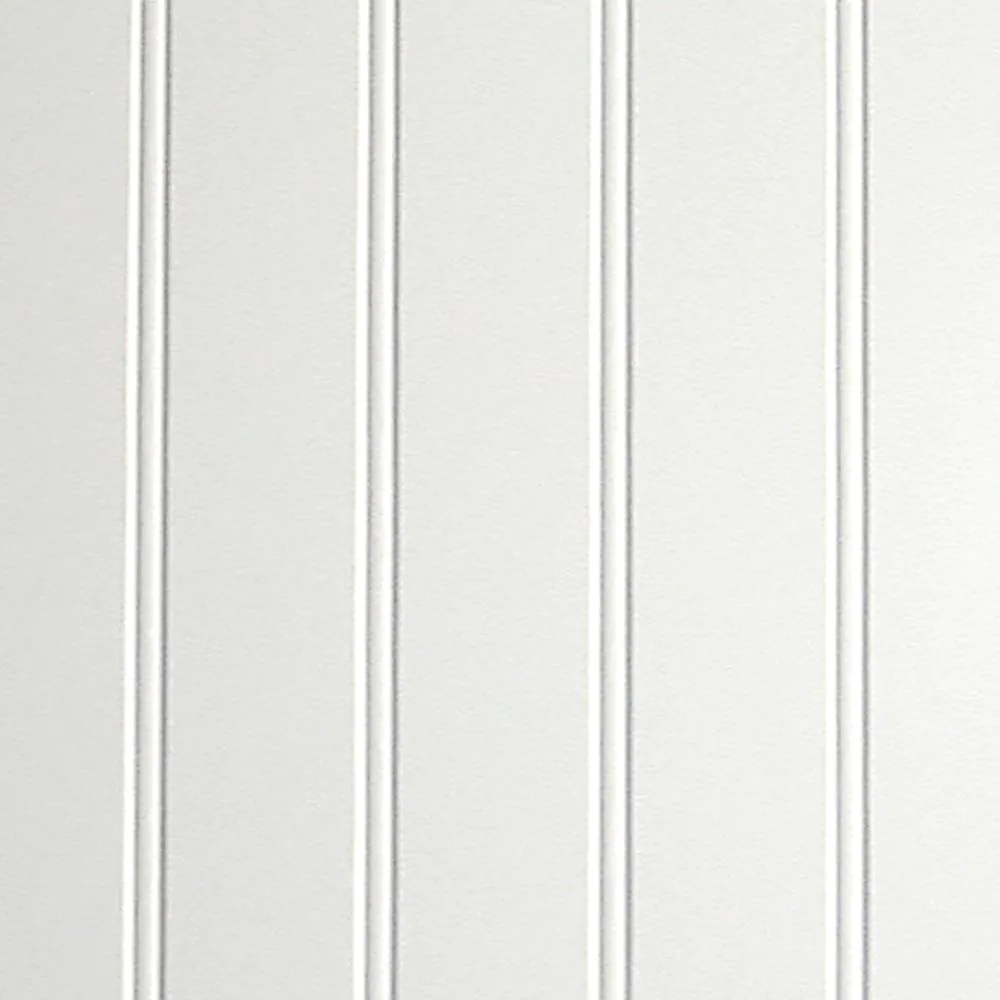
Courtesy - Lowes
8. Makeshift Work Table or Sawhorses
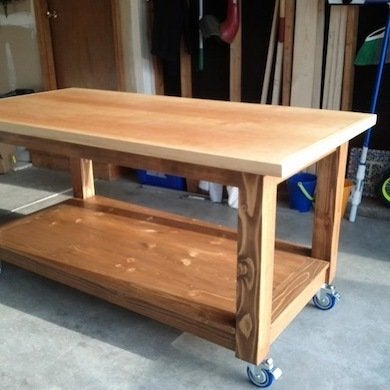
Courtesy - Bobvila
9. Safety Glasses

10. Circular Saw
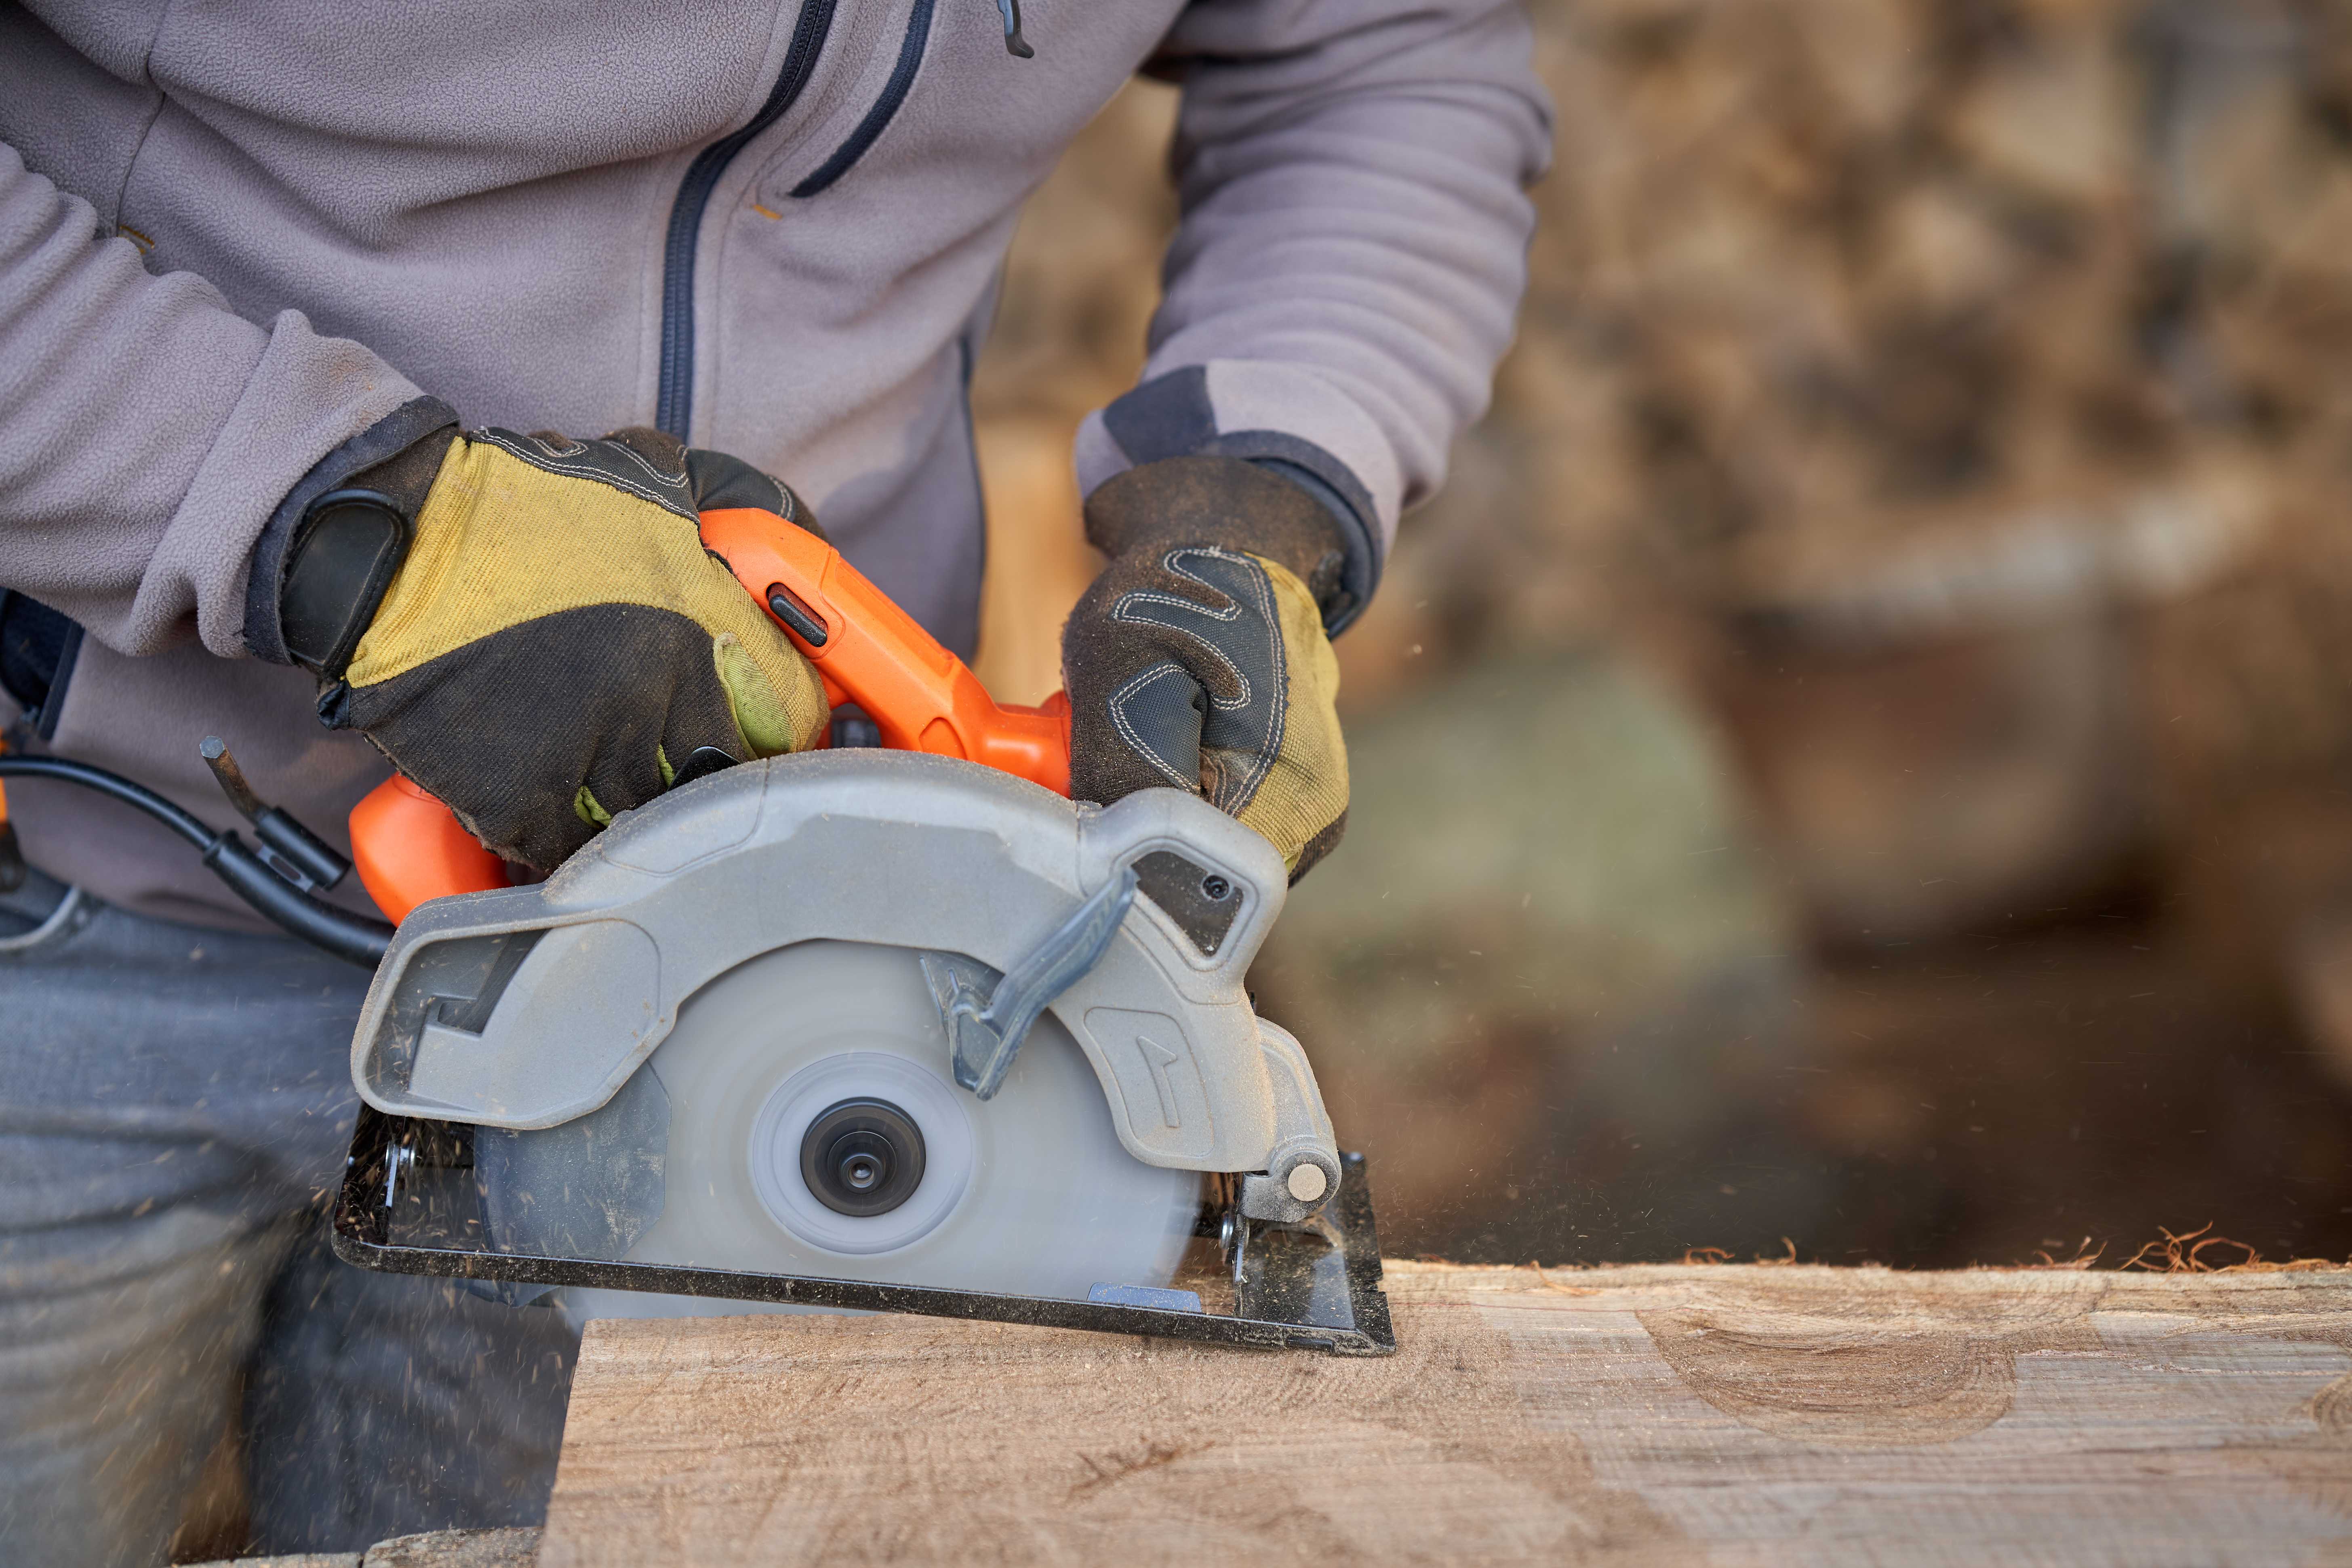
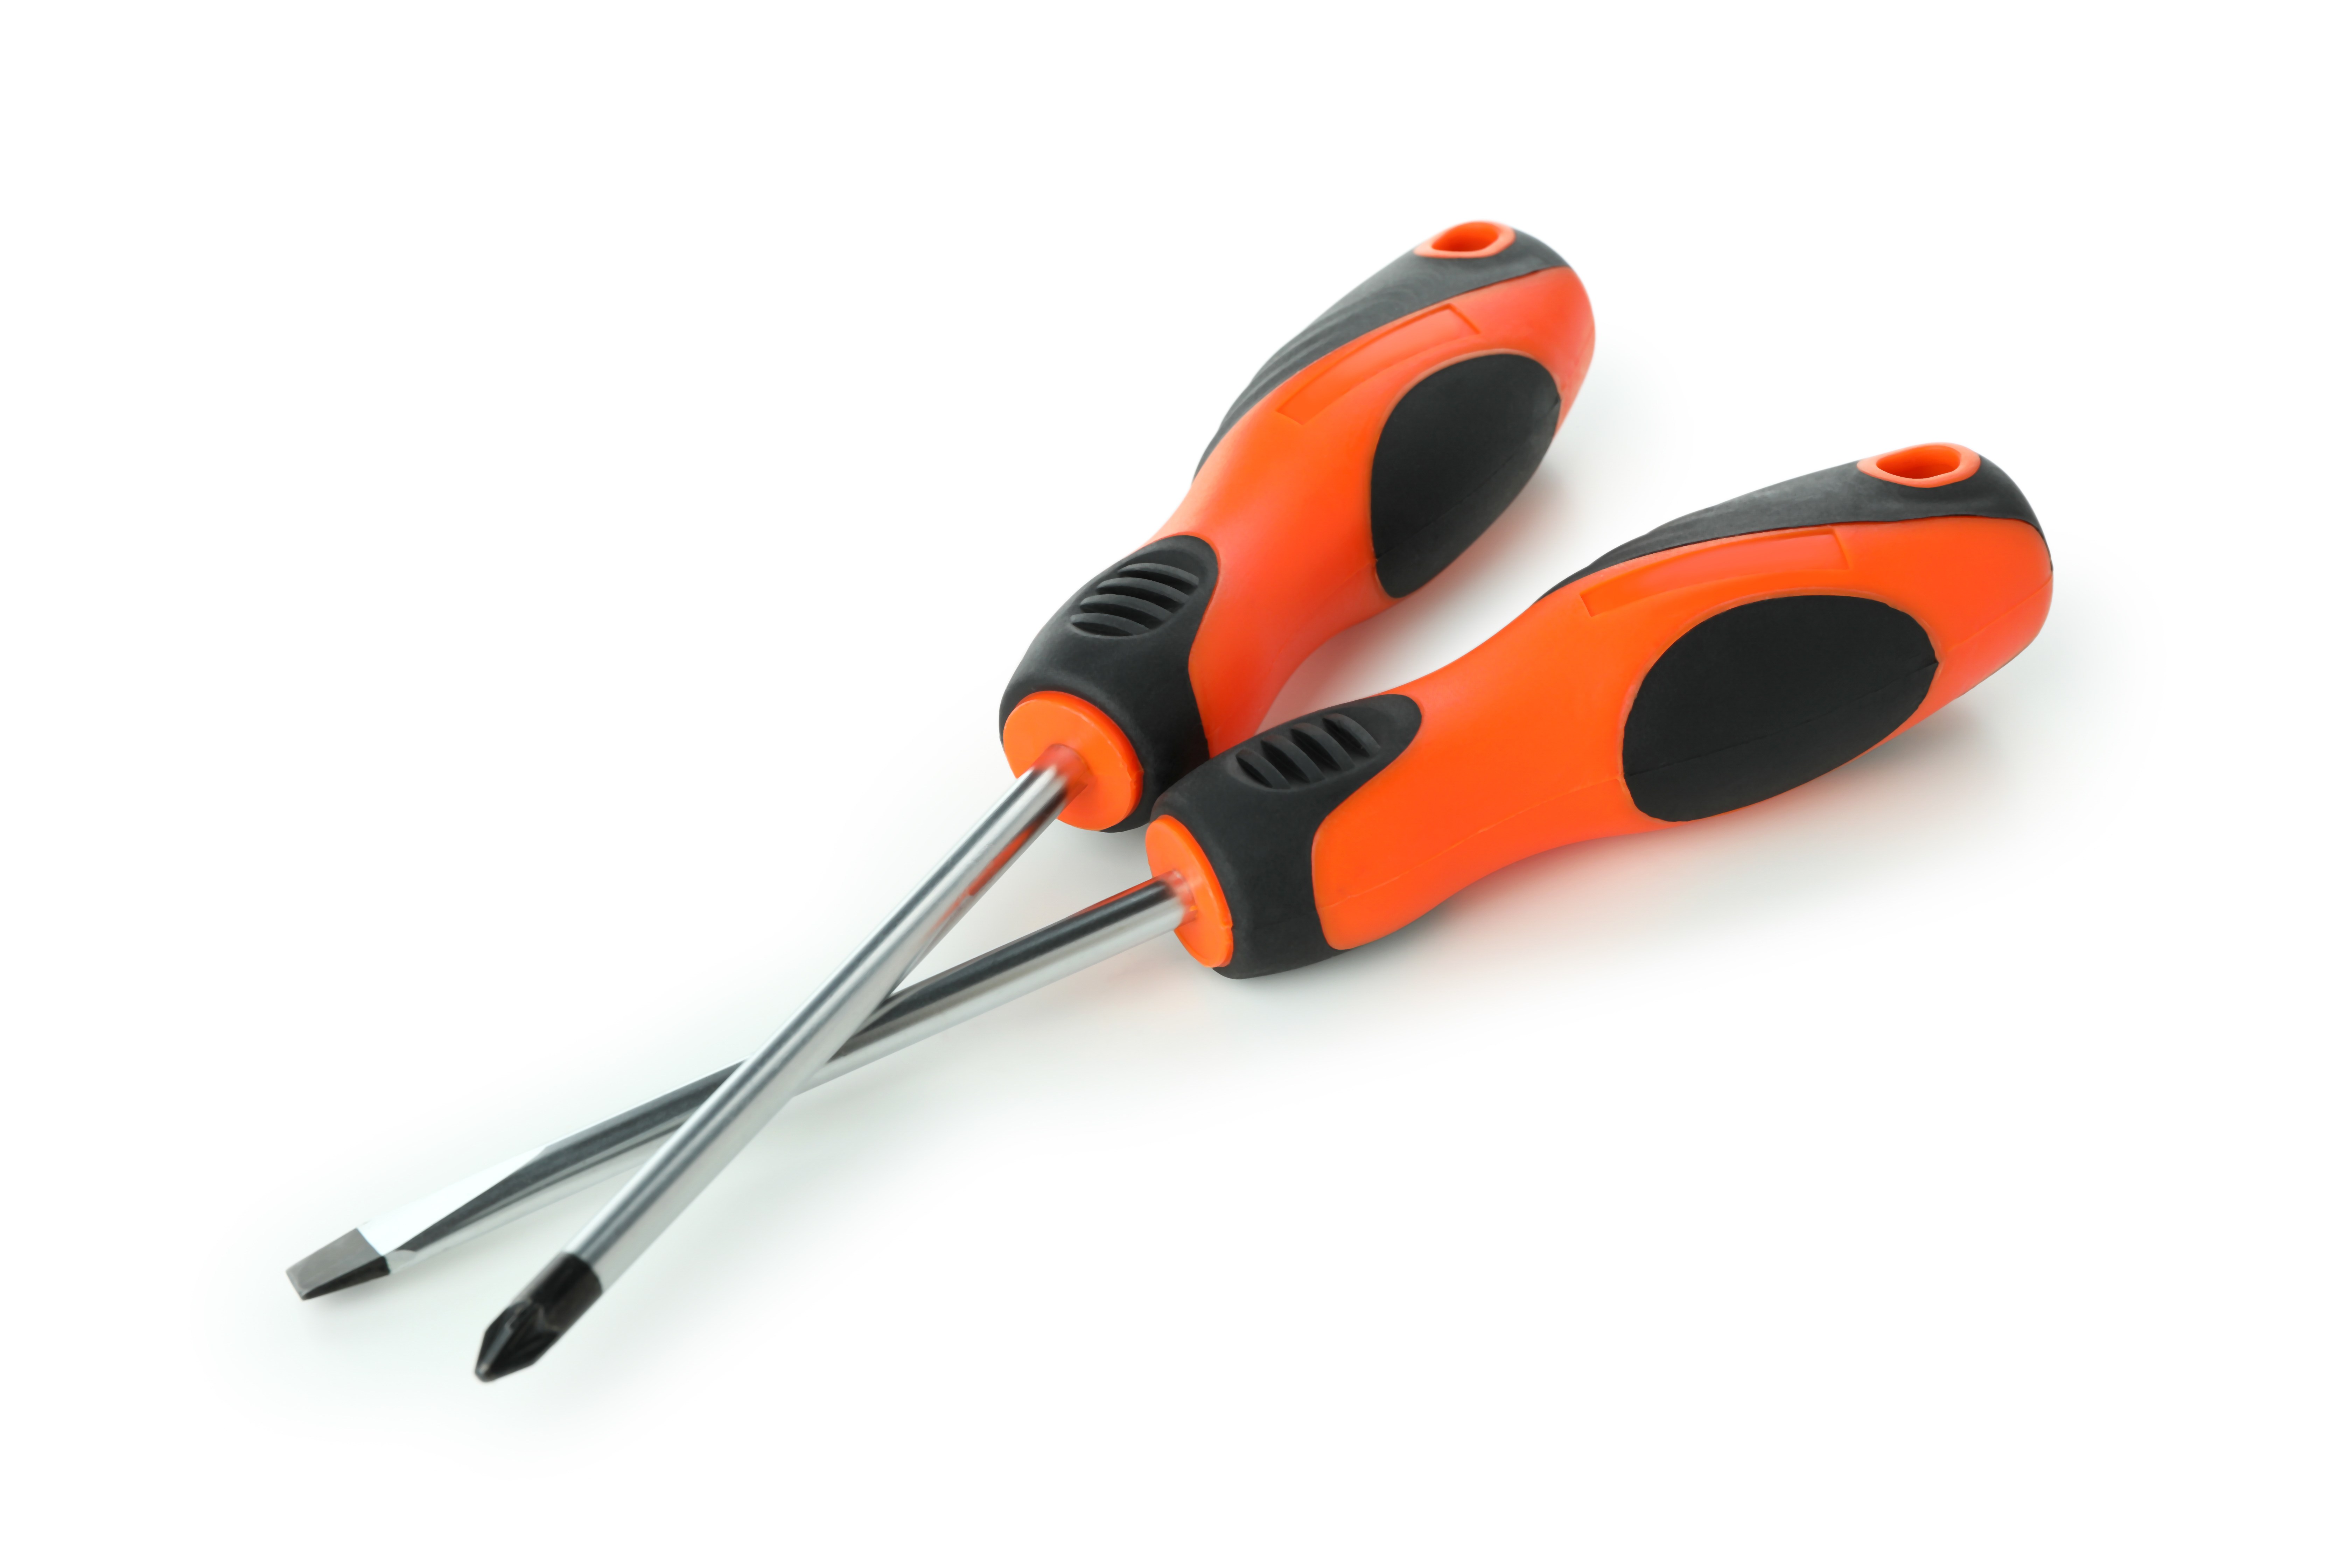
11. Screwdriver
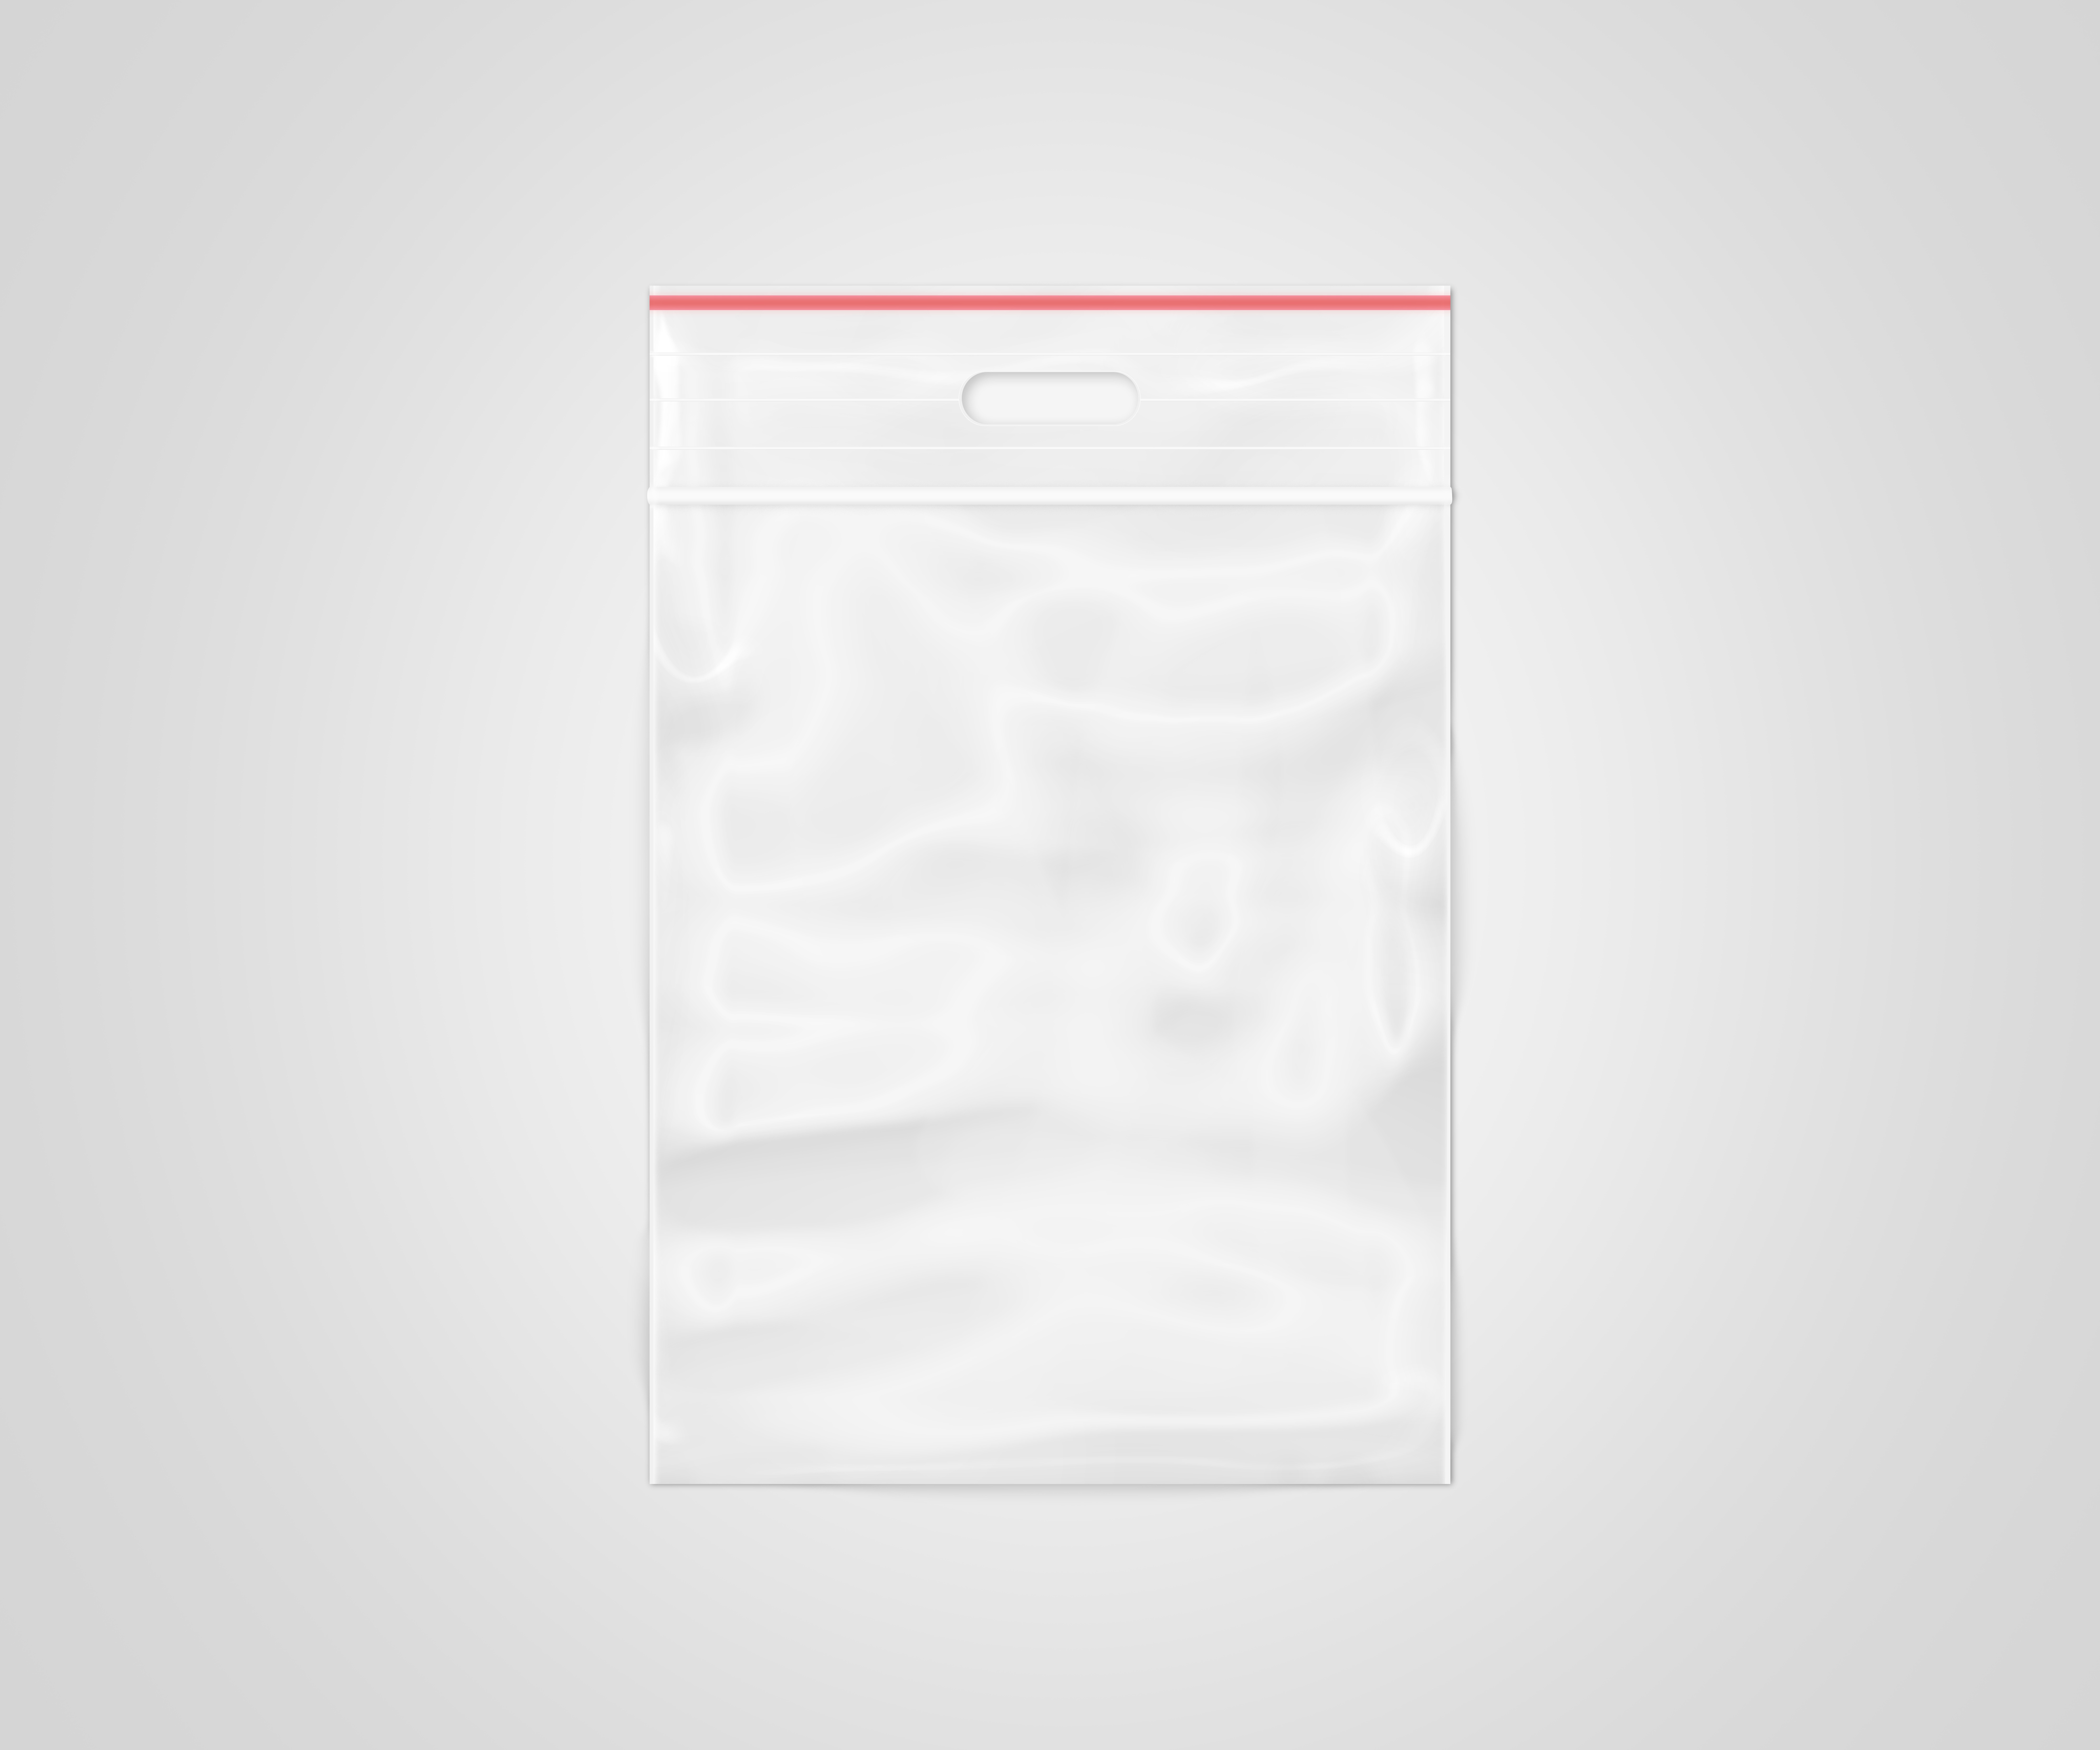
12. Zip-Lock Plastic Bag
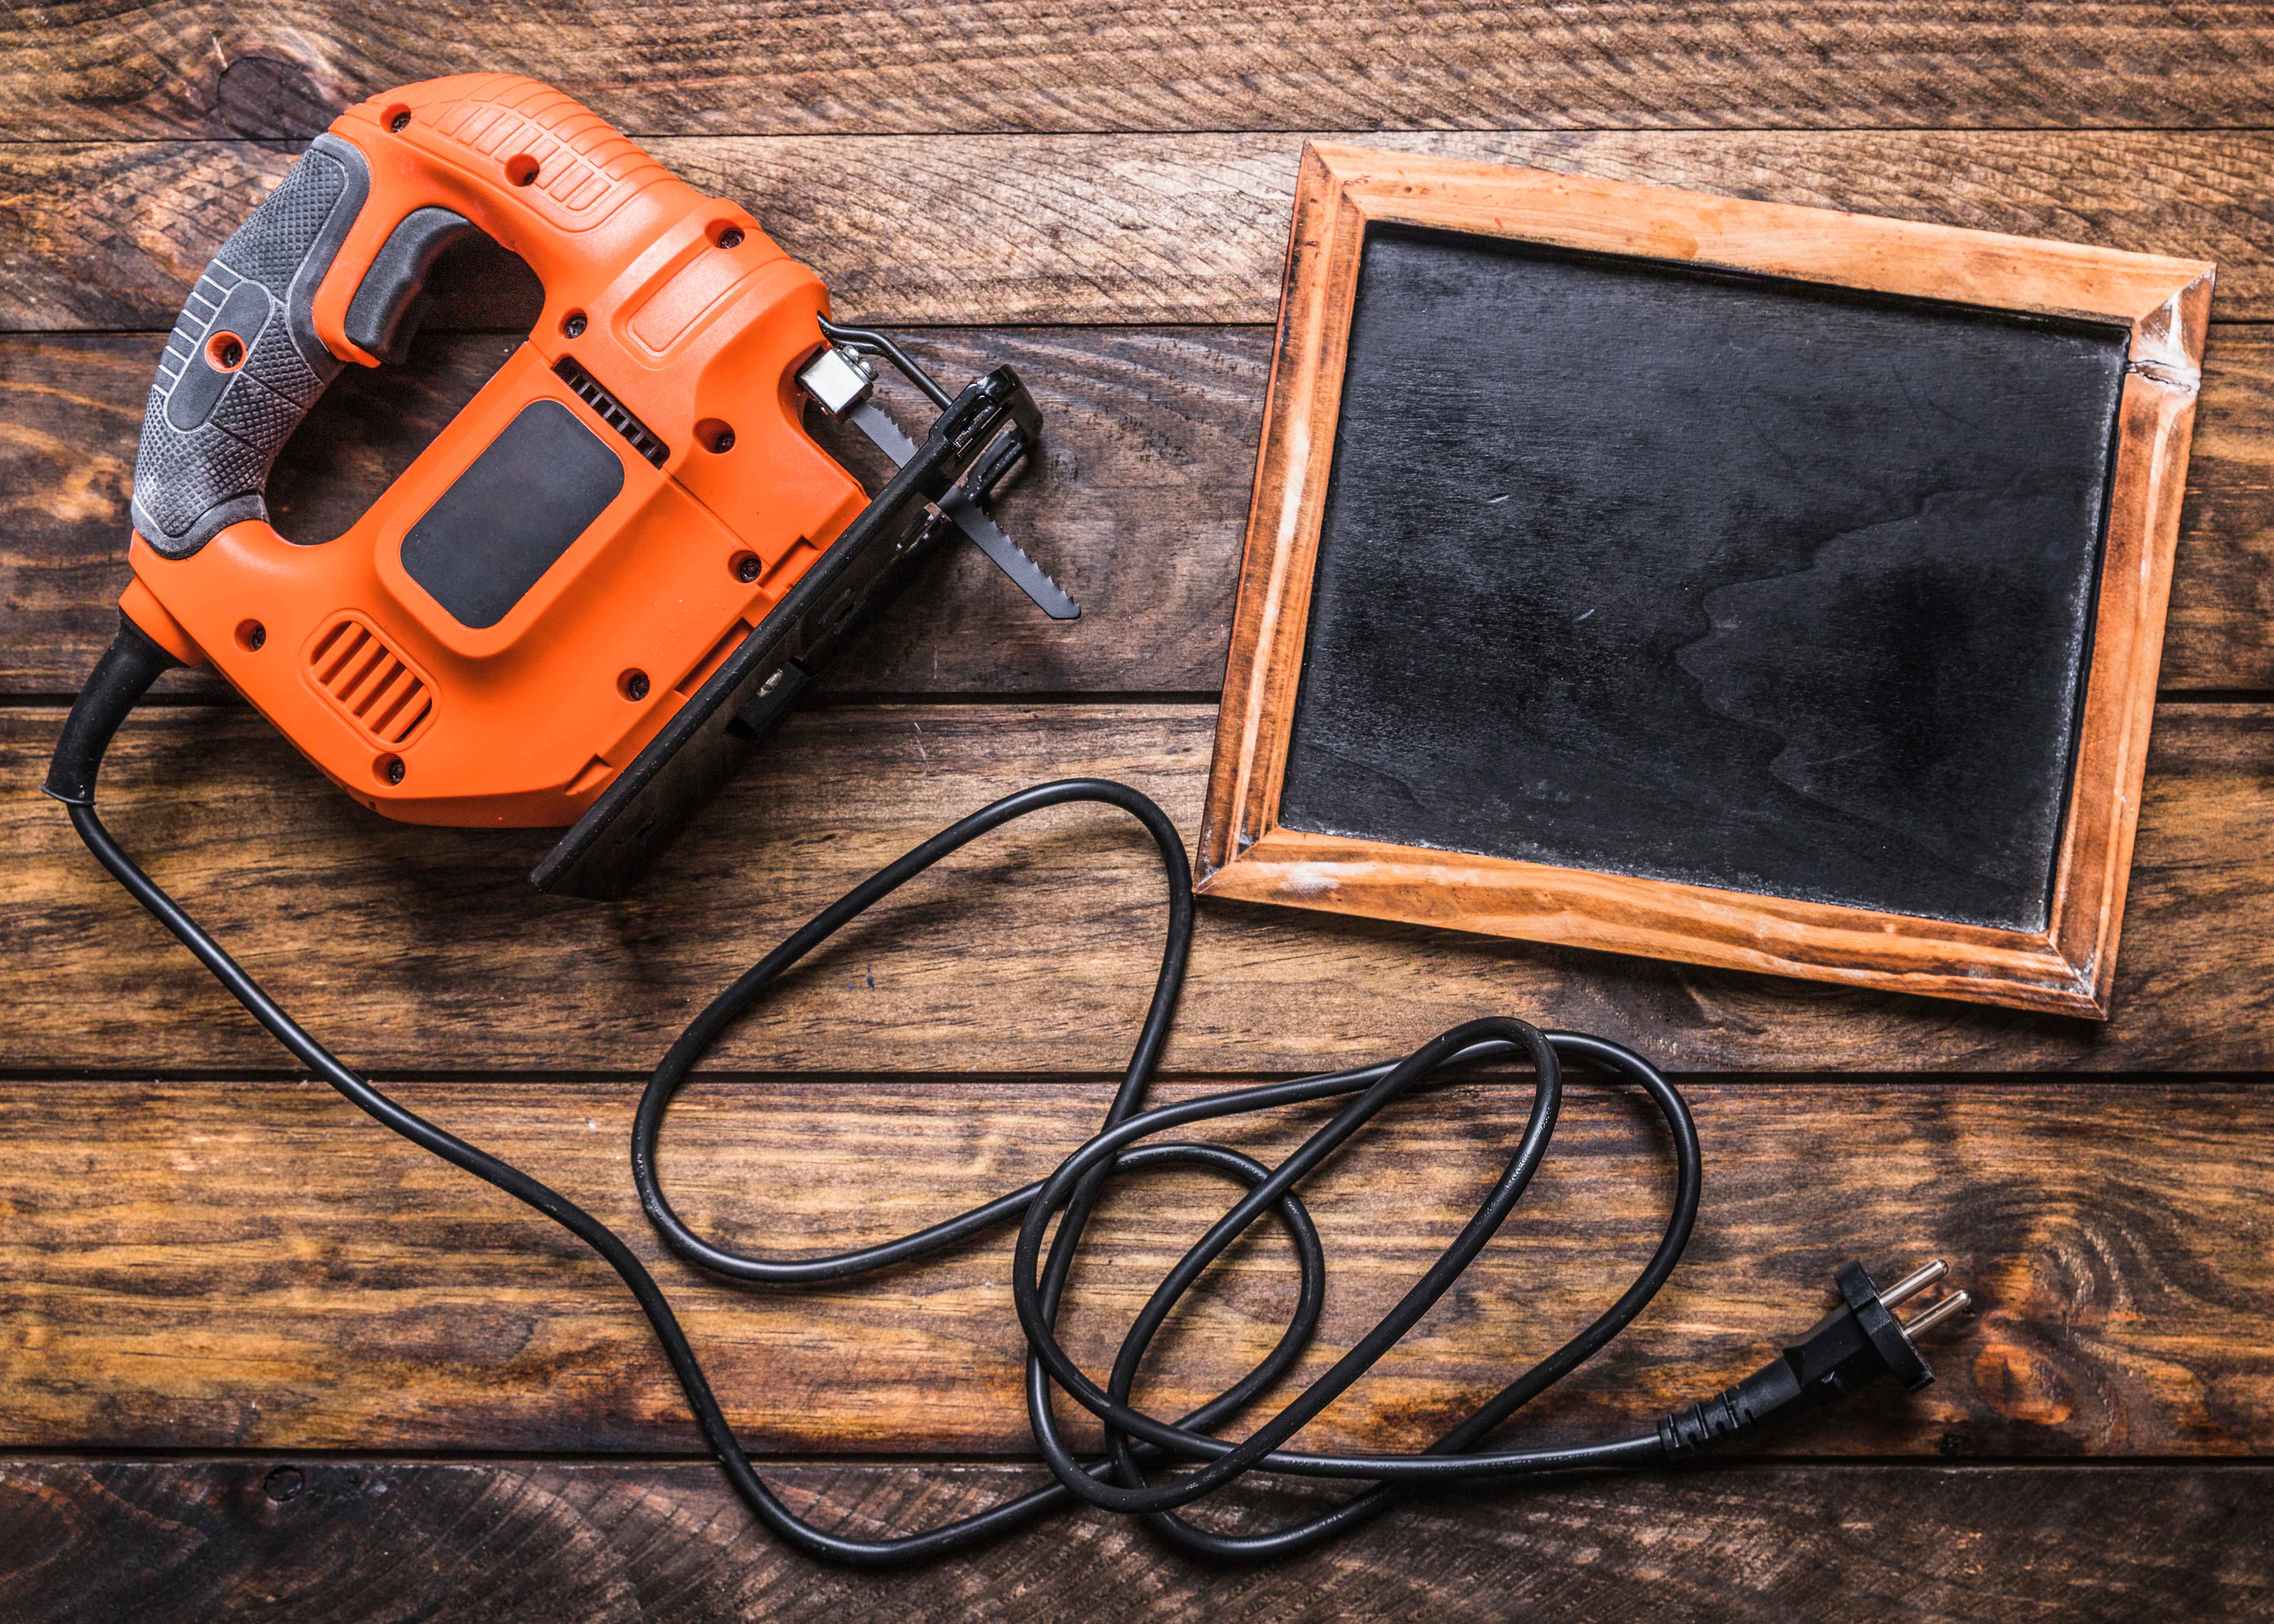
13. Jigsaw
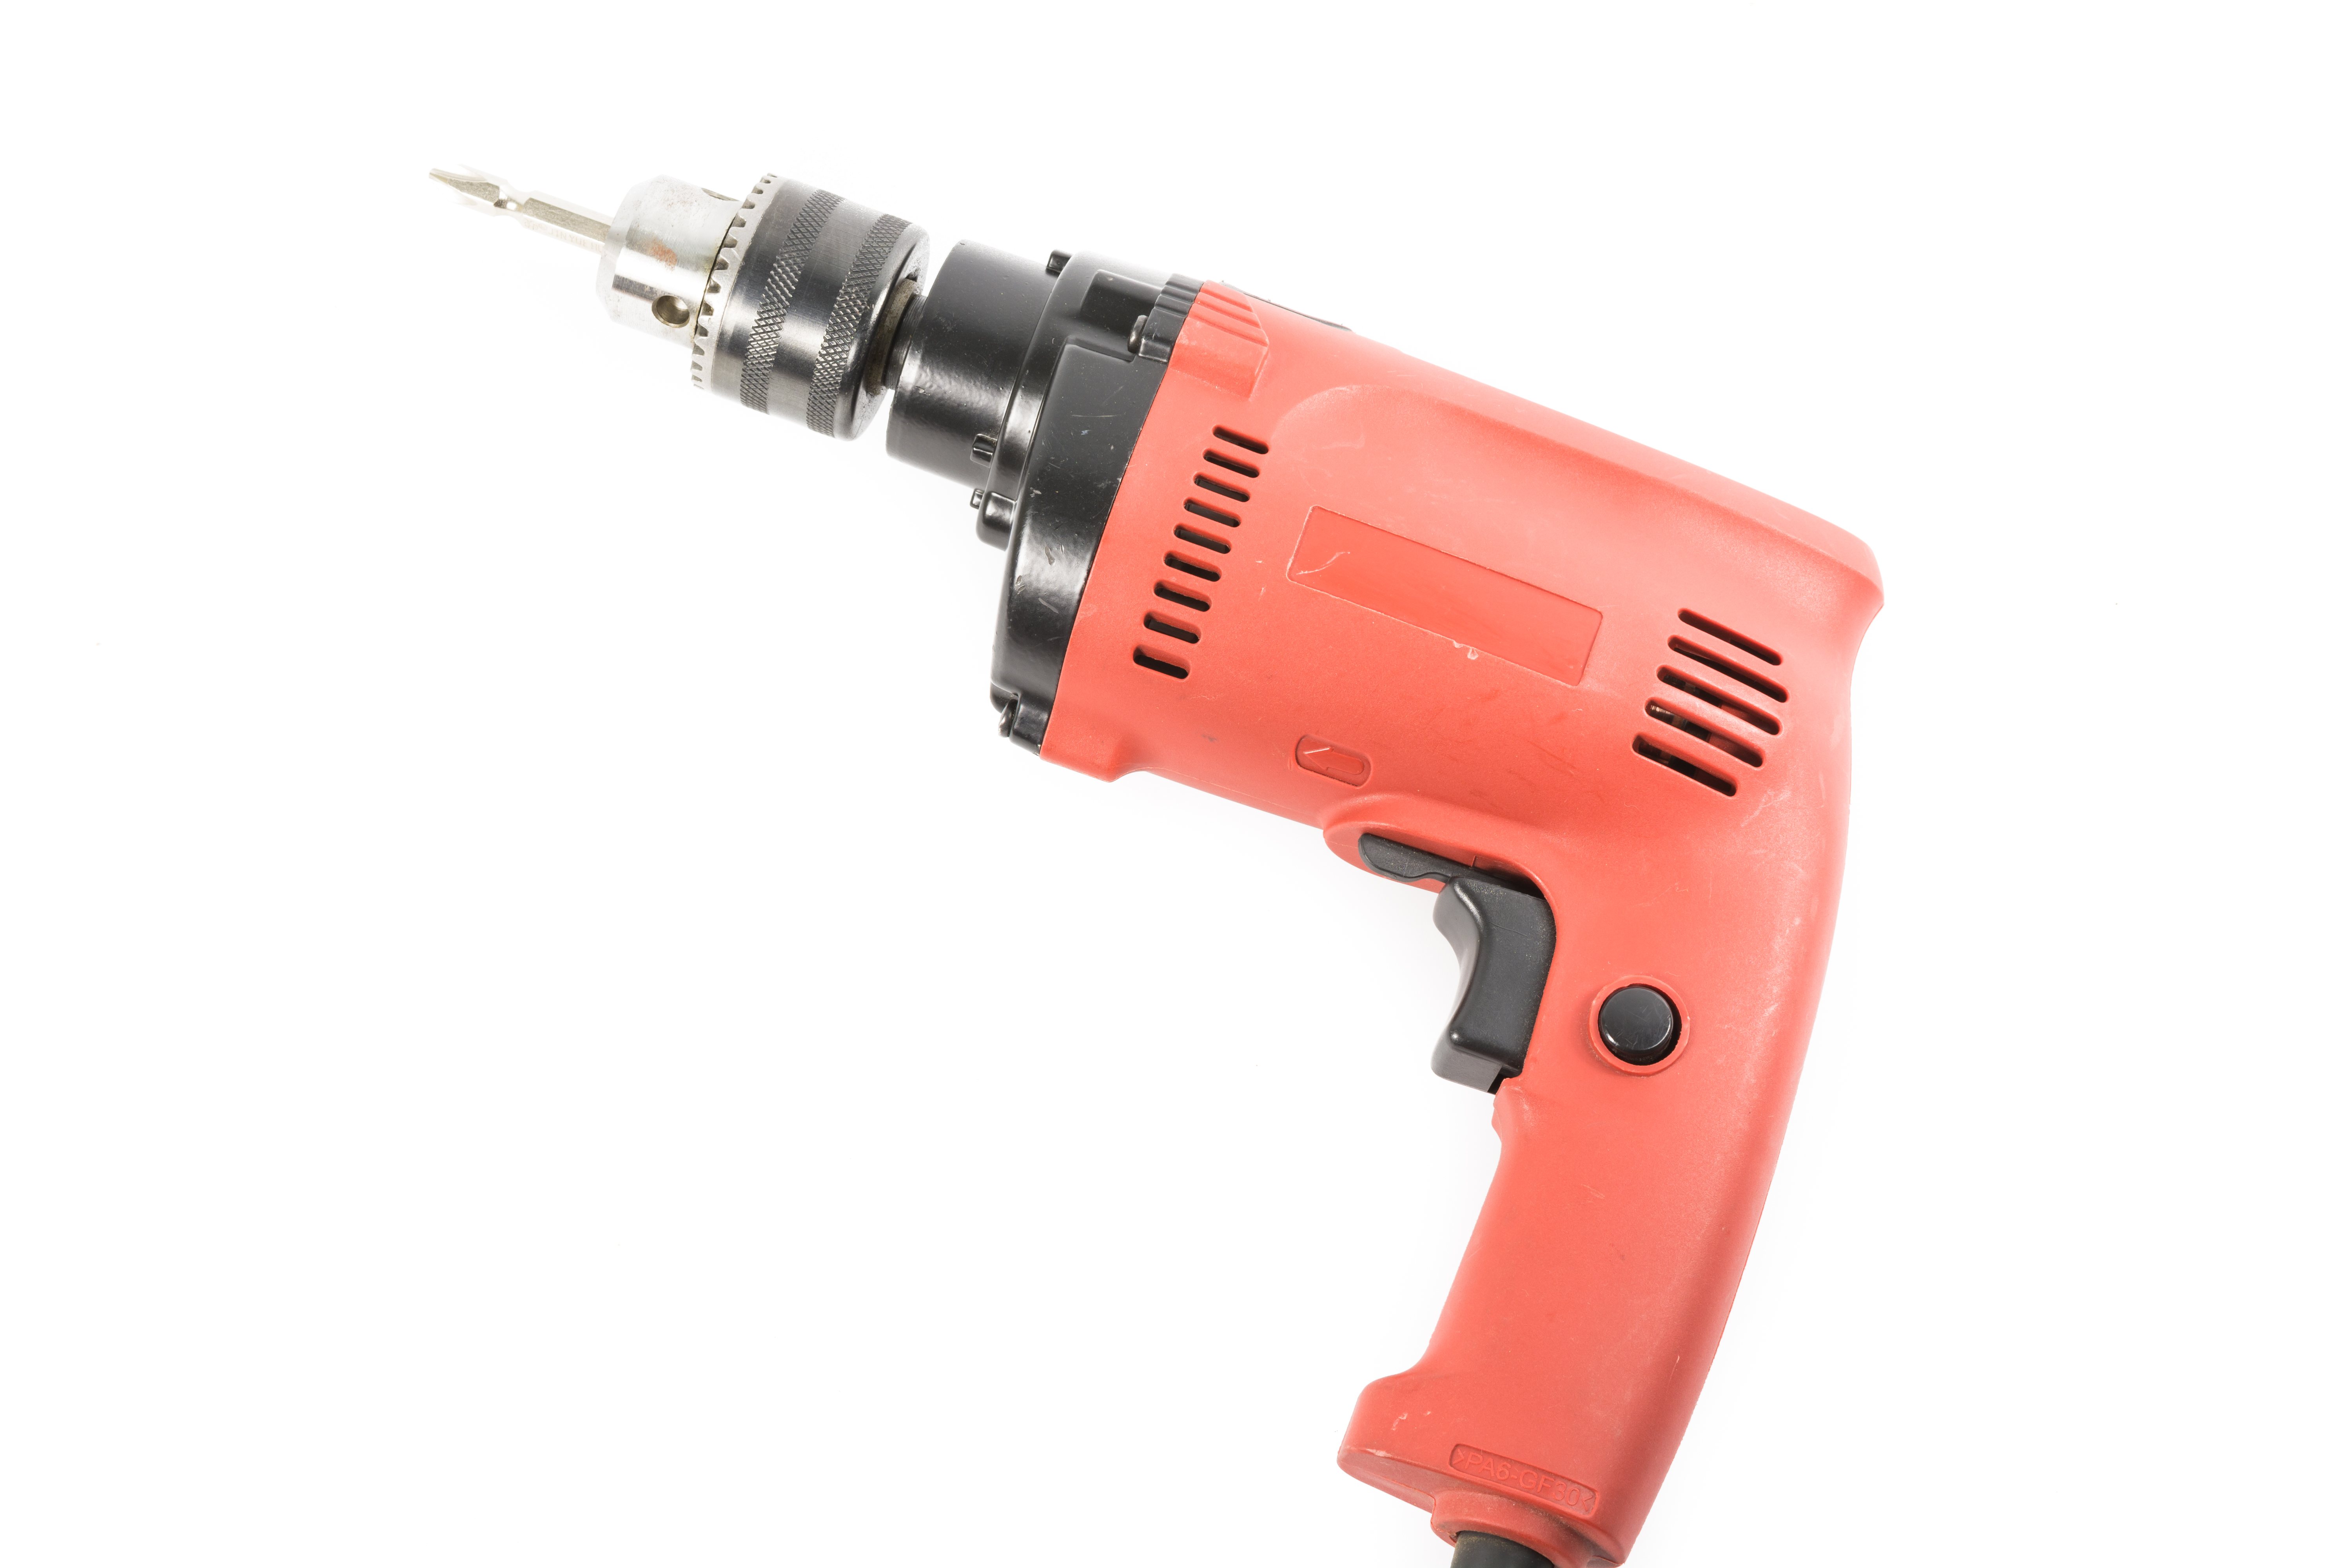
14. Drill

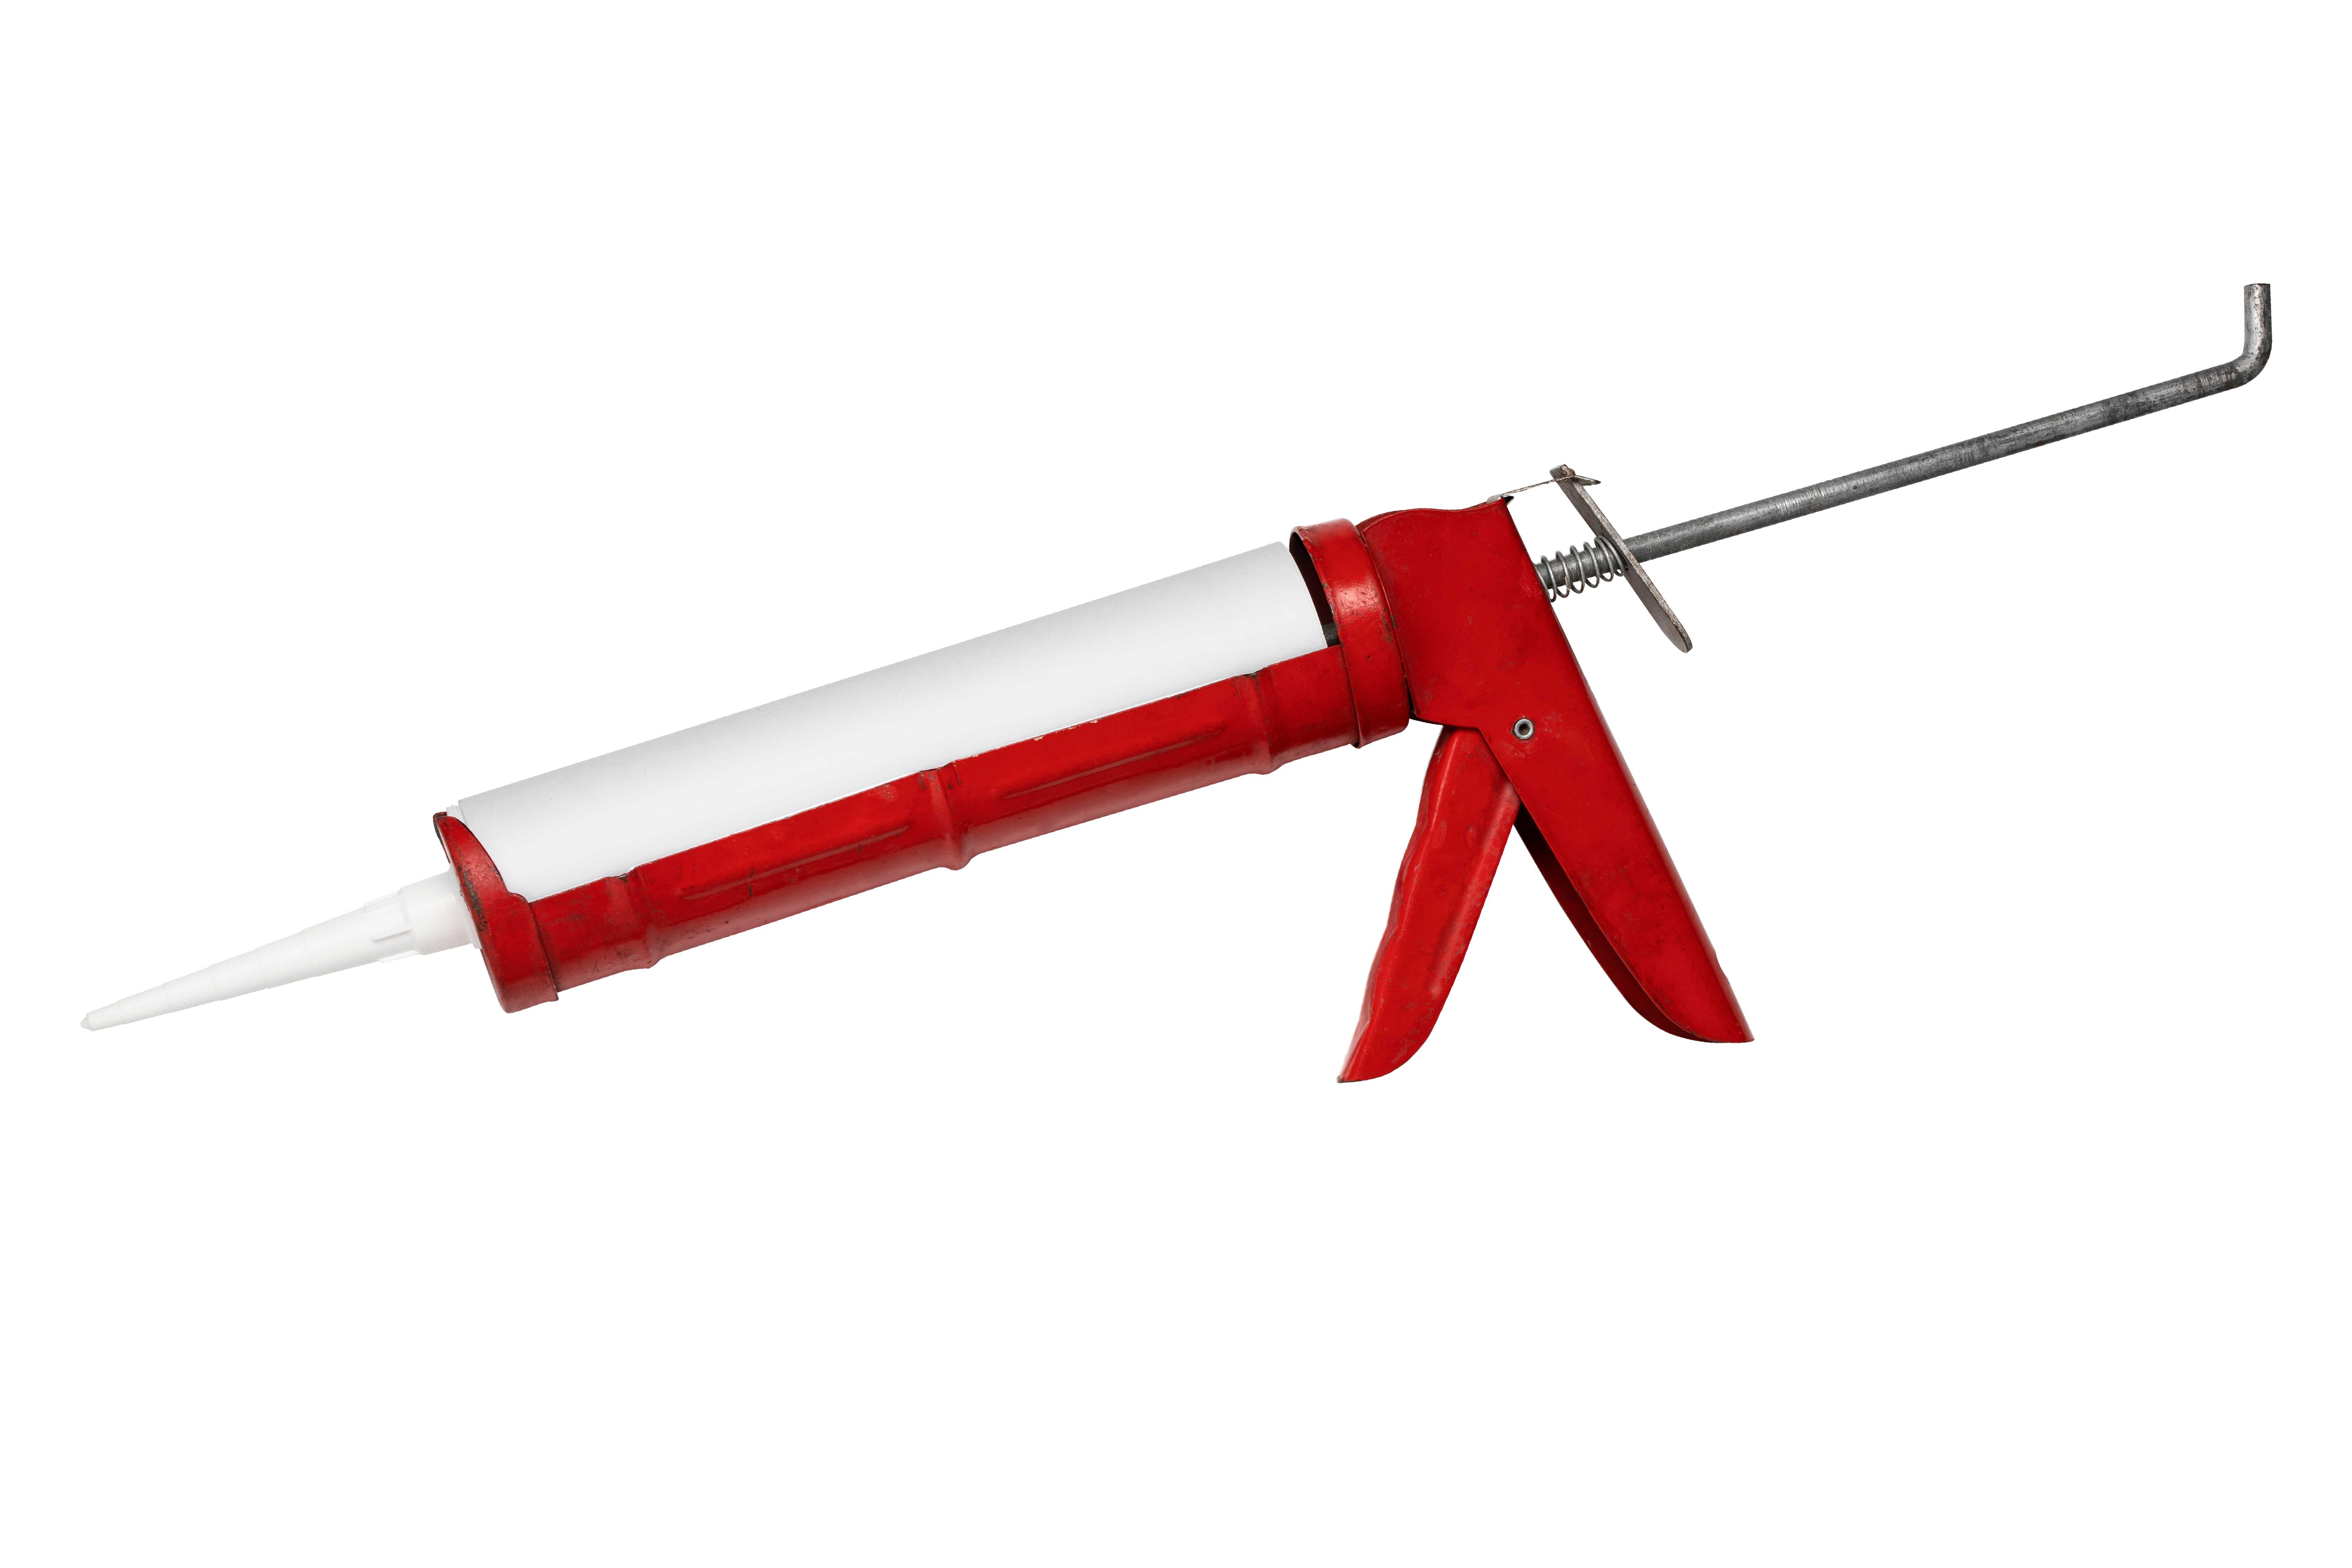
15. Caulk Gun
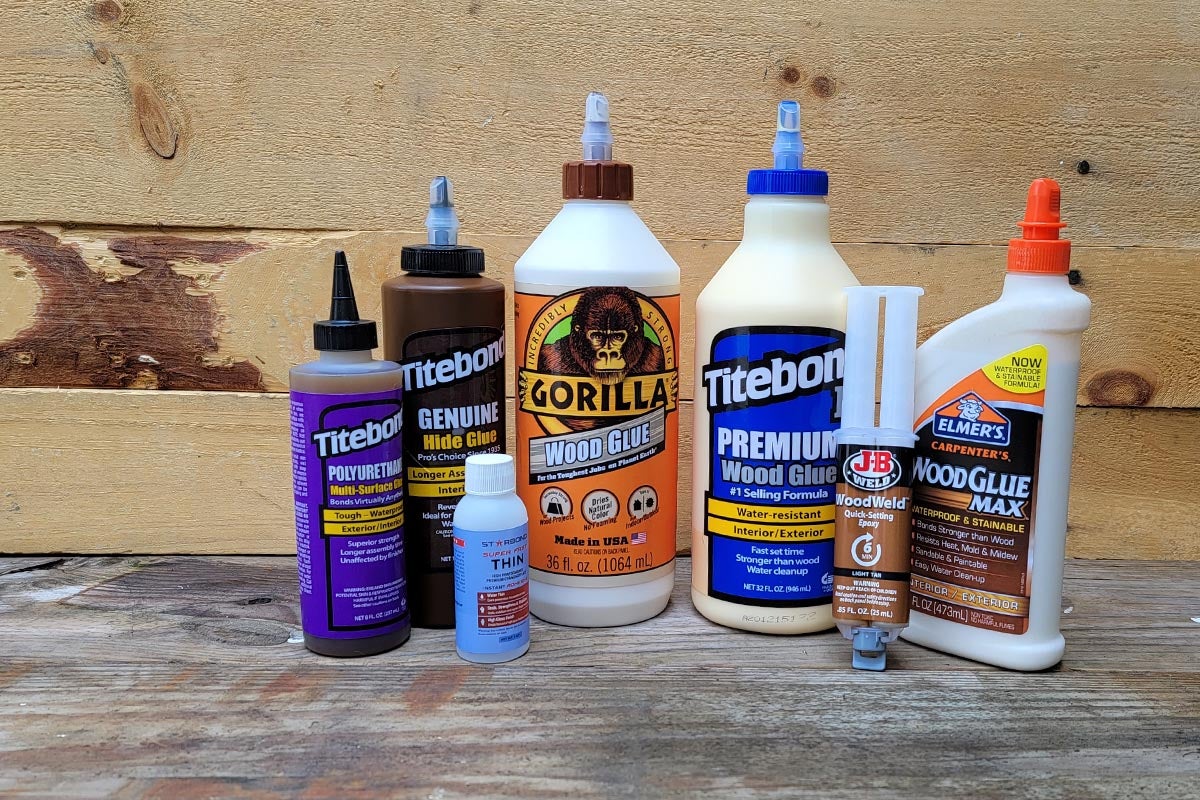
16. Wood Construction Adhesive
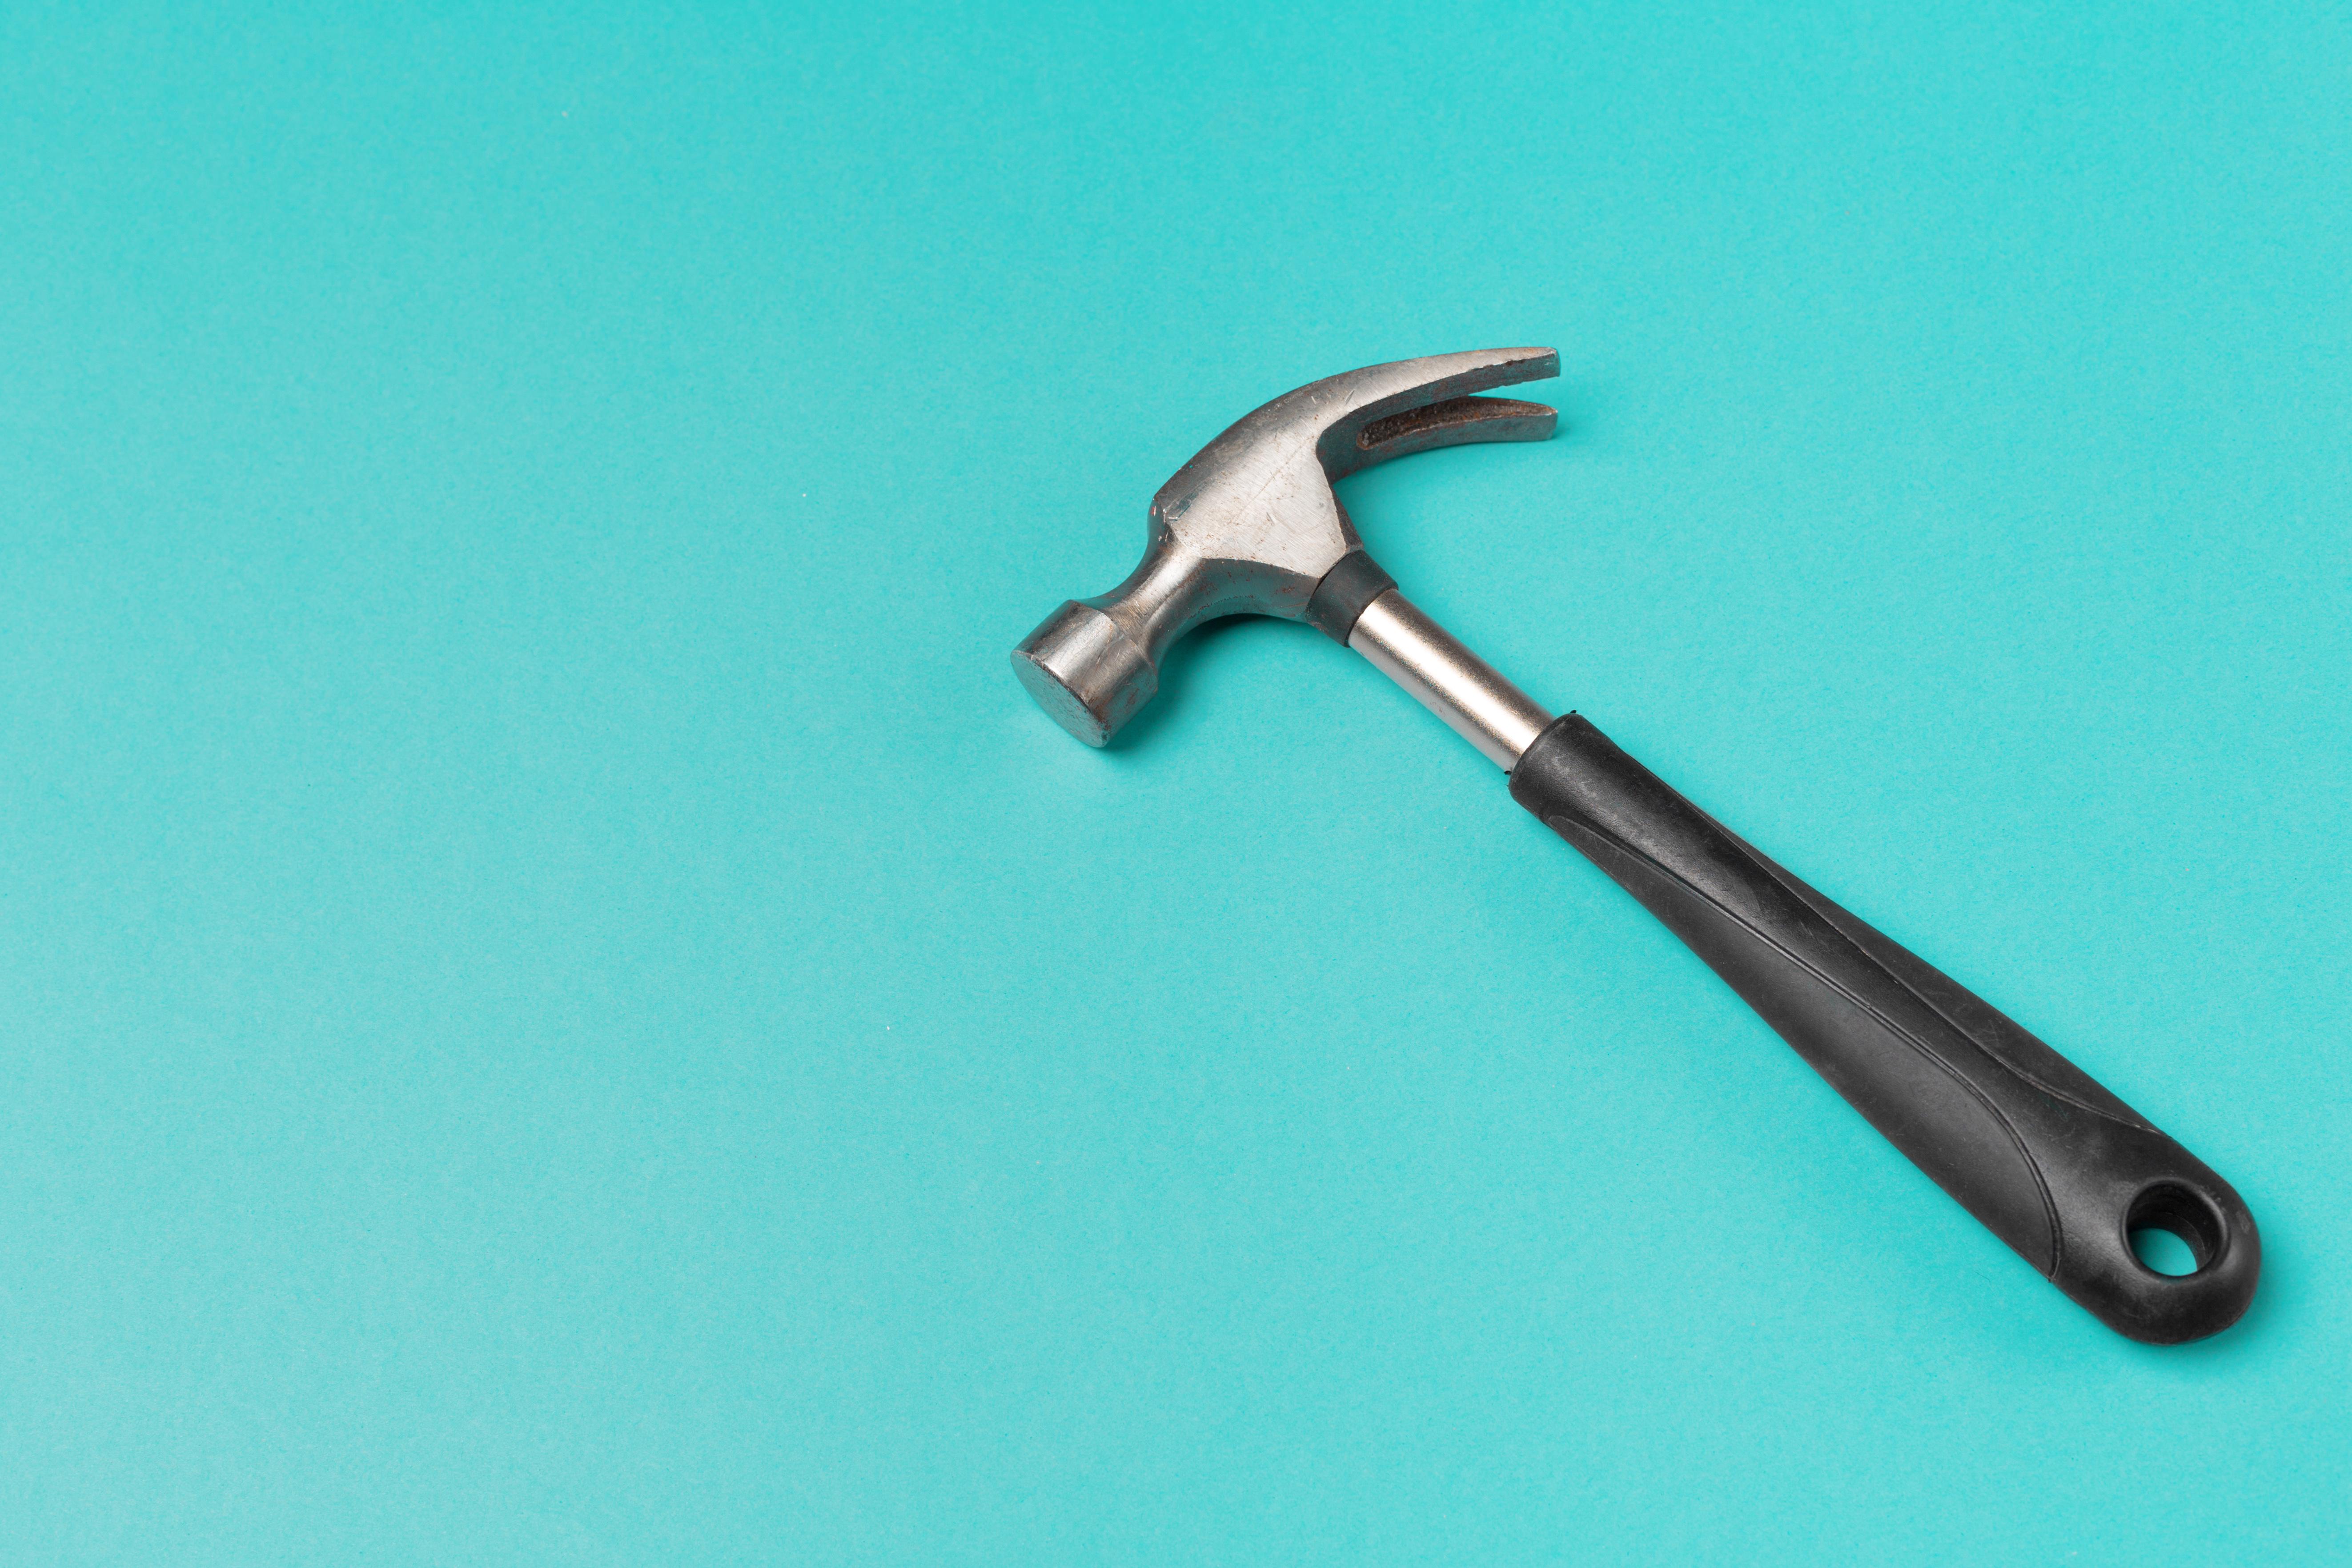
17. Hammer
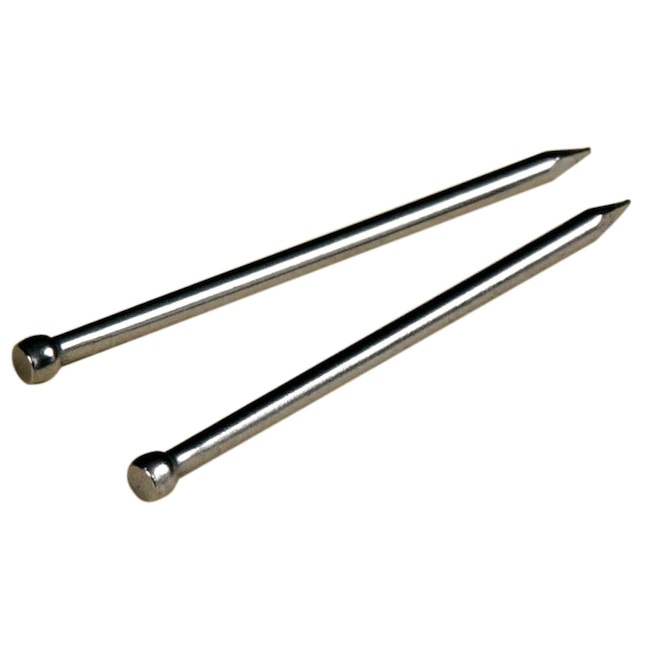
18. 4d Finish Nails
Courtesy - Lowes
19. Nail Set
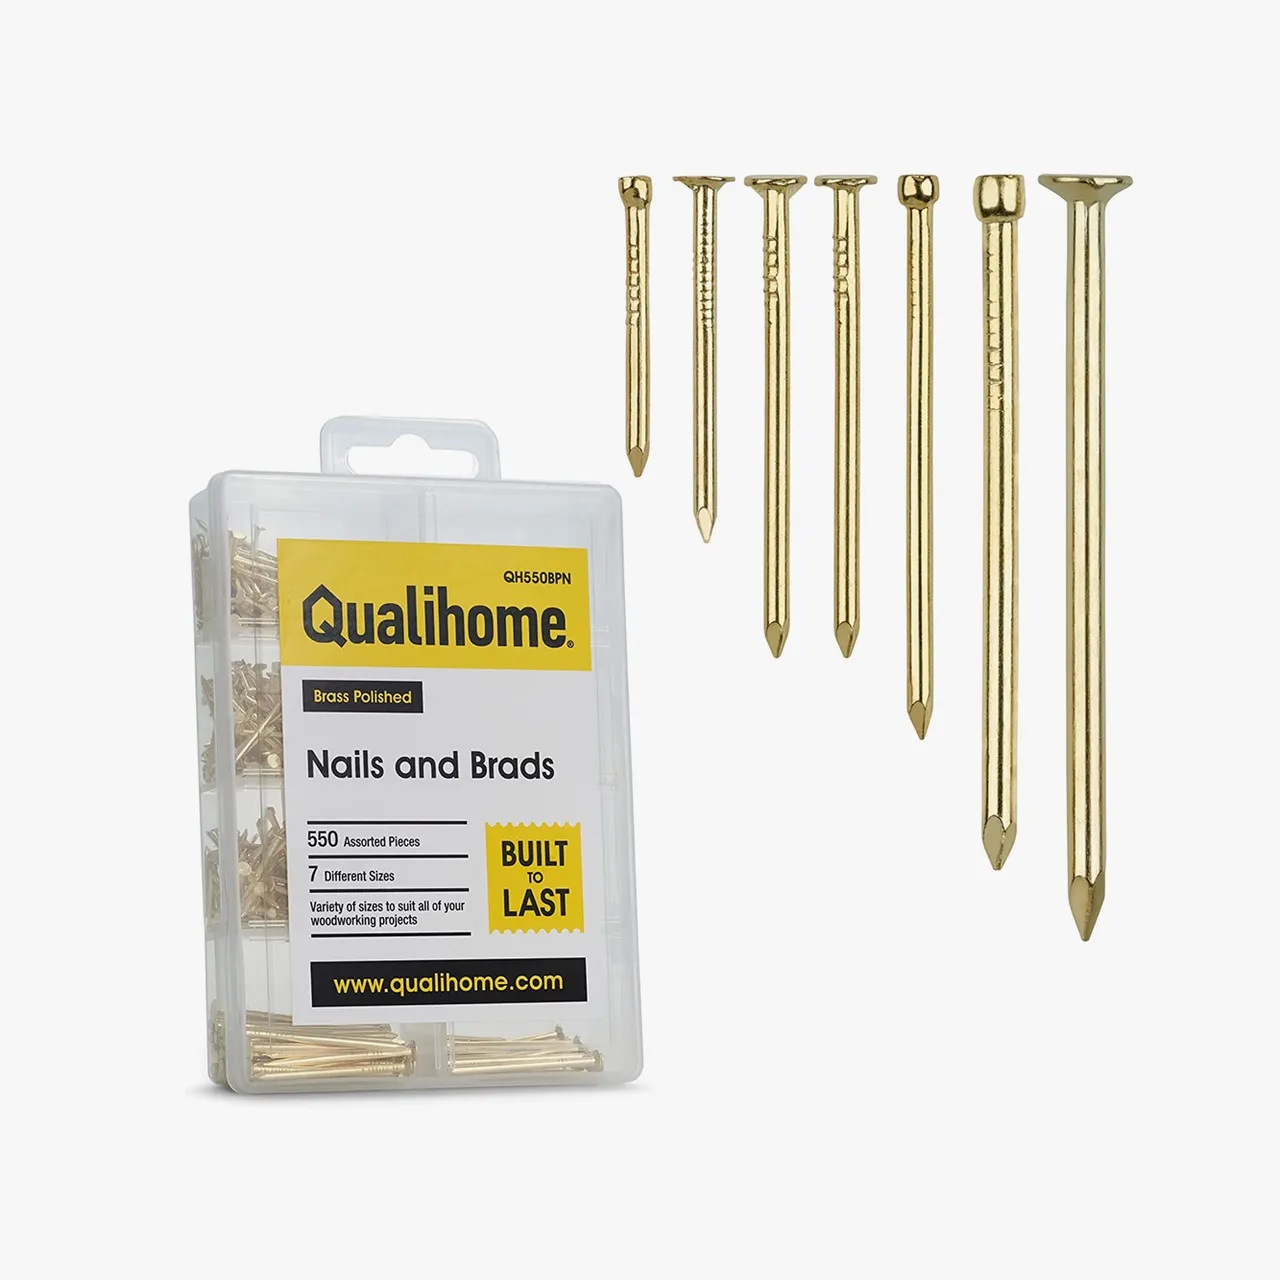
Courtesy - Vogue (Attribution Required)
20. Baseboard (If Necessary)
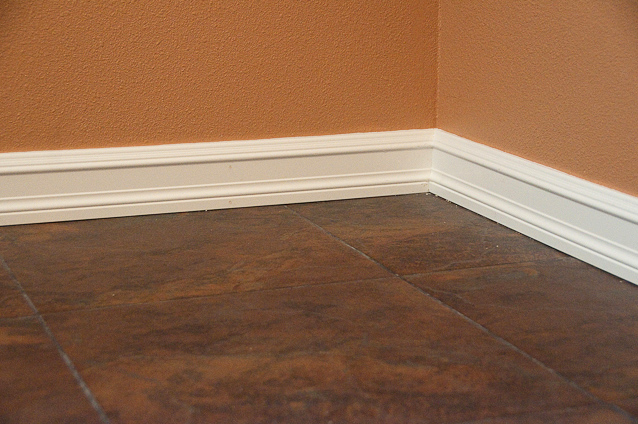
21. Compound Mitre Saw (If Necessary)

22. Plinth Block (If Necessary)
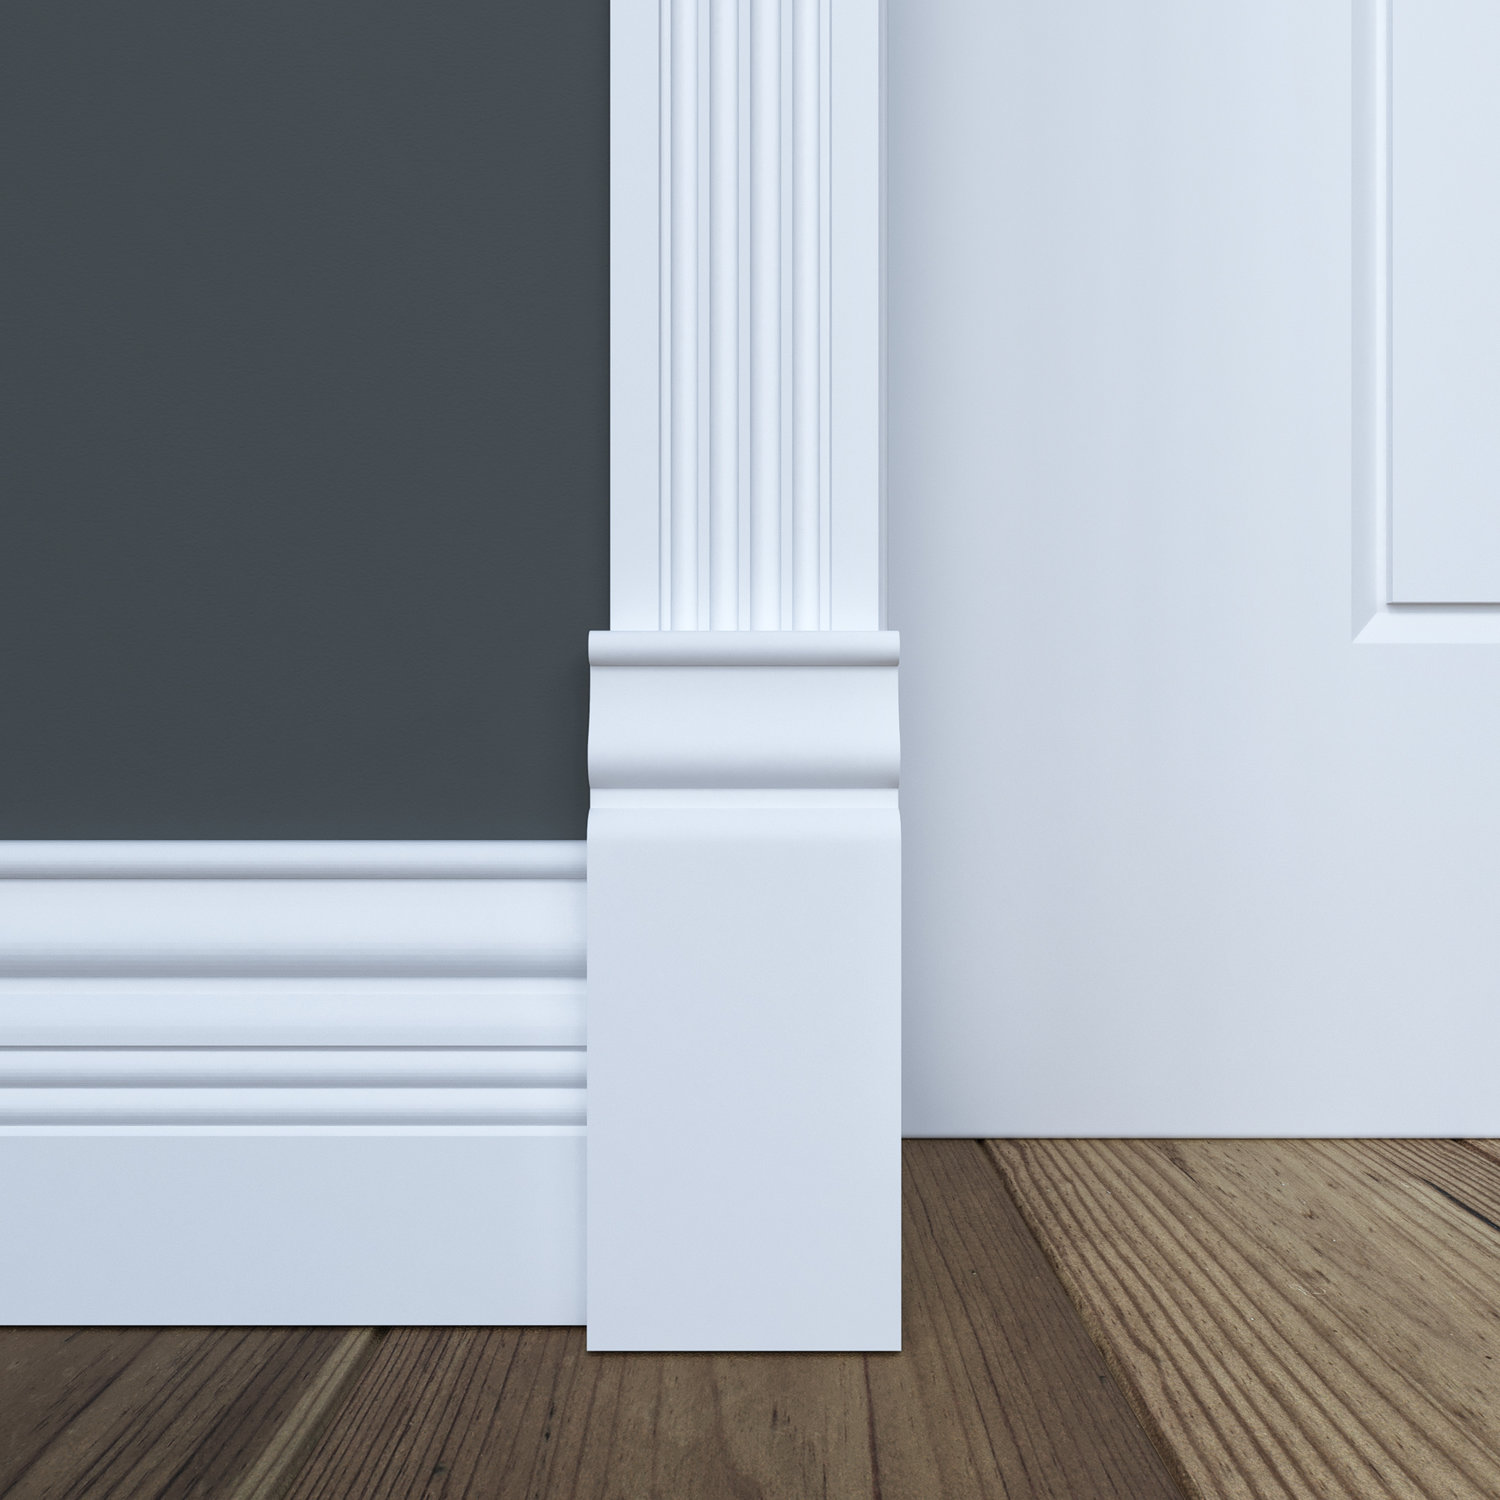
Courtesy - Ornamental
23. Cap Pieces
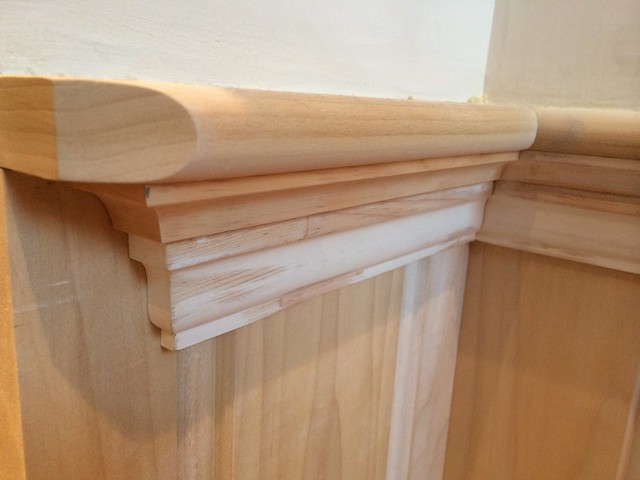
Courtesy - OldTownHome
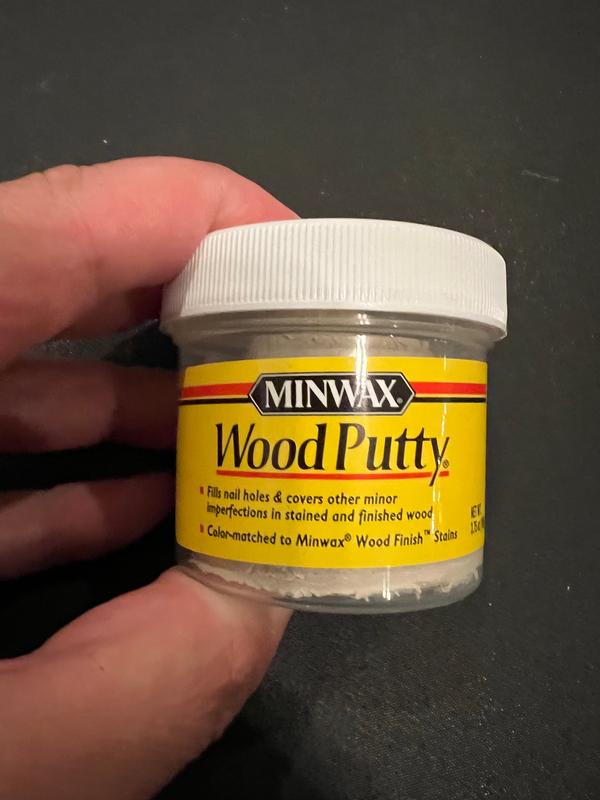
24. Spackling Compound or Wood Putty
Courtesy - Miniwax
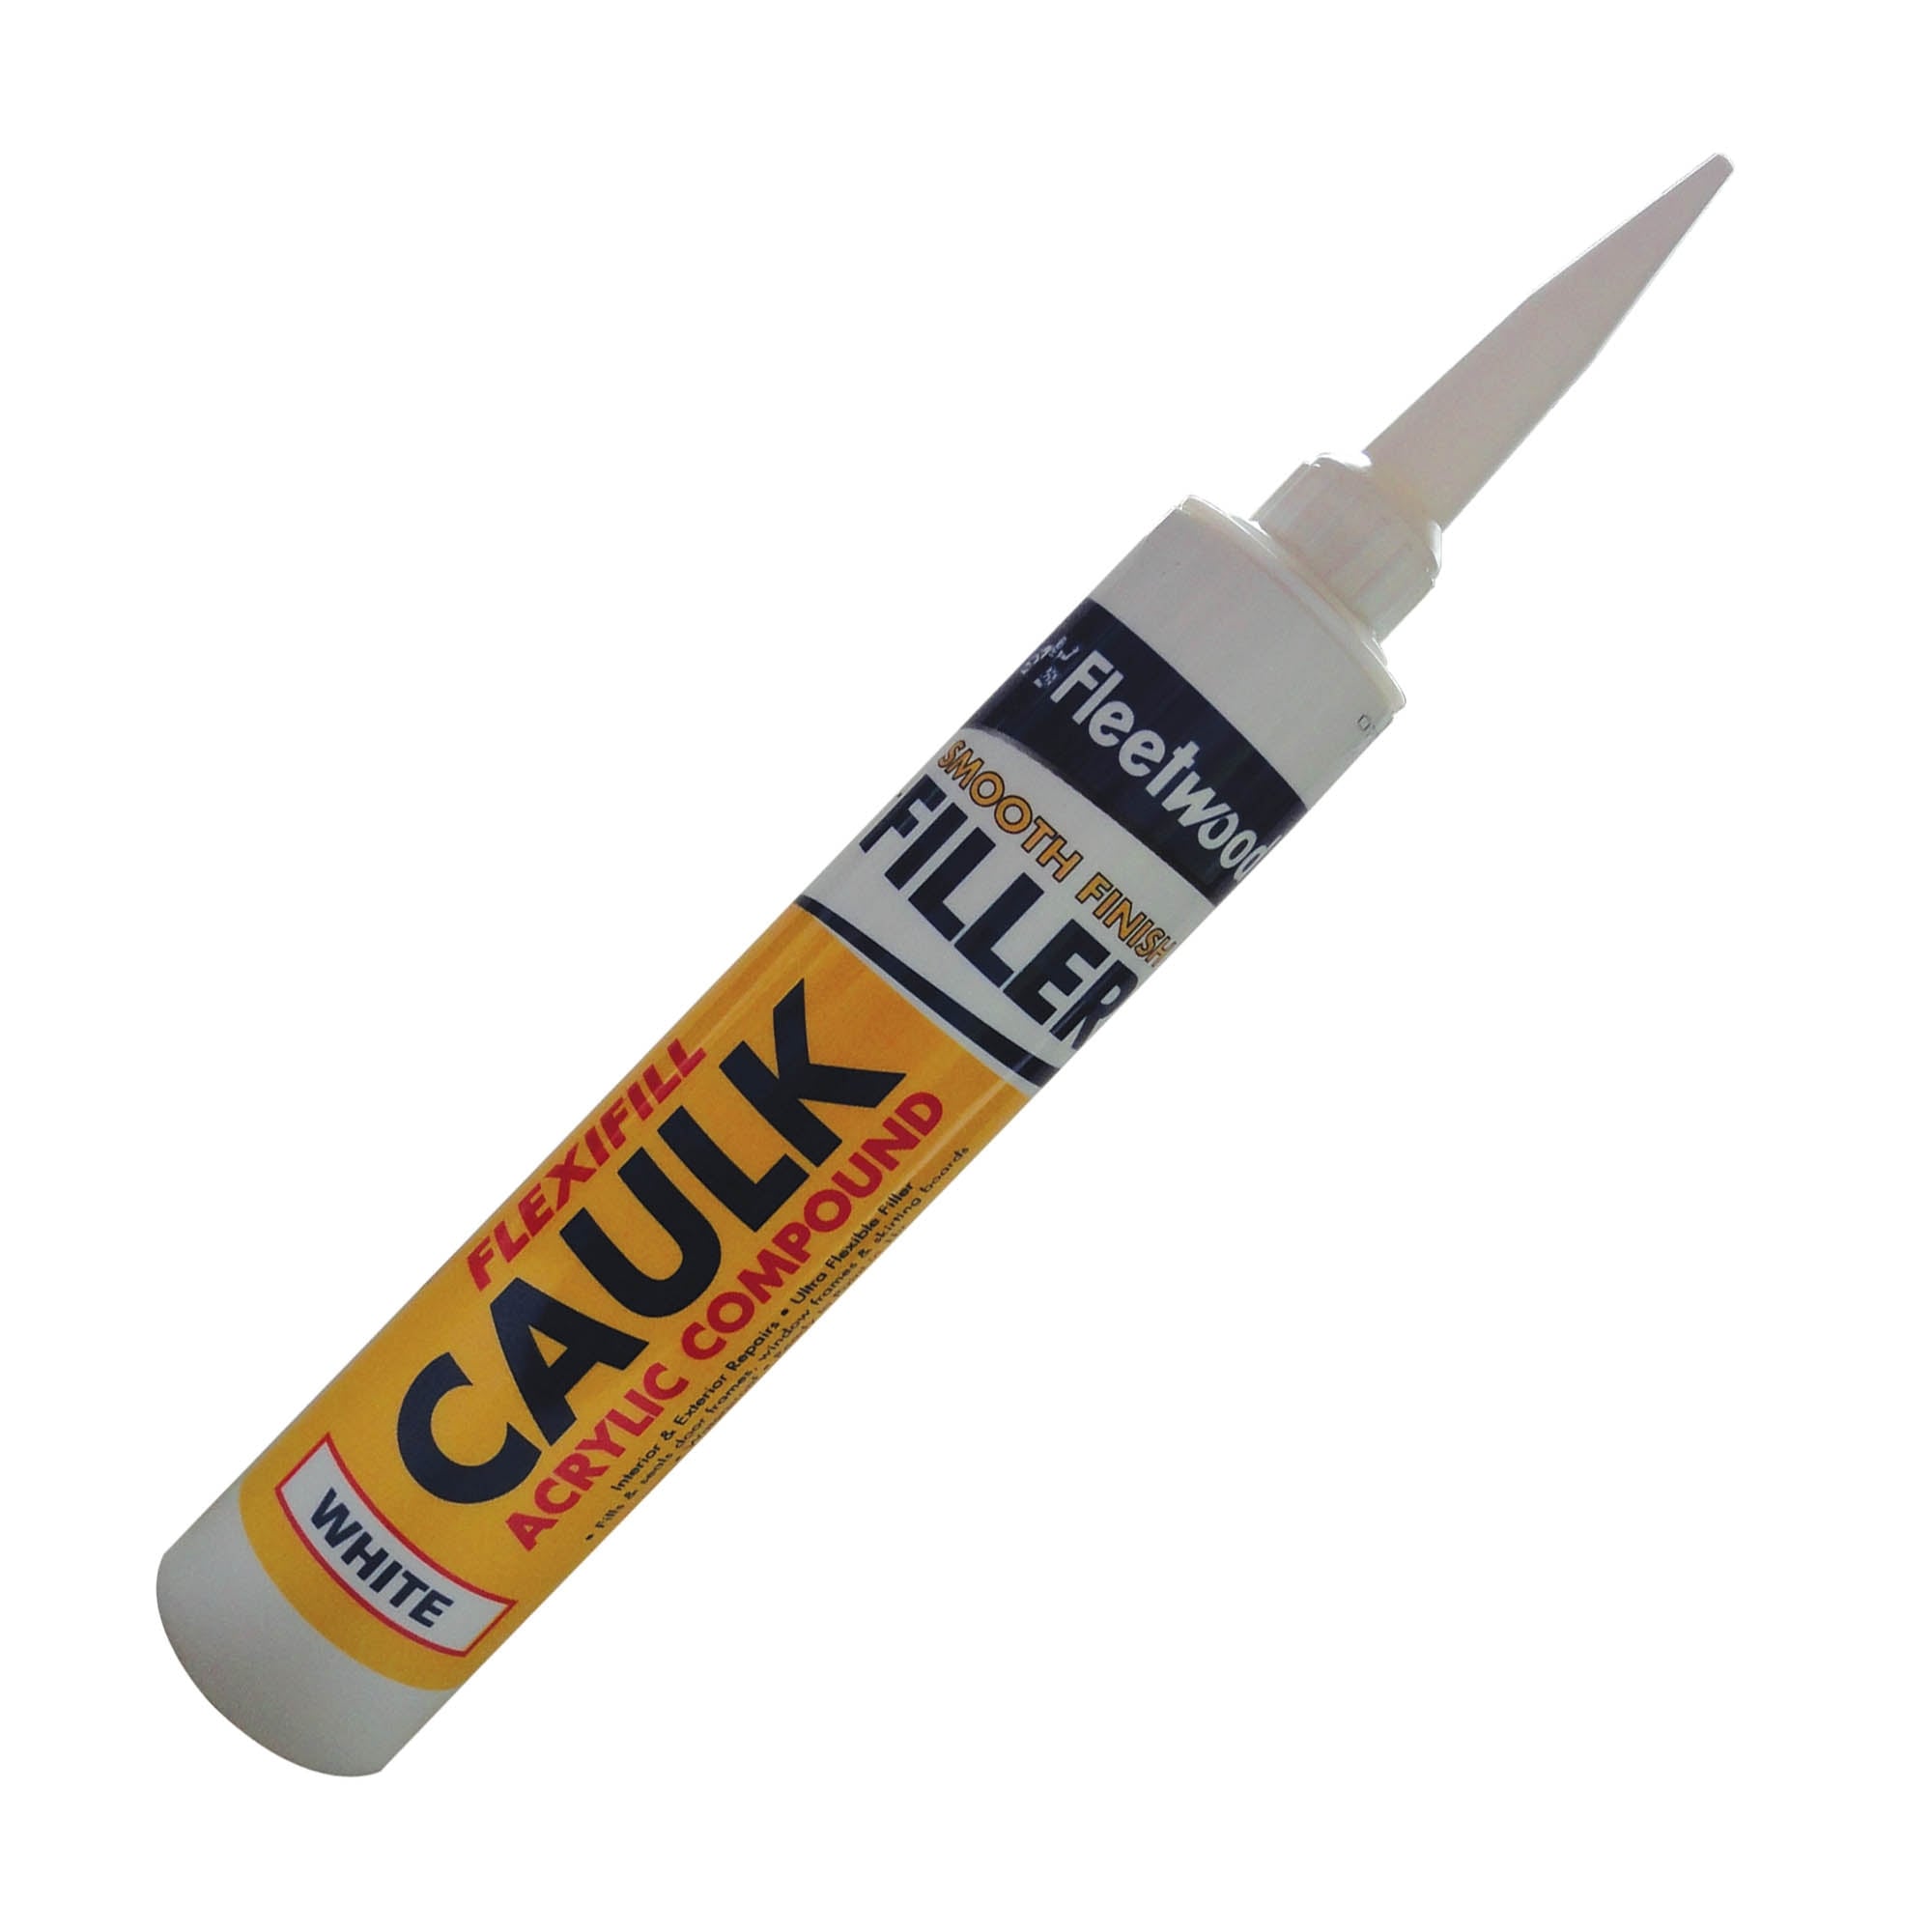
25. Caulk
Courtesy - Delta House & Home
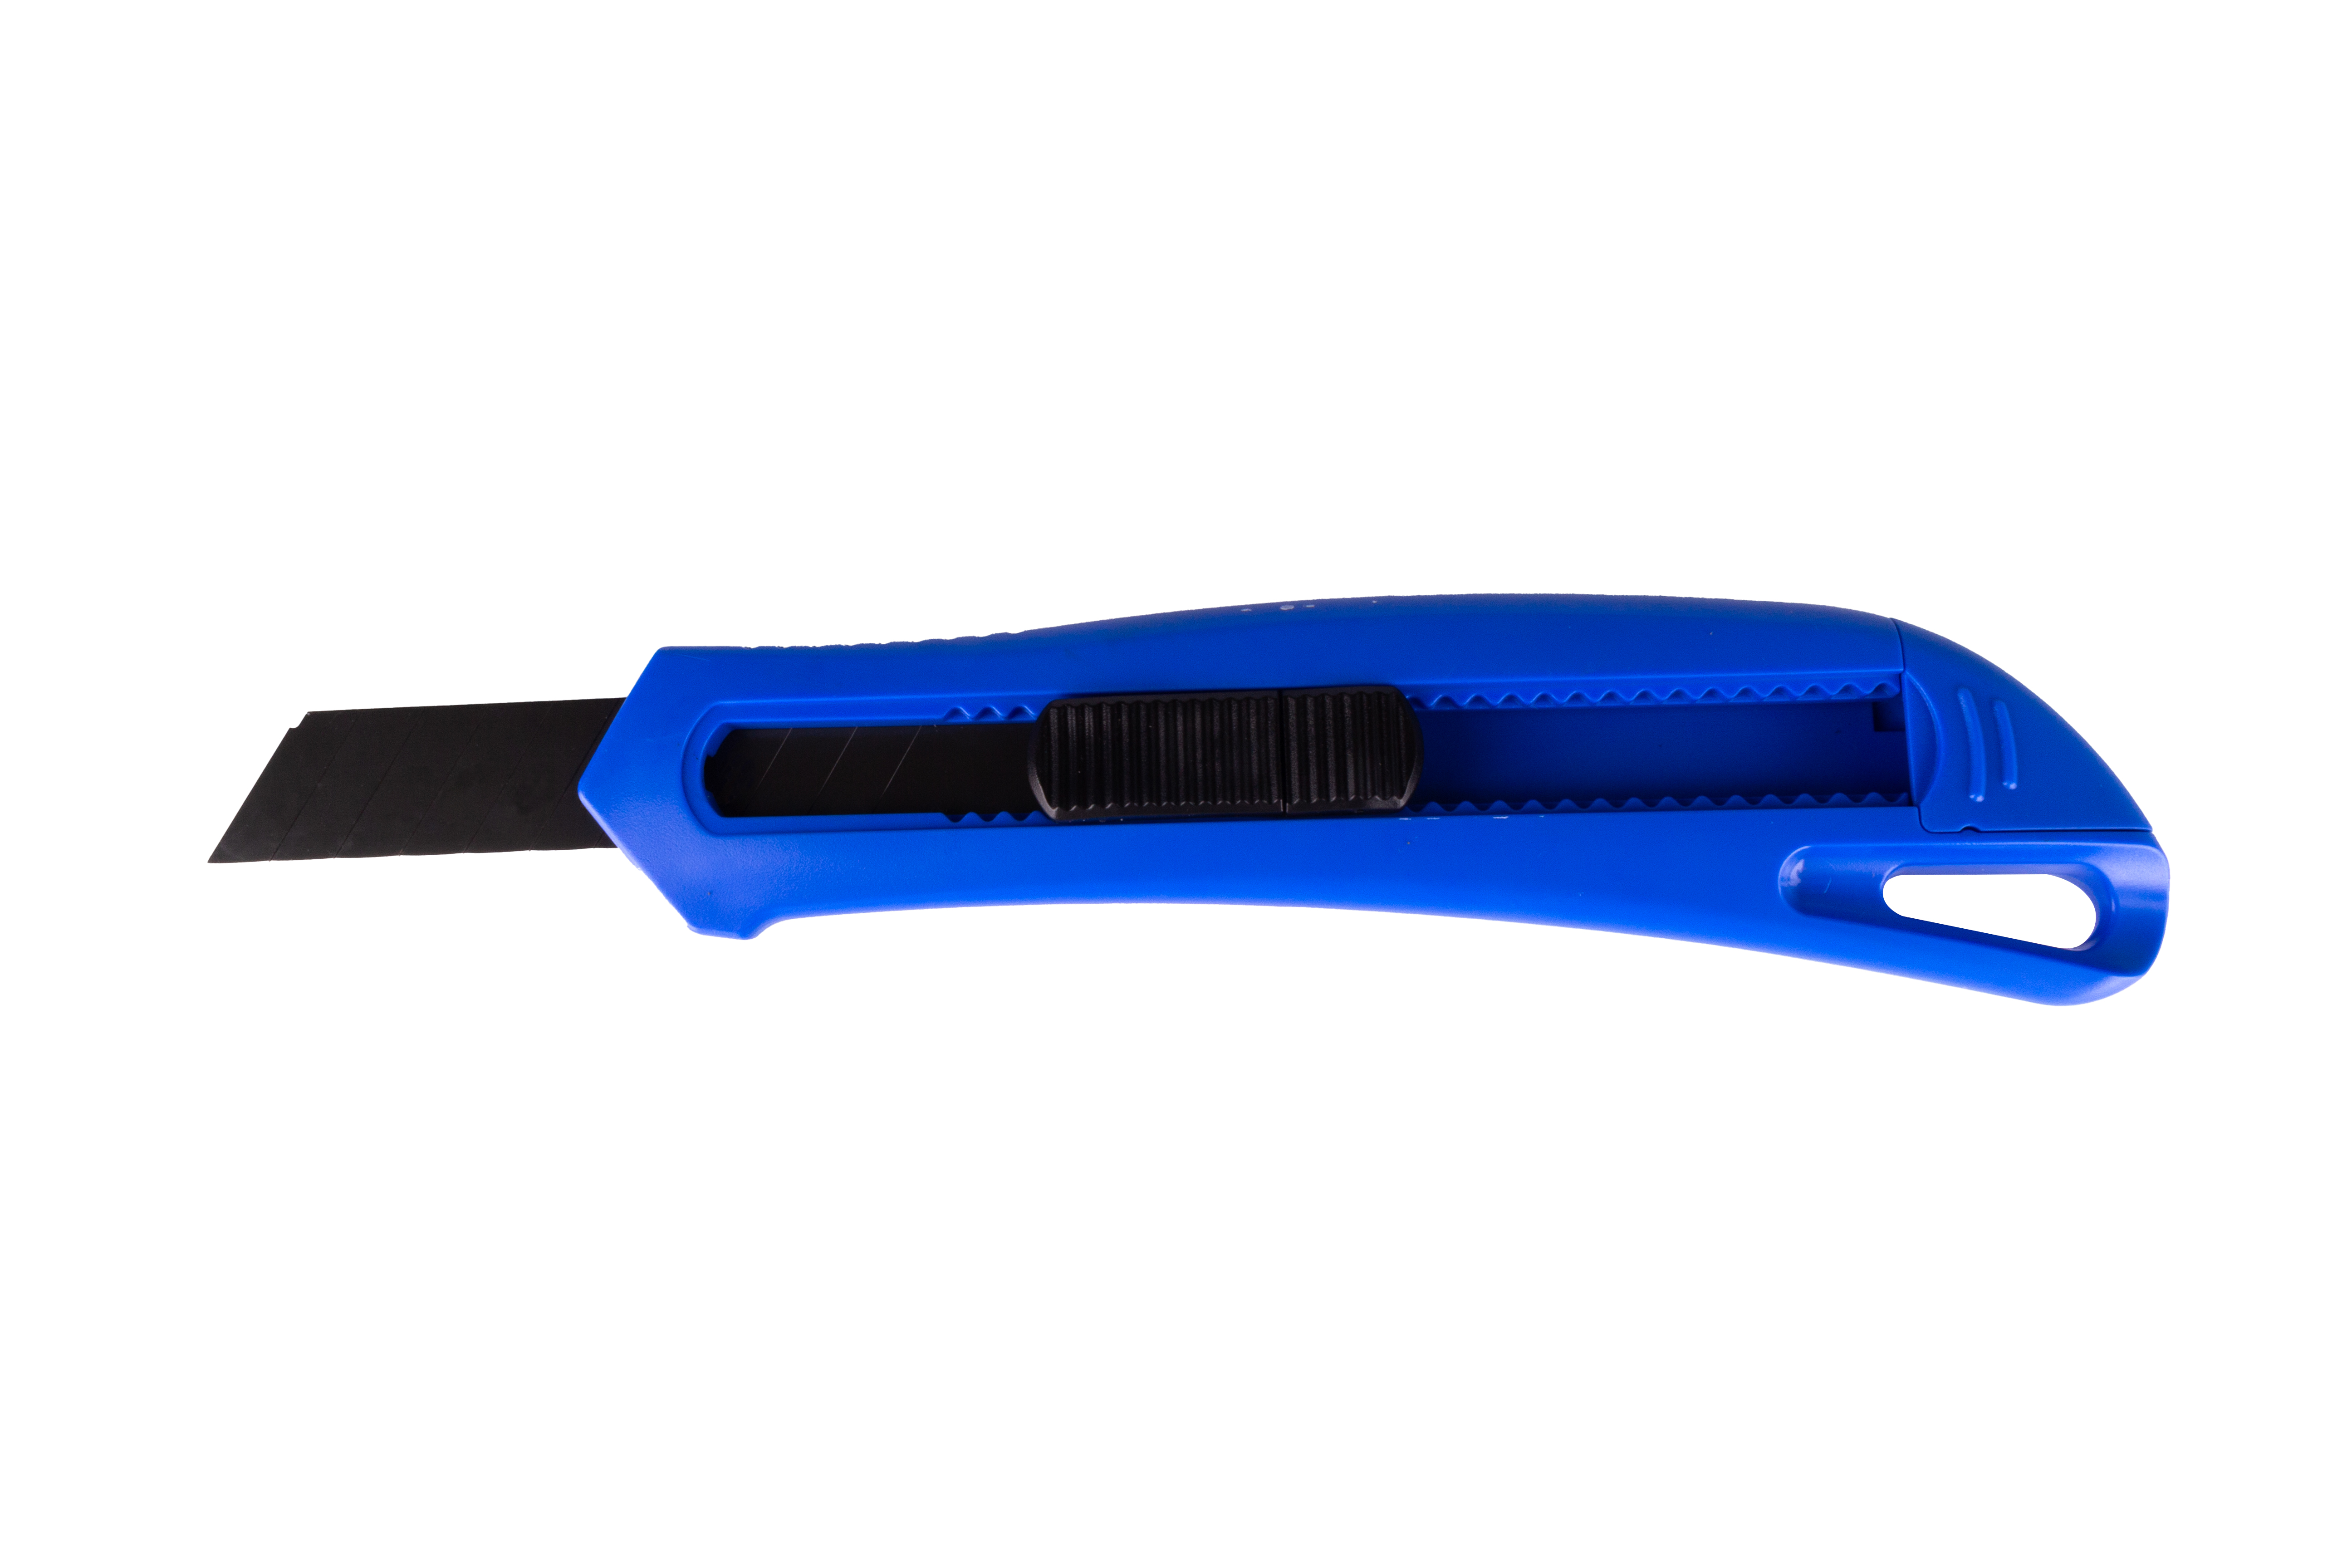
26. Utility Knife
Assemble these tools and follow the below procedure of how to install wainscot:
How to Install Wainscoting
Follow these below steps of wainscoting installation:
Step 1: Remove Existing Wainscoting Panels:
Courtesy - ThisOldHouse
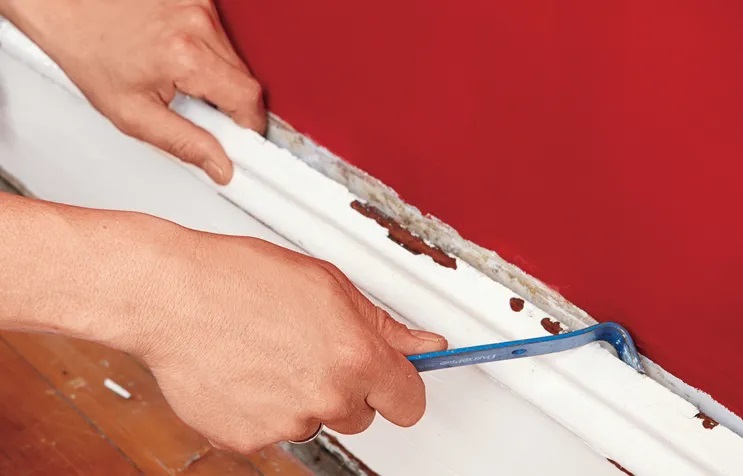
Remove any existing baseboard wainscoting with the pry bar, making sure to protect your walls with a piece of scrap wood. Then decide how high you want the wainscoting wall. Traditionally, it either comes up to chair rail height (36 inches) or plate rail height (48 to 60 inches). Measure up from the floor and mark the desired height on the wall. Then, use a four-foot level and a pencil to draw a continuous level line across the wall(s) you’ll be working on.
Step 2: Mark the Walls: How to Mark?
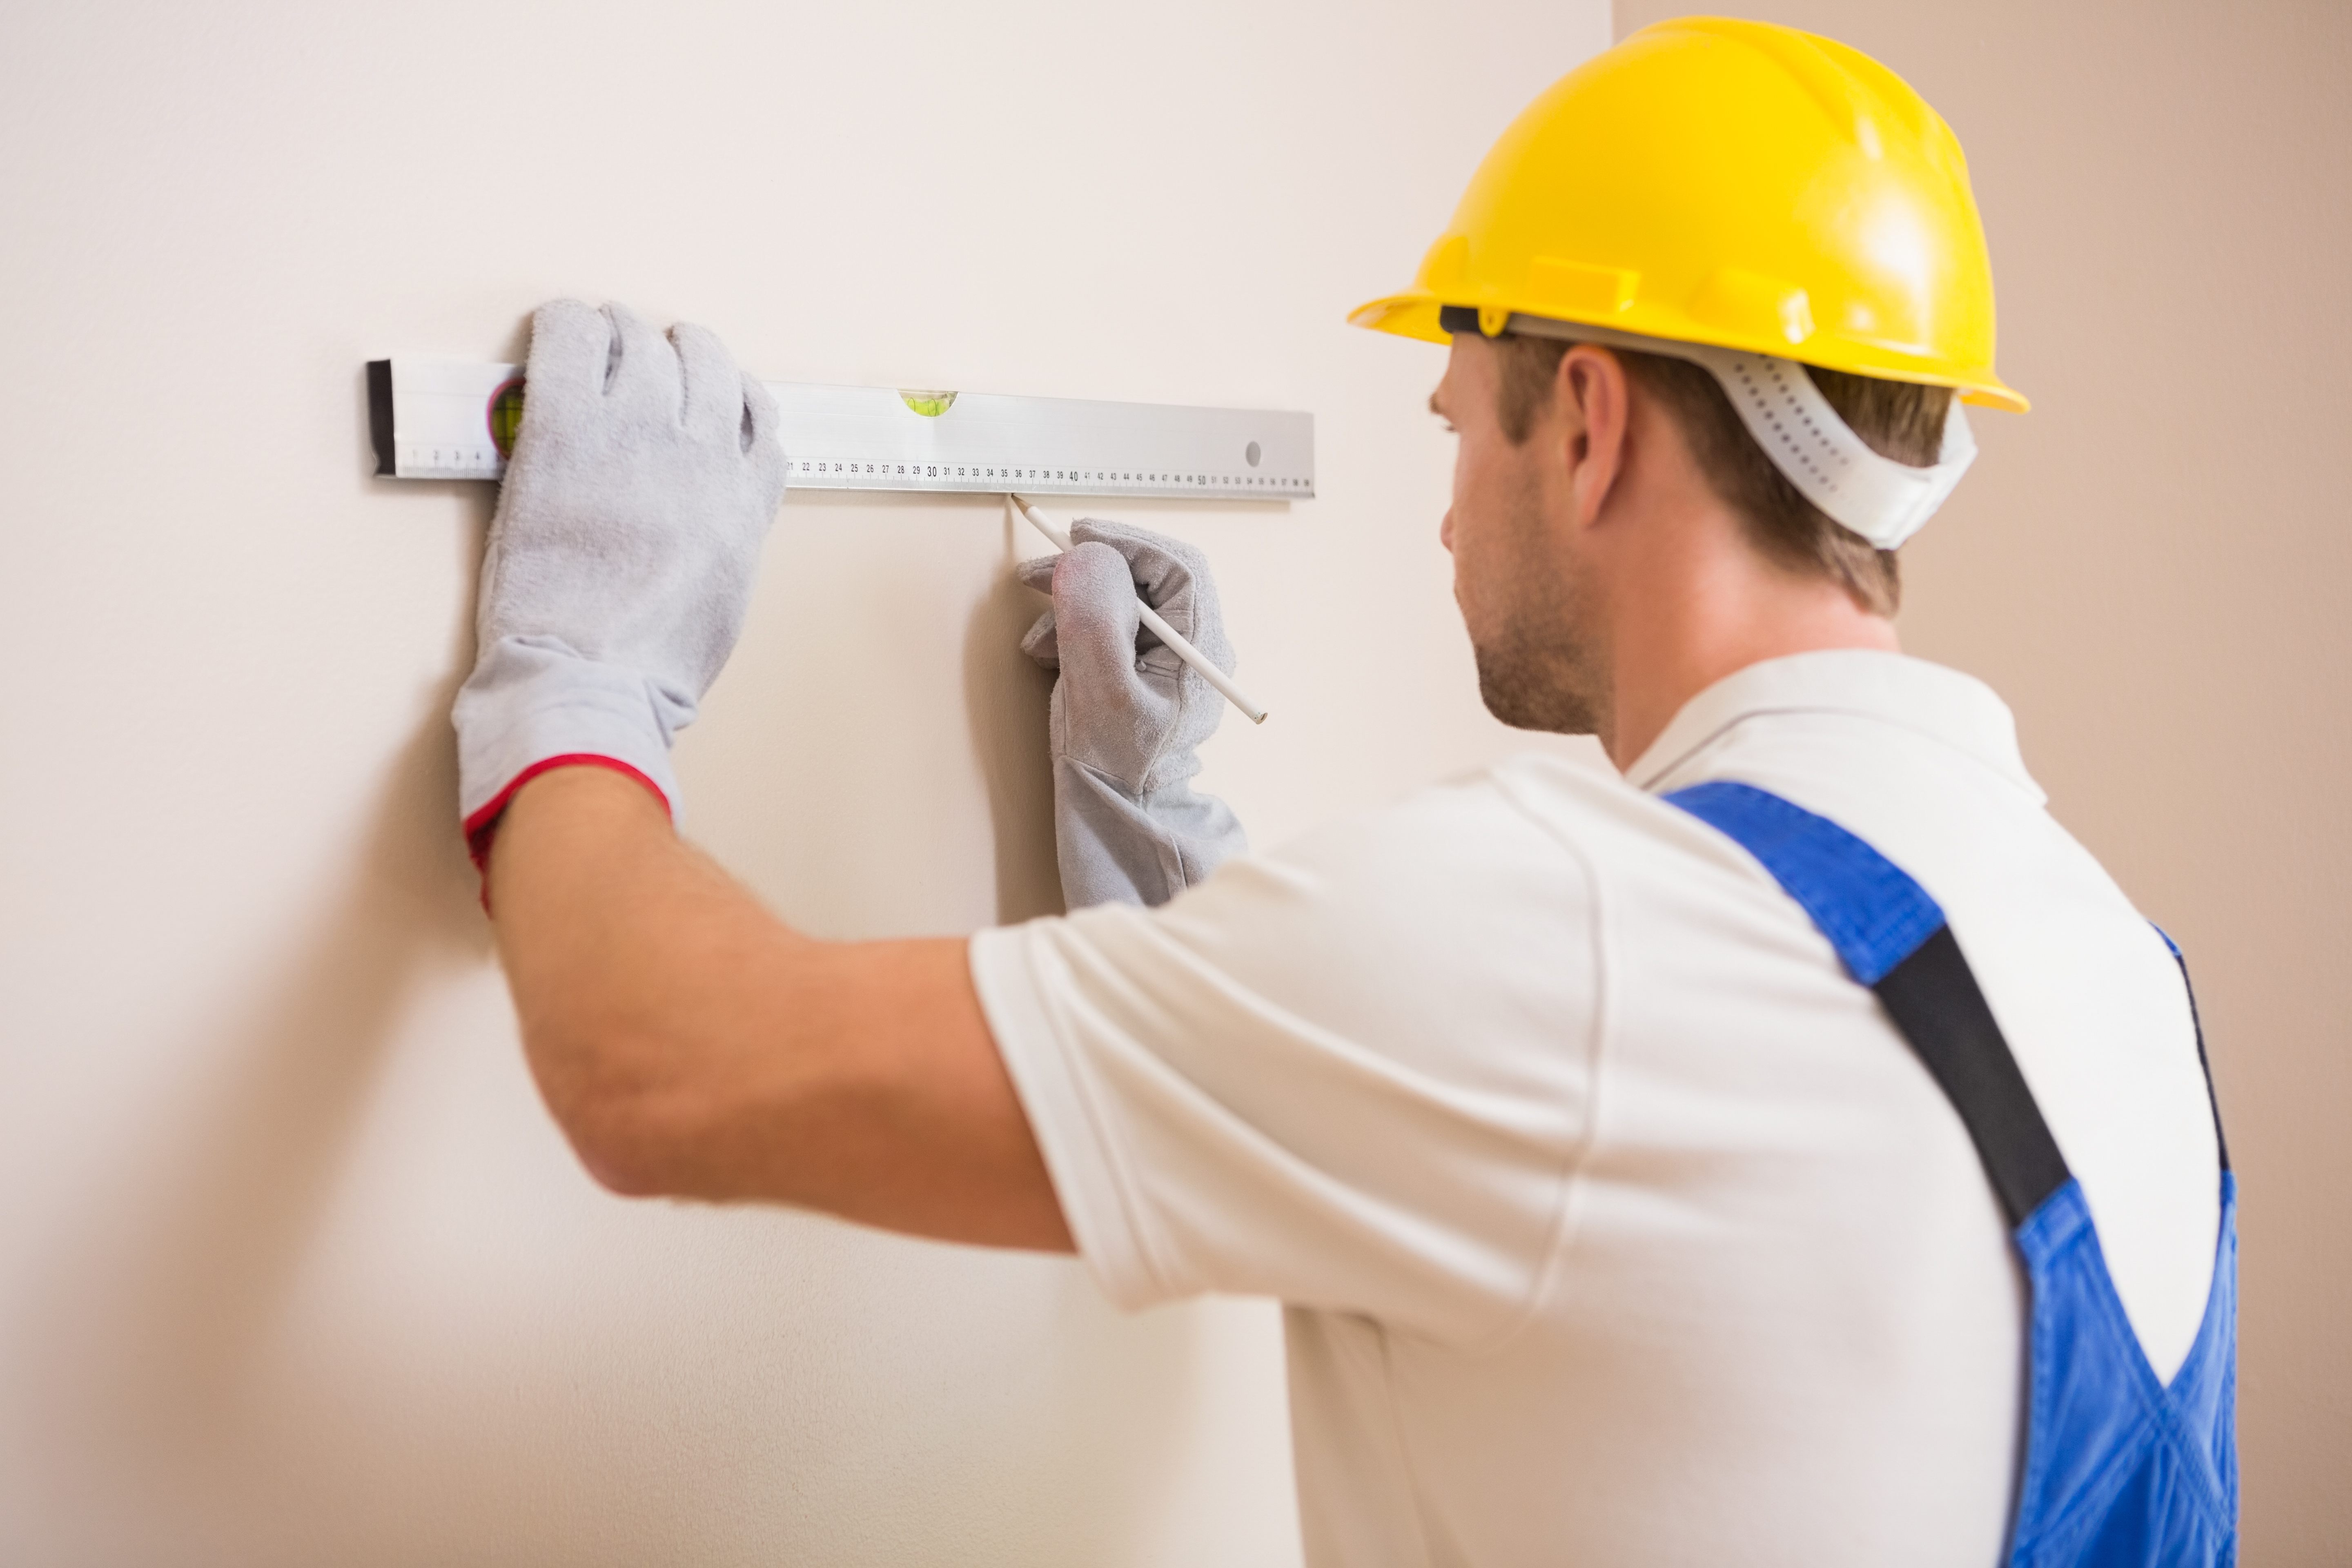
Use a stud finder to locate the studs across the wall (s). When it reaches the corner of a stud, it will beep, so make your marks a little past where it beeps. Remember to mark the wall in pencil and above the level line, so you can see where the studs are after the beadboard is in place.
Step 3: Measure Floor Level and Cut Beadboard Wainscoting Panels:
Take measurements from the floor to your level line at various points along the wall(s). Floors will not always have the perfect levels, so don’t assume that the wainscoting panels will be the same height on all the walls. Cut the wainscoting panels one-fourth inch shorter than the shortest measurement from your floor to the level line. Before cutting the panels, make sure to check out how to cut wainscoting.
Step 4: How to Trim Beadboard:
Courtesy - HGTV
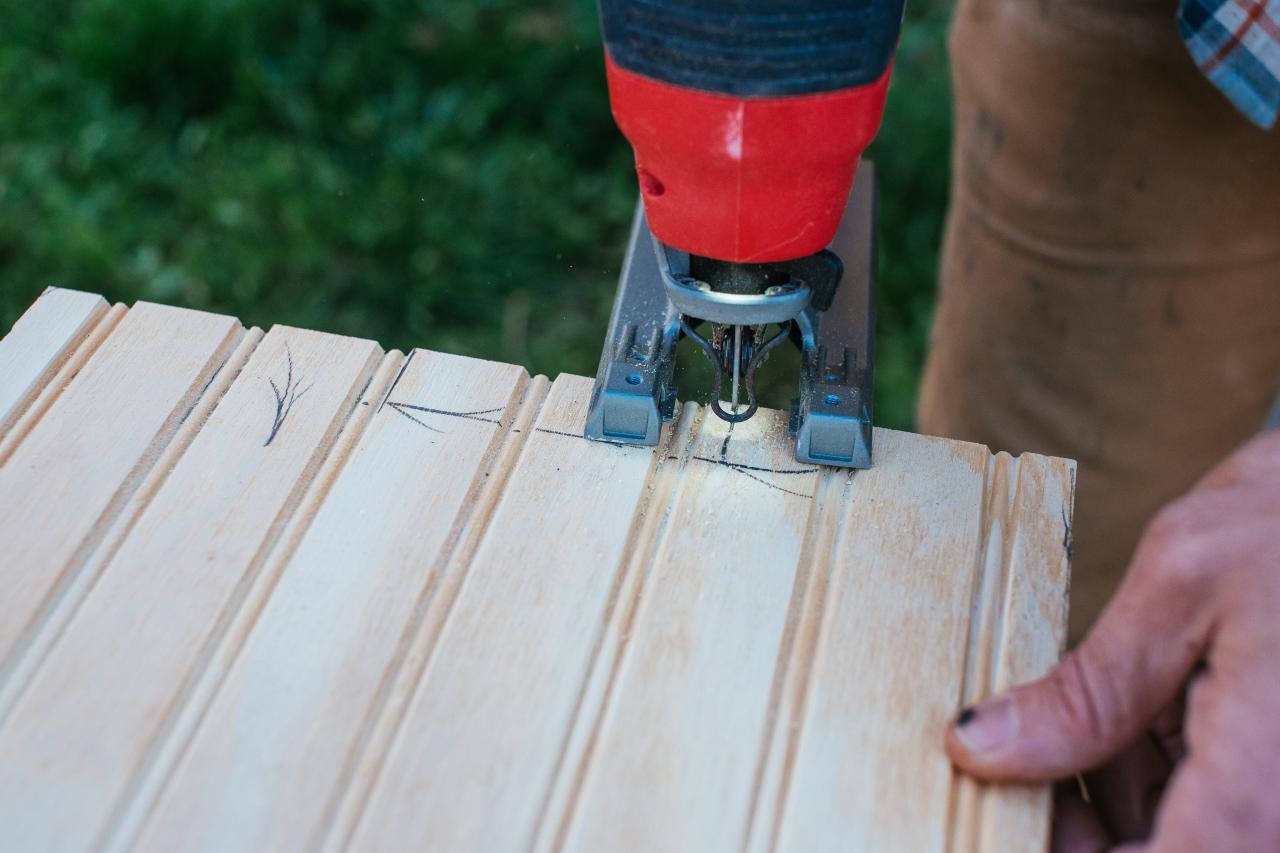
Wondering how to trim beadboard? Place a wainscoting panel on your makeshift table (or sawhorses) with the part to be cut hanging off the edge. Measure and mark the area that needs to be trimmed off. Wearing safety glasses, make the cut with a circular saw (a power handsaw or jigsaw would also work).
Step 5: Mark Electrical Receptacles and Cut the Shape in Beadboard Wainscoting Sheet
Courtesy - ThisOldHouse
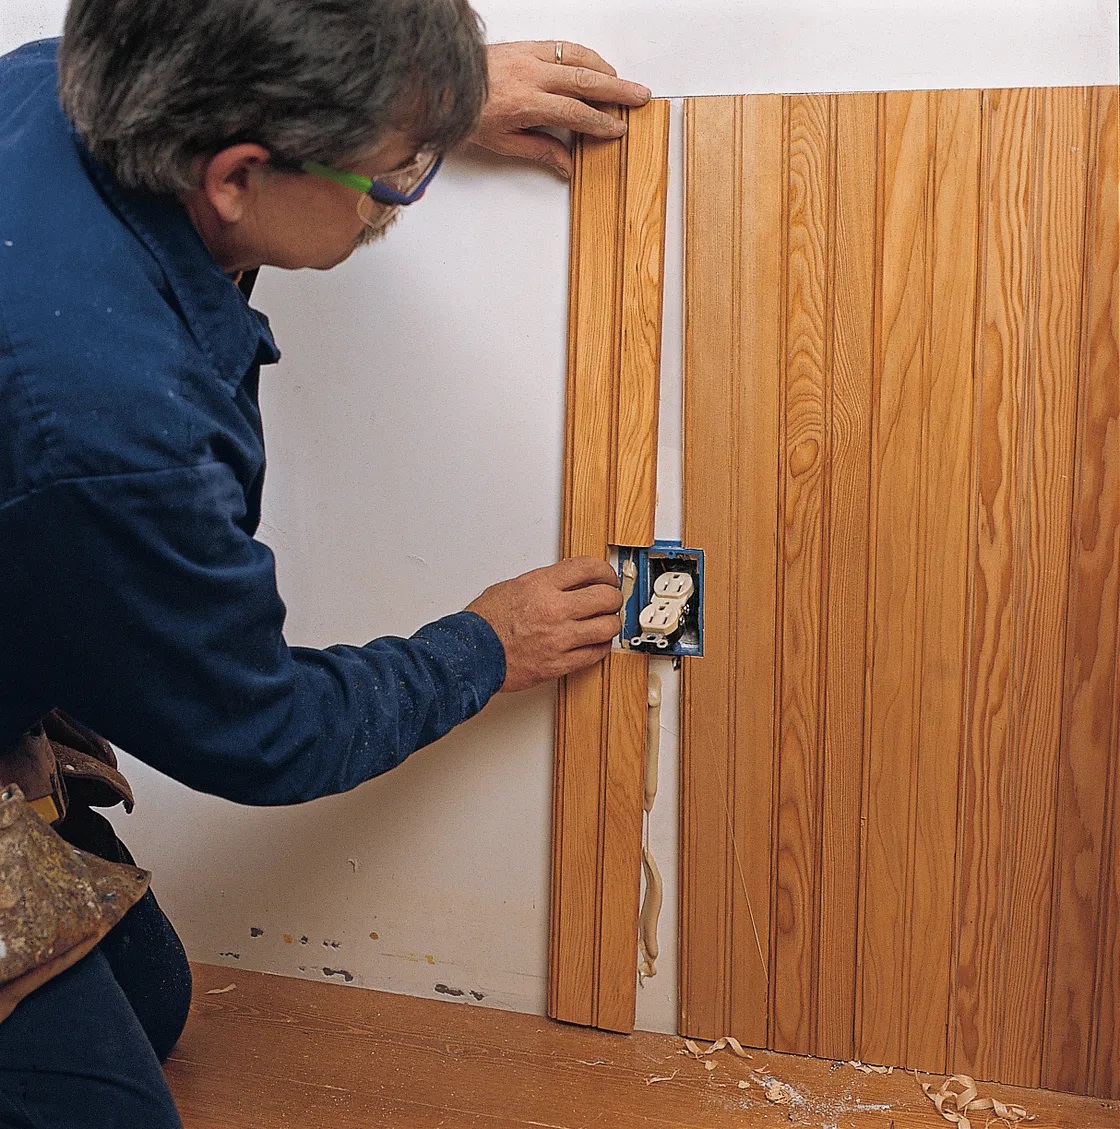
If there are any electrical receptacles or light switches where you’re installing the beadboard, remove the covers or switch plates (store them with their screws in the zip-lock bag). Measure down from the level line and from the side of your last panel to determine where each opening will fall. Draw the shape in place on the beadboard sheet and cut it out with a jigsaw. To cut out a shape with a jigsaw, you’ll need to drill a starter hole first. Drill the hole and then put the blade of the jigsaw into that hole and start cutting from there.
Step 6: Start Wainscot Installation:
Courtesy - ThisOldHouse
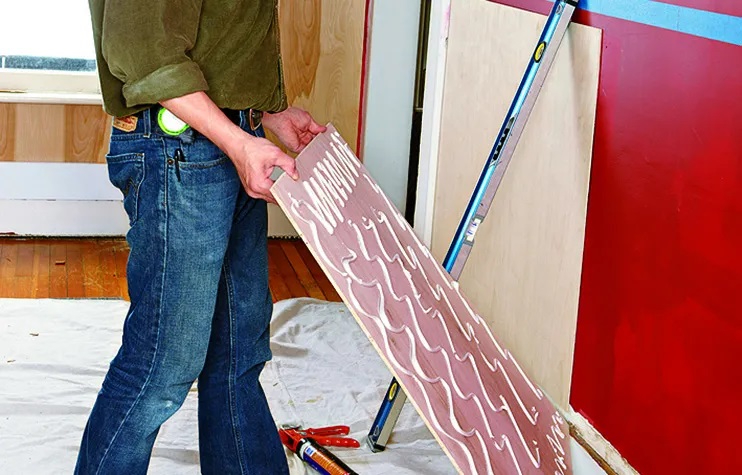
Start the wainscoting installation in a corner of the room. Do beadboard corner trim by starting at the corner. Lay the first panel facing down on the floor. Load the tube of construction adhesive in the caulk gun and run a zigzag line on the back of the panel. Then, pick it up and press it against the wall so that it’s lined up with your level line. Once it makes contact, pull it off the wall and hold it away for about 10 seconds, then press it back in place. This extra step makes the glue bond better. Double-check that this first piece is straight and on the level, as you’ll use it to align the following pieces.
Step 7: Nail the Beadboard Wainscoting:
Drive 4d finish nails through the beadboard’s grooves and into the wall where you’ve noted where the studs are. Nail every eight inches from top to bottom.
Step 8: Countersink The Nail Heads:
Once all the nails are in, countersink the nail heads with a nail set so the heads are below the surface.
Step 9: Install Wainscoting with Baseboard:
Keep installing panels across the wall(s). When all the panels are up, install baseboard pieces to hide the gap between the floor and the bottom of the beadboard panels. You can either reuse your old baseboard, which will be cut and readied for you, or you can install new material. Hence in this way you can install wainscoting with baseboard. If you install a new baseboard, either use a compound mitre saw to make the corner cuts at a 45-degree angle or use a plinth block in the corner and make straight cuts with a jigsaw or circuit saw. Nail the baseboard to the studs and countersink the nails.
Step 10: Finish Off The Top Edges:
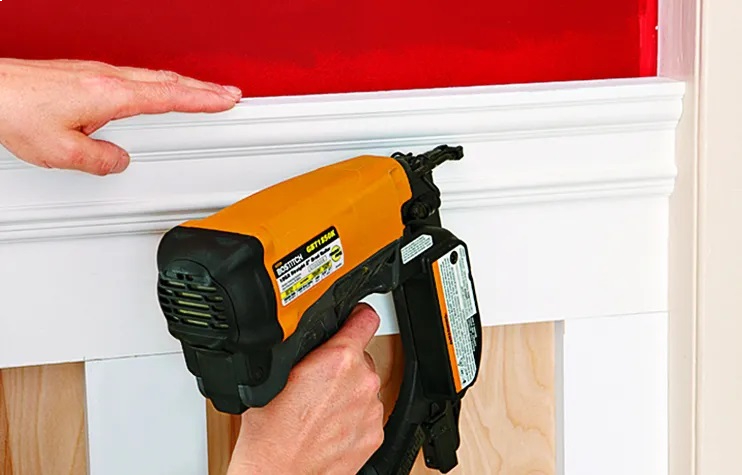
Courtesy - ThisOldHouse
Finish off the top edges with decorative cap pieces. Cut the pieces to length, and set them in place, slightly overlapping the wainscoting panels. Nail through the cap piece and into the studs. Countersink the nails.
Step 11: Give Finishing Touches to Wainscoting Wall:
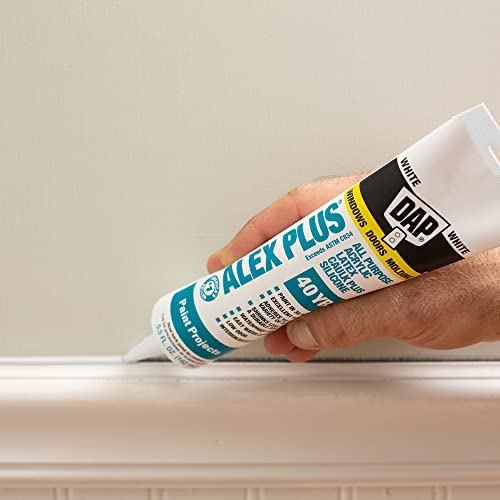
Courtesy - Amazon
Fill the nail holes with spackling compound if you’re painting the wainscot or, with wood putty if you plan to stain it. Run a bead (one long thin line) of caulk along the top of the cap piece and in the corners. You can get caulk in small tubes that are squeezable. Otherwise, you’ll need a caulk gun to get the caulk out of the tube. Use a utility knife to cut the tip off the caulk nozzle. The closer you cut to the tip, the thinner the bead of caulk will be. Smooth out the caulk with your finger or a wet paper towel.
Wainscoting Dos and Don’ts
Dos
- Choose the right height to maintain proper wall proportions
- Match the wainscoting style with your home’s overall décor
- Moisture-resistant materials in kitchens and bathrooms are important
- Select small or low-ceiling rooms
- Ensure precise measurements and level installation
- Coordinate wainscoting with trims, doors, and flooring
Don’ts
- Don’t install overly tall panels in compact spaces
- Don’t mix too many styles or profiles in one room
- Don’t ignore wall conditions and surface preparation
- Don’t use low-quality materials in high-traffic areas
- Don’t overlook maintenance needs and future repainting
- Don’t force wainscoting into an ultra-minimal design scheme
Takeaway
The elegant wainscot is back in vogue, and these beautiful panels not only enhance the beauty of your home but also serve specific functional purposes. Just a few simple steps and your wainscot is in place, ready to attract the admiration of your guests.
We hope this article has given you insight into what wainscoting is and how to install wainscoting. It can also be used as a guide on how to install beadboard panelling.
Make sure to read our other articles:
Best Materials of Wall Panels for Decorating your Rooms!
PVC Wall Panels | Types & its Pros & Cons
FAQs on What is Wainscoting
1. What is Wainscoting Used for?
Wainscot is used to protect walls and enhance interior aesthetics with decorative panelling.
2. What Materials are Best for Wainscoting?
Wood, MDF, beadboard, and plywood panels are commonly used materials.
3. How High Should Wainscoting Be Installed?
Typically, it is installed at 36 inches (chair rail) or 48–60 inches from the floor.
4. Is Wainscoting Easy to Install DIY?
Yes, with the right tools and measurements, it can be installed as a DIY project.
5. Can Wainscoting be Used in Modern Homes?
Absolutely. Modern designs and painted finishes make wainscoting suitable for contemporary interiors.
References
Lloyd, N. (1928). Medieval Wainscoting and the Development of the Linen Panel. The Burlington Magazine for Connoisseurs, [online] 53(308), pp.230–237. Available at: https://www.jstor.org/stable/863687 [Accessed 25 June 2022].
Author & Expert Review
Written By: Huta Raval | Guest Author
| An English Literature and Journalism Topper, Huta Raval has graduated from the L D Arts College, Ahmedabad. Post serving for 23 years in the NBFC and Public Library Sectors her desire for ‘writing the unwritten’ brought her to the creative field of content writing. Her clientele comprises of NGOs, Blogging Platforms, Newspapers, Academic Institutions, et al. |
Verified By Expert:  Ravin Desai – Co Founder – Gharpedia | Co Founder – 1 MNT | Director – SDCPL

This article has been reviewed for technical accuracy by Ravin Desai, Co-Founder of Gharpedia and Director at Sthapati Designers & Consultants Pvt. Ltd. With a B.Tech. in Civil Engineering from VNIT Nagpur and an M.S. in Civil Engineering from Clemson University, USA, and over a decade of international and Indian experience in the construction and design consultancy sector, he ensures all technical content aligns with industry standards and best practices.
Find him on: LinkedIn