








Table of Contents
Quick Summary
- Home improvement videos help homeowners understand DIY techniques, explore design ideas and plan renovation projects with greater confidence.
- Visual demonstrations make practical tasks easier to follow by showing tools, materials, measurements and techniques in action.
- Accurate captions improve accessibility, clarify technical terms and help viewers follow instructions without sound.
- Captioning tools simplify video production, but automated transcripts require careful proofreading to correct errors.
- Well-planned tutorials use clear narration, steady camera work, close-up shots and appropriate safety guidance.
- Homeowners should adapt online advice to their property’s specific requirements and consult qualified professionals for complex or hazardous work.
Courtesy - Magnific
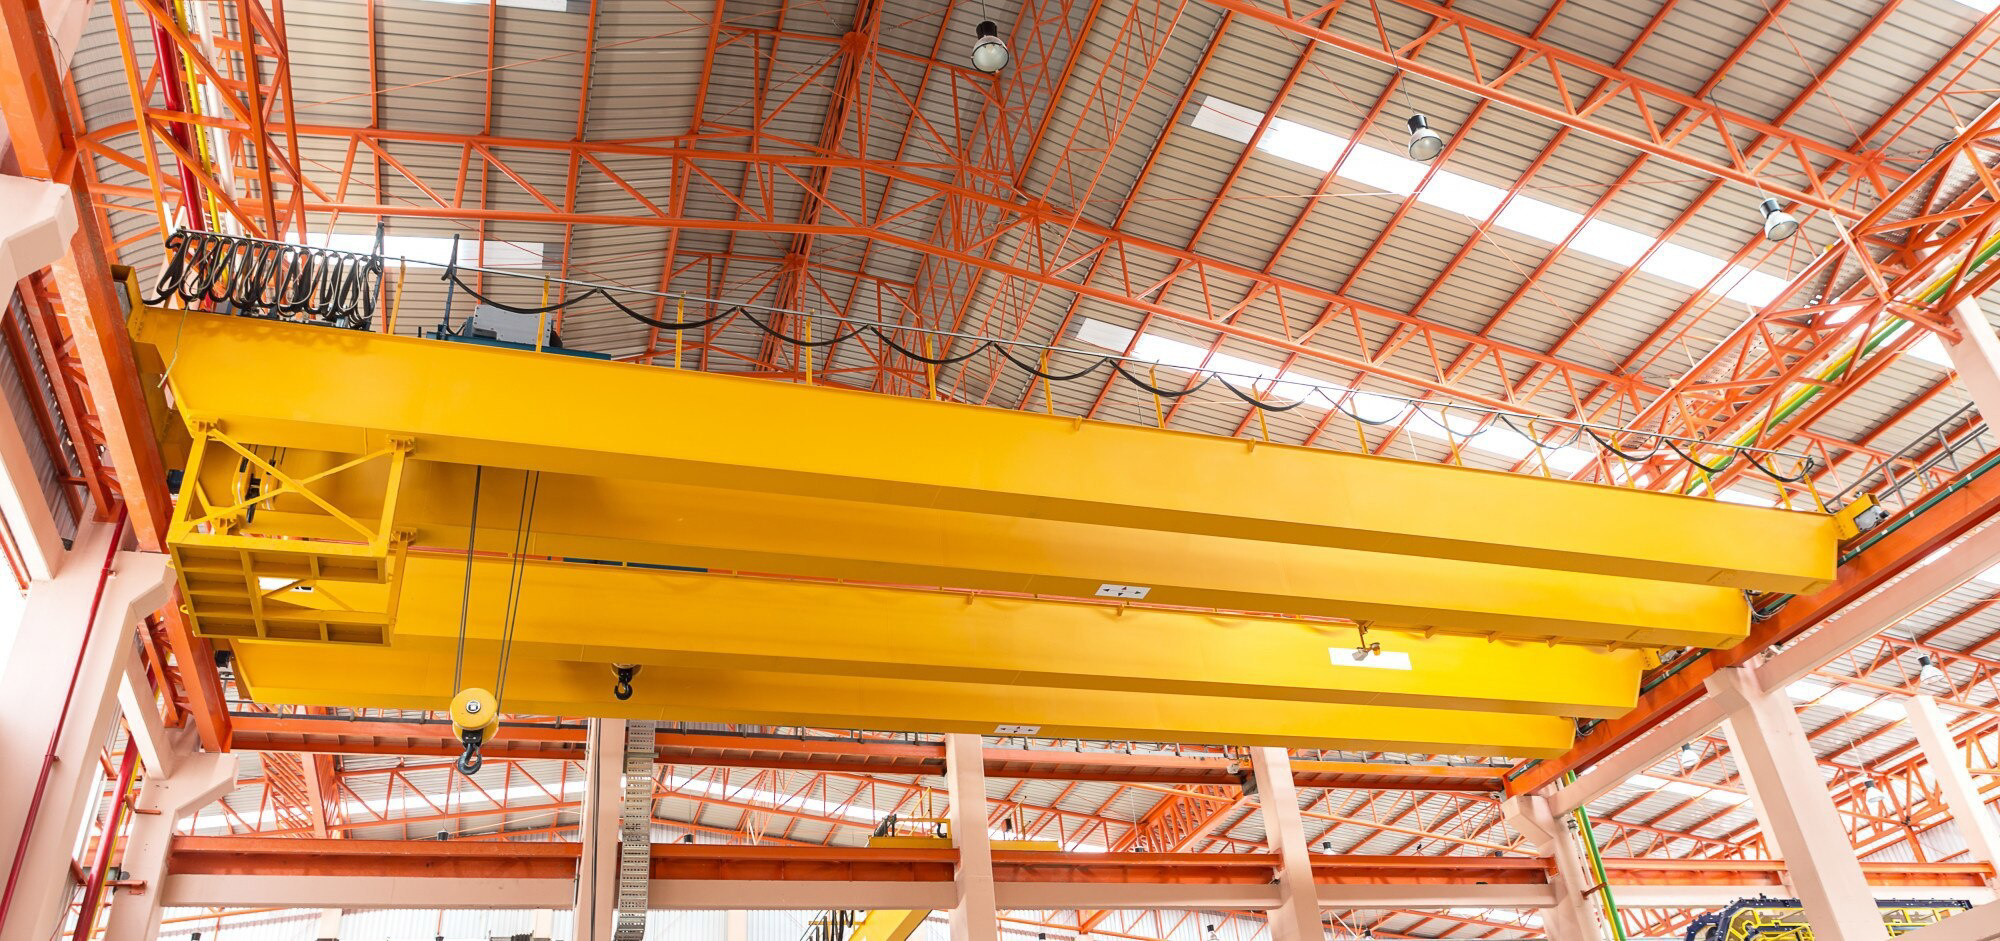
Installing an overhead crane is one of the most consequential decisions in factory or workshop construction. Get it right, and you have a lifting system that runs reliably for 20–30 years with minimal downtime. Get it wrong – an undersized runway beam, a misaligned rail, an undersized power supply – and the consequences range from costly rectification work to structural failure under load.
Yet in many factory and industrial building projects in India and across South Asia, crane installation is treated as an afterthought: a procurement decision made after the building is already framed, with whatever fits into what was built. This is the single most common and most expensive mistake in industrial construction.
This guide covers everything a factory owner, project manager, or building contractor needs to know before, during, and after overhead crane installation – from the structural requirements that must be designed into the building, to the six installation steps, the safety standards that govern the process, and the load test that signs off the job.
What this guide covers:
- Pre-installation planning checklist
- Step-by-step installation process
- Common installation mistakes (and how to avoid them)
- Applicable safety standards and certification requirements
- How to choose the right crane supplier
- FAQ
Before You Install: The Planning Checklist
Overhead crane installation is not an independent task – it is the downstream result of decisions made at the building design stage. If the building is not designed with the crane in mind, the crane cannot be installed correctly. The following checklist must be completed before construction begins, not after.
1. Define the Required Lifting Capacity
Start with your heaviest single lift – not a typical load, but the maximum load the crane will ever need to move. Add a design margin of at least 25% on top of this figure. This gives you the crane’s rated lifting capacity, which drives the size of every structural element in the system.
Example: If your heaviest workpiece is 8 tonnes, specify a 10-tonne crane. A crane operated consistently near its rated maximum will wear far faster and present a greater safety risk.
2. Determine the Span
The span is the centre-to-centre distance between the two runway rails. It is determined by the clear width of the working area you need to cover. The span directly sets the length of the crane’s bridge girder and governs the deflection limits the girder must meet (typically L/700 to L/1000 under full load, per FEM/ISO standards).
For single-girder cranes, standard spans run from 7.5 m to 22.5 m. Double-girder cranes can achieve spans of 50 m or more for special applications.
3. Confirm the Required Hook Lift Height
The hook lift height is the distance from the floor to the hook at its highest position. This determines the minimum eave height your building must provide. A common planning error is specifying the hook height without accounting for the crane’s structural depth – the distance from the top of the runway rail to the underside of the roof structure must accommodate the full crane assembly plus a safe clearance margin (typically 200–300 mm minimum).
Rule of thumb: Building eave height = Hook lift height + Crane structural depth + 300 mm clearance
4. Assess the Building Structure’s Load Capacity
An overhead crane does not just add a static load to the building – it adds dynamic loads: vertical wheel loads under full lift, horizontal loads from acceleration and braking, and longitudinal loads from long-travel motion. These loads must be designed into the building’s columns and runway beams from the start.
For existing buildings being retrofitted with a crane, a structural engineering assessment is mandatory before installation proceeds.
5. Plan the Runway Rail and Beam Layout
The runway consists of steel beams (runway beams or crane girders) mounted to the building columns, with rails fixed on top. Key parameters:
- Rail type: matched to the crane wheel load (e.g., A45, A55, A75, A100 per ISO/EN standards)
- Rail straightness tolerance: typically ±1 mm over any 2 m length
- Runway level tolerance: height difference between the two rails across the span must not exceed 10 mm (check your crane supplier’s specification)
6. Confirm the Power Supply Requirements
Overhead cranes require a dedicated electrical supply. Confirm:
- Voltage and phase (typically 380–415 V, 3-phase, 50 Hz in India)
- Connected load (kW) – sum of all motors (hoist, cross-travel, long-travel)
- Cable festoon or conductor bar type for power delivery to the moving crane
- Control voltage (typically 48 V or 24 V DC for pendant/radio control)
Planning checklist summary:
| Item | Parameter to Confirm |
| Lifting capacity | Maximum load × 1.25 safety factor |
| Span | Clear working width (rail CL to rail CL) |
| Hook lift height | Floor to hook at maximum height |
| Building eave height | Hook height + crane depth + 300 mm |
| Runway beam capacity | Dynamic wheel loads from crane supplier |
| Rail specification | Matched to wheel load and wheel diameter |
| Power supply | Voltage, phase, connected kW, cable type |
Step-by-Step Overhead Crane Installation Process
Courtesy - Magnific
Once the building structure is in place and the pre-installation checklist is complete, the physical installation follows a fixed sequence. Skipping or reversing steps causes alignment errors that are difficult and expensive to correct.
Step 1: Install the Runway Beams
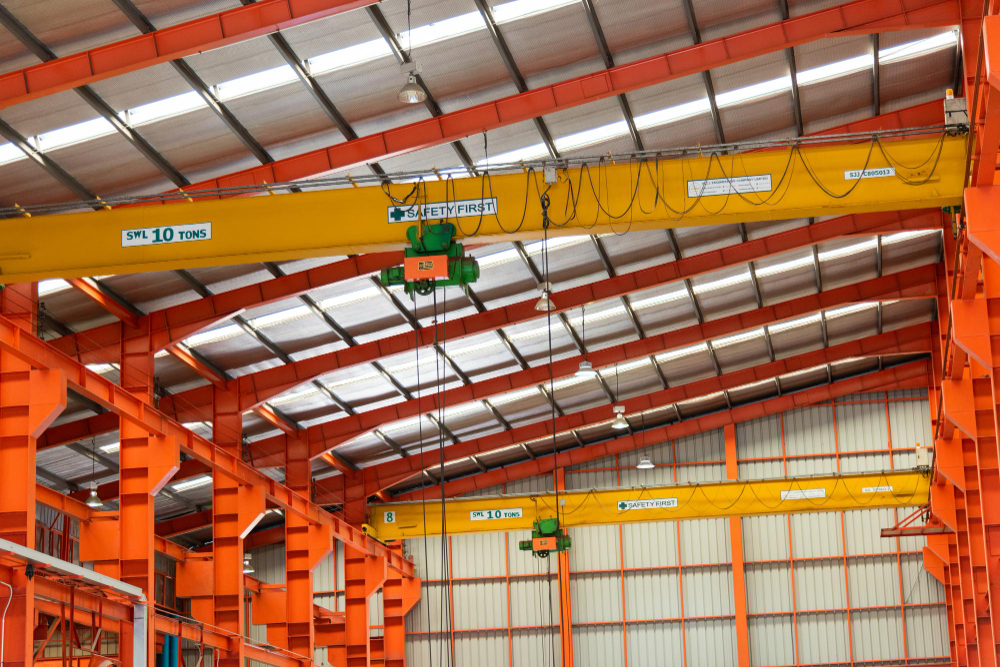
Runway beams are the steel beams mounted to the building columns that carry the entire crane system. They run the full length of the building on both sides, at the same height.
Key actions:
- Mark the column face positions and weld or bolt the runway beam brackets (corbels) to the columns at the specified elevation
- Lift runway beams into position using a temporary mobile crane or chain block
- Level both beams to within the specified tolerance – typically no more than ±5 mm elevation difference along the full runway length, and no more than 10 mm height difference between the two beams across the span
- Weld or bolt beams to brackets per the structural drawings; do not proceed until both beams pass a level survey
Step 2: Fix the Runway Rails
Rails are fixed to the top flange of the runway beams using rail clips (never welded directly, as this prevents thermal expansion and causes rail cracking).
Key actions:
- Align rail centreline to the runway beam centreline within ±2 mm
- Check rail straightness with a laser or taut wire – no deviation greater than 1 mm per 2 m
- Install rail joints with a 1–2 mm expansion gap; use fish plates to maintain alignment across joints
- Confirm rail gauge (distance between the two rails across the span) matches the crane’s wheel gauge within ±3 mm
Step 3: Assemble and Lift the Bridge Girder
The bridge girder (or twin girders for a double-girder crane) spans between the two runway rails and carries the hoist trolley.
Key actions:
- Assemble the bridge girder at ground level (safer and faster than working at height)
- For single-girder cranes: lift the complete girder with end trucks already attached
- For double-girder cranes: lift each girder separately, then connect the cross-beams and walkway at height
- Set the girder onto the runway rails; check that end truck wheels seat squarely on both rails
- Verify the girder’s camber (upward pre-deflection built in by the manufacturer) – the top of the girder should be slightly higher at mid-span than at the ends; this camber compensates for deflection under full load
Step 4: Install the Hoist and Trolley
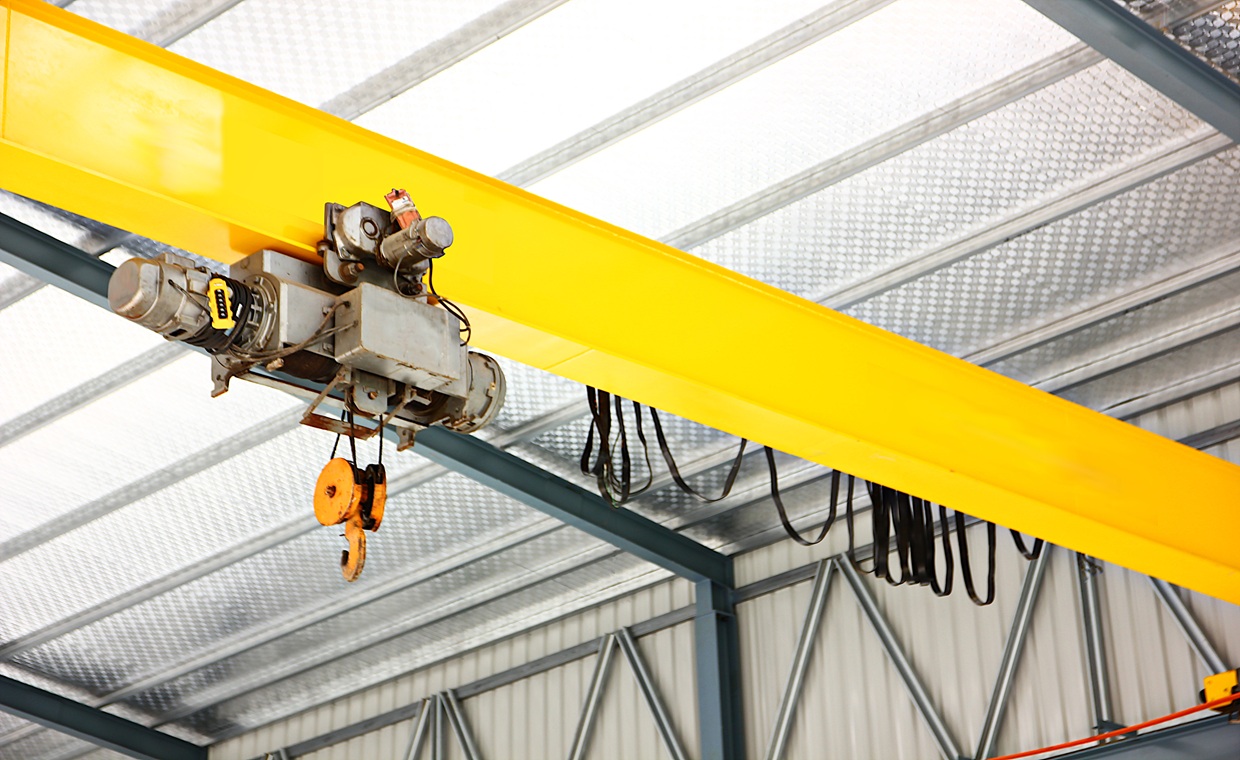
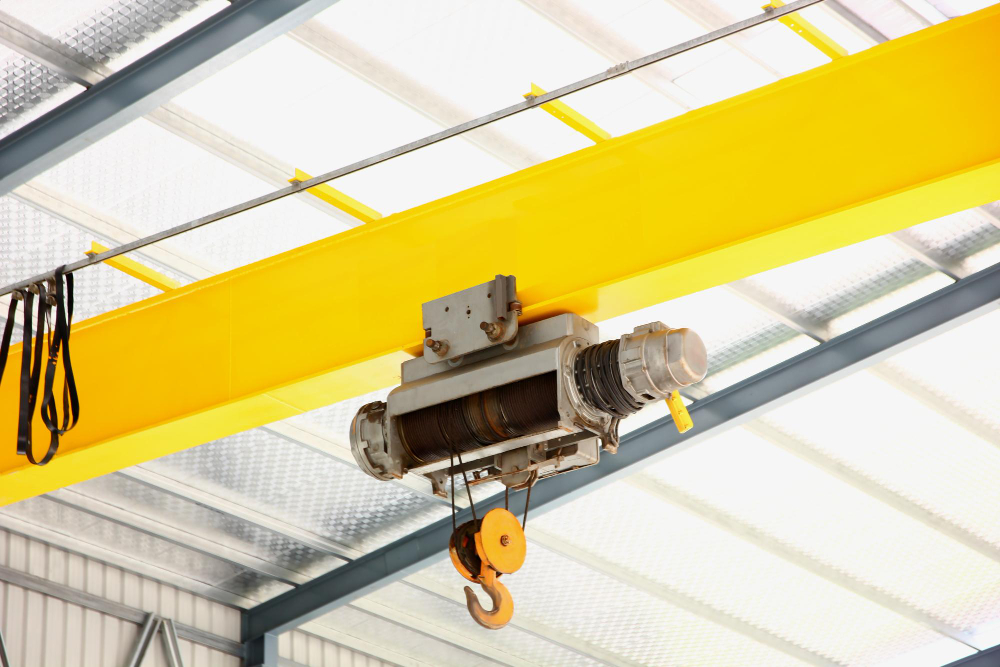
The hoist is the lifting unit – comprising the motor, gearbox, drum, wire rope, and hook block. On a single-girder crane it runs on the lower flange of the girder; on a double-girder crane it runs on rails on top of the girders.
Key actions:
- Thread the hoist onto the girder flange or rail before the girder is lifted (much easier than installing at height)
- Connect the hoist cross-travel drive (motor and wheels for moving the hoist along the bridge)
- Spool the wire rope onto the drum according to the manufacturer’s diagram – correct spooling direction is critical; incorrect spooling causes rope pileup, uneven drum wear, and rope jump
- Reeve the rope through the sheave block and attach the hook; check the number of rope parts matches the load chart
For CE-certified single girder overhead cranes sized for factory installation, see Voitto Crane’s product range.
Step 5: Install the Electrical System
The electrical system includes the main power feed to the crane, the conductor bar or cable festoon along the runway, the crane panel, and the control system.
Key actions:
- Install the runway conductor bar (or cable festoon) along one runway beam for the full travel length; ensure current collectors make consistent contact
- Mount the crane control panel on the bridge end truck or in a designated panel box
- Wire all motors (hoist, cross-travel, long-travel) and limit switches per the wiring diagram
- Install all safety devices and verify wiring:
- Upper and lower hoist limit switches
- Cross-travel end limit switches
- Long-travel end limit switches
- Emergency stop button (on pendant and/or in panel)
- Overload protection relay
- Conduct insulation resistance test (megger test) on all circuits before energising
Step 6: No-Load Test, Load Test & Commissioning
No crane may be put into service without a formal load test. This step is not optional – it is required by every applicable standard (OSHA, IS 3938, CE Machinery Directive).
No-load test:
- Run the crane through its full range of motion in all directions – long travel, cross travel, hoist up, hoist down
- Verify all limit switches activate at the correct positions
- Check that emergency stop halts all motion immediately
- Listen for abnormal noise from gearboxes, wheels, or the hoist unit
Static load test (125% of rated capacity):
- Lift a test load equal to 125% of the crane’s rated capacity
- Hold the load 100–200 mm off the floor for 10 minutes
- Inspect all structural welds, connections, and the runway beam fixing points for deformation or cracking
- Measure any permanent deformation of the bridge girder (not acceptable)
Dynamic load test (110% of rated capacity):
- Move the test load (110% of rated capacity) through all motions
- Verify all brakes hold the load on stopping
- Confirm all safety devices function under load conditions
After passing all tests, the crane is signed off by the responsible engineer and the load test certificate is issued. Keep this document – it is required for insurance, regulatory inspection, and any future audit.
Common Overhead Crane Installation Mistakes (And How to Avoid Them)
Courtesy - Magnific
These are the errors that crane engineers encounter most frequently on factory construction sites – and the ones that cost the most to fix after the fact.
Mistake 1: Specifying the crane after the building is designed
The costliest mistake. If the building columns are sized without accounting for crane wheel loads, and the eave height is set without accounting for crane depth, the building literally cannot accommodate the crane the operation needs. Always involve a crane supplier at the building design stage – before the structural engineer finalises the drawings.
Mistake 2: Rail gauge out of tolerance
If the distance between the two runway rails does not match the crane’s wheel gauge within ±3 mm, the end truck wheels will bind against the rail head or run on the rail edge rather than the centre. This causes accelerated wheel and rail wear, structural fatigue at the rail fixing points, and eventual derailment. Measure the rail gauge at every column position before accepting the runway installation.
Mistake 3: Uneven runway elevation
If one runway beam is higher than the other, the crane bridge runs on a skew – one end truck pushes forward while the other drags. This produces lateral forces on the runway, accelerates wheel flange wear, and causes the crane to drift sideways during long travel. Use a precision level survey to confirm both rails are within the specified height tolerance before crane installation begins.
Mistake 4: Incorrect wire rope spooling
Wire rope must spool onto the drum in the correct direction – as specified in the hoist manufacturer’s drawing. Incorrect spooling causes the rope to pile up on one side of the drum, leading to rope-on-rope contact, accelerated wire breakage, and in severe cases, rope jump off the drum under load. This is a safety-critical error that is easy to prevent by checking the diagram before threading the rope.
Mistake 5: Skipping the load test
Some operators skip the formal load test to save time or cost. This leaves structural defects, wiring errors, and brake faults undetected – and creates serious liability exposure when an accident occurs. The load test is the only way to confirm the entire system – structure, mechanical, electrical – works correctly under real operating conditions. It is also a legal requirement under IS 3938, OSHA, and CE certification.
Mistake 6: Undersized power supply
Crane motors draw high starting currents – typically 5–7 times the running current during acceleration. An undersized cable or circuit breaker will trip repeatedly on crane start-up or, worse, allow sustained undervoltage that overheats the motors. Always confirm the electrical supply with the crane manufacturer’s power data sheet before the building’s electrical design is finalised.
Safety Standards and Certification Requirements
Overhead crane installation in a factory or workshop is governed by a layered set of standards – design, manufacturing, installation, and operation. Knowing which apply to your project is essential for regulatory compliance, insurance validity, and procurement decisions.
Indian Standards (primary for Indian projects):
- IS 3938: Electric overhead travelling cranes and goliath cranes – covers design, manufacture, and testing
- IS 807: Code of practice for design, manufacture, erection and testing (structural section) of cranes and hoists – governs the structural installation process
- IS 4137: Code of practice for heavy-duty electric overhead travelling cranes including special service machines
- The Factories Act, 1948 (Section 28–29): Requires all hoists and lifts to be of good construction, properly maintained, and tested by a competent person before being put into service
International Standards (required for imported cranes and export-project specifications):
- ISO 4301: Crane classification by duty cycle and load spectrum – determines the correct crane class for your application
- ISO 9927-1: Inspections of cranes – general requirements
- FEM 1.001: European Federation of Materials Handling rules for design of hoisting appliances
- ASME B30.2: Overhead and gantry cranes – safety standard (widely referenced in Middle East and US-aligned projects)
- CE Marking (EU Machinery Directive 2006/42/EC): Required for cranes sold into the European market; increasingly required by Indian infrastructure contractors as a quality assurance benchmark for imported equipment
Practical requirements for your installation:
- Structural drawings reviewed and stamped by a licensed structural engineer
- Crane manufacturer’s installation manual on site throughout installation
- Installation carried out by a qualified crane erection team (not general construction labour)
- All welding by certified welders (IS 7307 / AWS D1.1)
- Load test witnessed and certified by a competent person
- Load test certificate issued and retained on file
- Operating instructions and load chart posted in the operator’s area
- Maintenance schedule established before first use
How to Choose the Right Overhead Crane Supplier
Courtesy - Magnific
The crane supplier is not just a product vendor – they are a technical partner whose engineering support, documentation quality, and after-sales service will affect your facility for decades. Evaluate suppliers on these criteria:
1. Technical documentation
A credible supplier provides complete structural calculation reports, wiring diagrams, installation drawings, and load chart documentation as standard. If a supplier cannot produce these documents, do not proceed – you have no basis for structural engineering review or regulatory compliance.
2. Duty classification alignment
Confirm the crane is classified to the correct duty class for your actual usage. A facility running the crane for 4–6 hours per day on a production line needs at minimum an ISO class A5 (FEM 3m) crane – not the lighter A3 class that may be offered at a lower price point. Underspecified duty class is the leading cause of premature crane failure in industrial environments.
3. CE and ISO certification
CE marking confirms the crane was designed and manufactured to meet the EU Machinery Directive – a stringent standard that covers structural integrity, electrical safety, and safety device requirements. ISO 9001 certification confirms a quality management system governs the manufacturing process. Both are now widely expected by Indian EPC contractors and industrial buyers procuring equipment for serious facilities.
4. Installation and commissioning support
Ask whether the supplier provides or coordinates a qualified installation team, and whether a factory-trained commissioning engineer will be present for the load test. A supplier who ships a crane and leaves installation to general contractors is a supplier who does not stand behind their product.
5. Spare parts availability and lead time
For a 20–30 year asset, spare parts availability matters enormously. Confirm that wear parts (wire rope, brake linings, wheel sets, contactors) are stocked or available with short lead times. A crane that sits idle for three weeks waiting for a spare contactor is a costly asset.
Voitto Crane designs and manufactures CE/ISO-certified overhead cranes, gantry cranes, EOT cranes, and electric hoists for industrial and construction facility applications, with over 30 years of export experience across 80+ countries. Full technical documentation, duty-class-matched specifications, and installation support are standard.
Conclusion
Overhead crane installation is a precision engineering process, not a construction site task that can be delegated to a general labour crew. Every phase – from the runway beam survey to the final load test – requires adherence to dimensional tolerances, electrical standards, and safety protocols that are non-negotiable.
The single most important takeaway: involve your crane supplier before the building is designed, not after it is built. The structural requirements of the crane system – column loads, eave height, power supply, runway geometry – must be embedded in the building design from day one. Retrofitting these requirements after construction is invariably more expensive than getting them right the first time.
For factory owners, project managers, and EPC contractors planning new industrial facilities or precast concrete plants, the six-step installation process and planning checklist in this guide provide the framework for a safe, compliant, and trouble-free crane installation.
Also Read: 5 Essential Tools for a Safe and Efficient Construction Project
Frequently Asked Questions – Overhead Crane Installation
Q1: How long does it take to install an overhead crane?
For a standard single-girder overhead crane in a new factory building, the installation typically takes 3–7 working days from runway beam installation to load test sign-off. Double-girder cranes or systems with longer spans and multiple cranes on the same runway take longer – plan for 2–4 weeks for complex installations. The building structure must be fully complete (columns, roof, electrical supply roughed in) before crane installation begins.
Q2: Can an overhead crane be installed in an existing building?
Yes, but a structural engineering assessment is mandatory first. The existing columns must be assessed for the additional dynamic crane loads, and the building may need reinforcement. Retrofit installations also frequently encounter headroom constraints – the existing eave height may not accommodate the crane depth needed for the required hook lift. Always commission a structural assessment before purchasing the crane.
Q3: What is the difference between a single-girder and a double-girder overhead crane for factory installation?
A single-girder crane has one bridge beam and the hoist hangs from its lower flange; it is lighter, less expensive, and requires less headroom, suitable for capacities up to 20 tonnes and spans up to 22.5 m. A double-girder crane has two parallel beams with the hoist trolley running on top; it offers higher capacity (up to 800 tonnes), greater spans, better hook approach to the runway beam, and higher hook lift for a given building height – the preferred choice for heavy industrial applications.
Q4: What load test is required before an overhead crane can be used?
Under IS 807 and IS 3938 (Indian standards), and equivalent international standards, a static load test at 125% of rated capacity and a dynamic load test at 110% of rated capacity are required before a crane is put into service. Both tests must be witnessed by a competent person who issues a signed load test certificate. This certificate must be kept on file and produced for inspection on request.
Q5: How often does an installed overhead crane need to be inspected?
Under IS 3938 and The Factories Act, overhead cranes must be inspected by a competent person at least once every 12 months, with a formal re-test at least every 4 years (or after any major repair or modification). Daily pre-shift visual checks by the operator, monthly maintenance inspections, and the annual formal inspection form the three-tier inspection regime that keeps a crane safe and compliant throughout its service life.
Courtesy - Featured Image(Magnific)
Author & Expert Review
Written By:  Gaurav Mishra | Civil Engineer & Content Writer

| Credentials: B.E. (Mahavir Swami College, Surat), Registered with Bhagwan Mahavir University (BMU). Experience: Civil Engineer with 5+ years of content writing experience, currently writing impactful articles for Gharpedia, part of SDCPL. Expertise: Specializes in writing well-researched content on residential construction, construction materials, design planning, on-site practices, and safety, blending technical accuracy with everyday clarity. Find him on: LinkedIn |
Verified By Expert:  Avni Desai | Environmental Engineer, SDCPL | M.E. (Environmental Engineering)
 Avni Desai | Environmental Engineer, SDCPL | M.E. (Environmental Engineering)
This article has been reviewed for environmental, MEP, and building services accuracy by Avni Desai, an Environmental Engineer at Sthapati Designers & Consultants Pvt. Ltd. (SDCPL). With over 8 years of experience in water supply, wastewater management, infrastructure design, and building services, she brings practical expertise in MEP services, sustainable solutions, design planning, and on-site practices. Her professional services include planning and design of water supply systems, sewage and wastewater treatment systems (STP/WTP), drainage, rainwater harvesting, and other sustainable building services. Her review ensures the content aligns with environmental standards, efficient services planning, and real-world applicability.
Find her on : LinkedIn