






Table of Contents
Quick Summary
- DIY projects can save money and enhance your home when planned and executed properly.
- Start every project with a clear plan, realistic budget, and accurate measurements.
- Prepare surfaces thoroughly before painting, tiling, or refinishing for long-lasting results.
- Use the right tools and safety gear to improve accuracy and reduce the risk of accidents.
- Choose materials based on durability, maintenance, and suitability for your home’s conditions.
- Avoid taking on multiple projects at once and allow sufficient drying and curing time.
- Test paint colours, finishes, and products before applying them to the entire surface.
- Follow manufacturer instructions carefully and know when to call a professional for electrical, plumbing, roofing, or structural work.
DIY projects can be incredibly satisfying. There is something deeply rewarding about fixing, building, painting, organizing, or improving part of your home with your own hands. A finished project can make a room look better, function better, and feel more personal. It can also save money and give you the confidence to take on more home improvements in the future.
But DIY can also go sideways quickly. One missed measurement, rushed paint job, wrong tool, skipped prep step, or overconfident YouTube-fueled decision can turn a simple weekend project into a small domestic opera. Suddenly, the shelf is crooked, the paint is peeling, the tile pattern is drifting, and someone is standing in the garage asking why there are extra screws left over.
The good news is that many DIY mistakes are common, predictable, and avoidable. Most problems do not happen because homeowners are incapable. They happen because projects are underestimated, preparation is rushed, or details are skipped. With better planning and a little patience, you can avoid many of the errors that make DIY projects more expensive, stressful, or time-consuming than they need to be.
Starting Without a Clear Plan
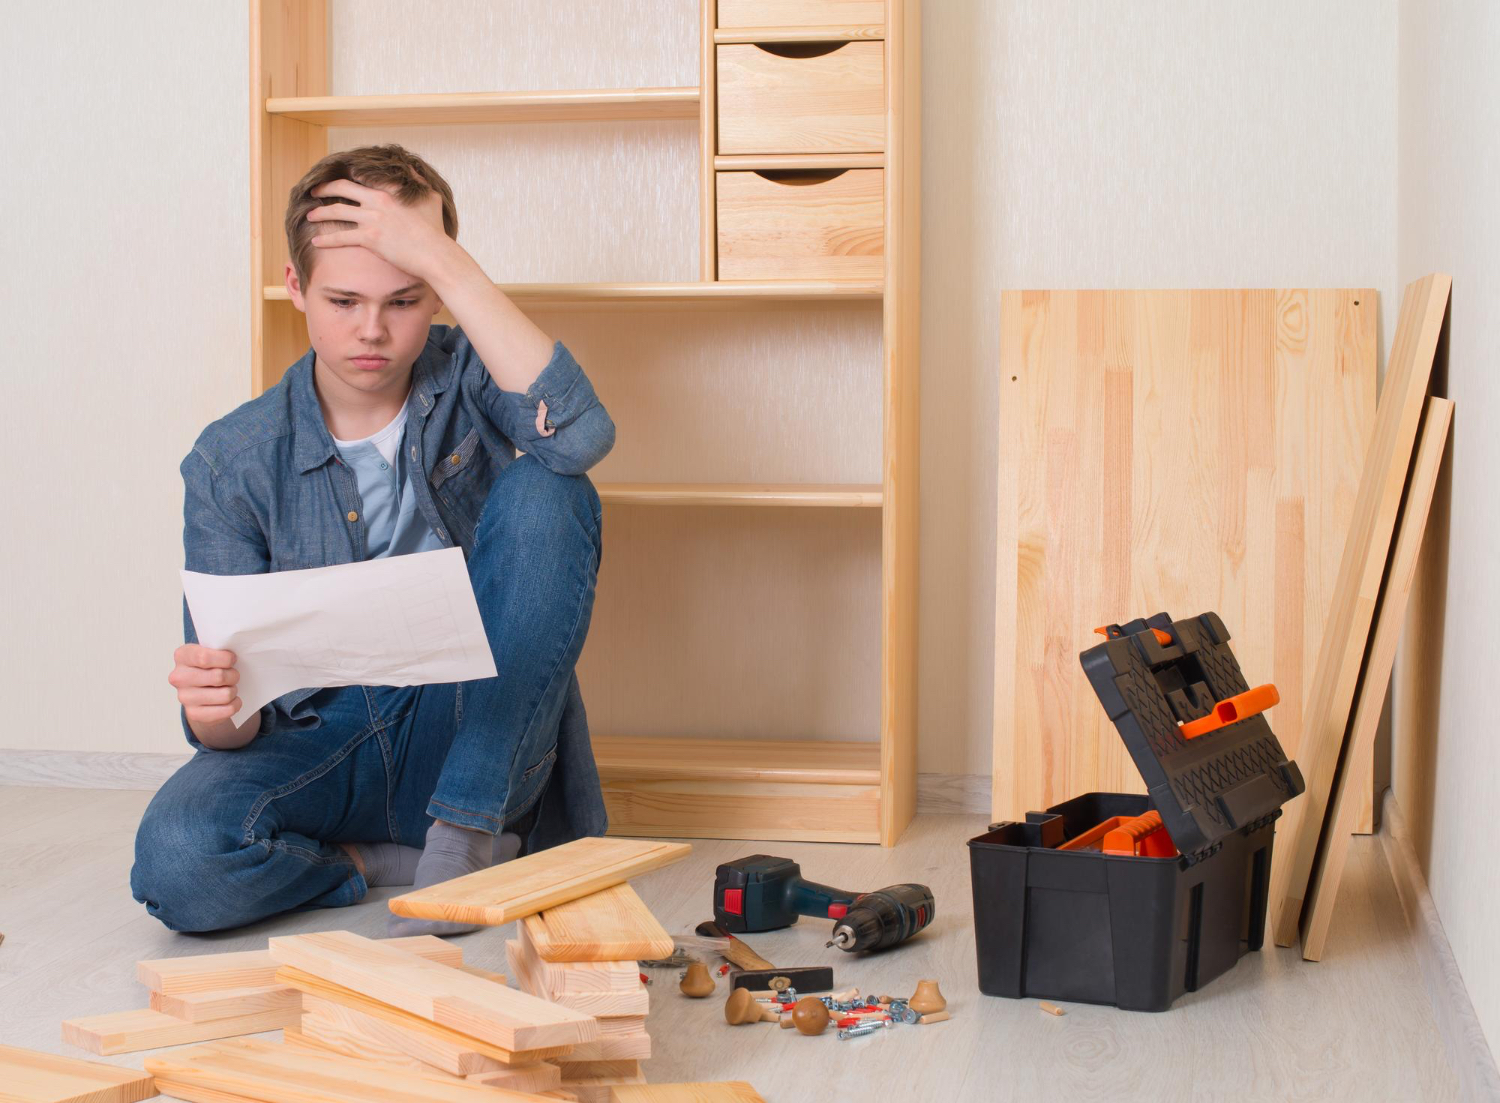
One of the most common DIY mistakes is jumping into a project too quickly. Inspiration is exciting, but enthusiasm is not the same as a plan. A homeowner may decide to paint a room, build shelves, replace hardware, or install a backsplash without fully thinking through the steps, tools, materials, timeline, or potential complications.
A clear plan helps you understand what the project actually requires. Before starting, define the goal. What problem are you trying to solve? What should the finished result look like? What materials are needed? What tools are required? How long will each step take? Are there drying times, curing times, or installation instructions that affect the schedule?
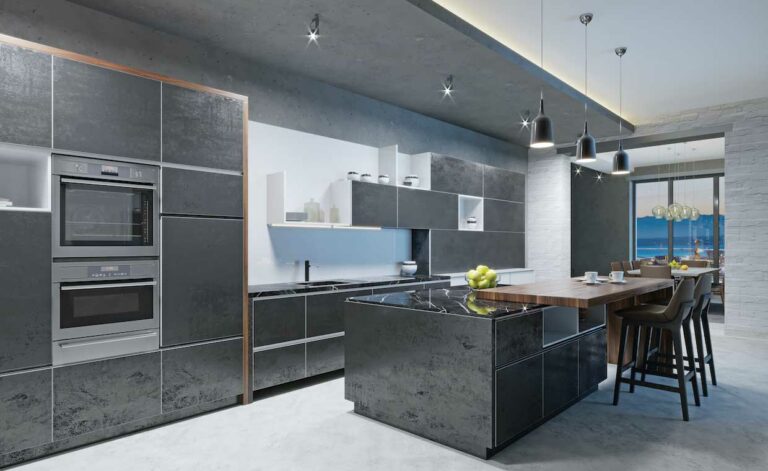
It also helps to gather visual references. Home design blogs, tutorials, magazines, and professional stock photos of finished spaces can help you clarify the look you want before buying materials. The goal is not to copy another room exactly, but to understand style, scale, color, and layout before the work begins.
A plan does not remove every surprise, but it gives the project a backbone. Without one, even a simple project can wander into the weeds wearing a tool belt.
Underestimating the Budget
Many DIY projects cost more than expected because the budget only includes the obvious materials. For example, a painting project may seem inexpensive if you only count the paint. But the real cost may also include primer, brushes, rollers, painter’s tape, trays, drop cloths, patching compound, sandpaper, caulk, and cleanup supplies.
The same is true for shelves, flooring, tile, furniture refinishing, landscaping, and bathroom updates. Small items add up. So do mistakes. If you buy the wrong size, damage a material, or need an extra tool halfway through, the cost grows.
To avoid this, make a full materials list before shopping. Include supplies, hardware, fasteners, safety gear, tool rentals, delivery fees, disposal costs, and extra materials for waste or errors. Then add a cushion. A 10% to 20% buffer can help prevent the budget from collapsing if something unexpected happens.
DIY can save money, but only when the project is planned realistically. A cheap project that has to be redone is not cheap. It is just expensive in installments.
Measuring Incorrectly
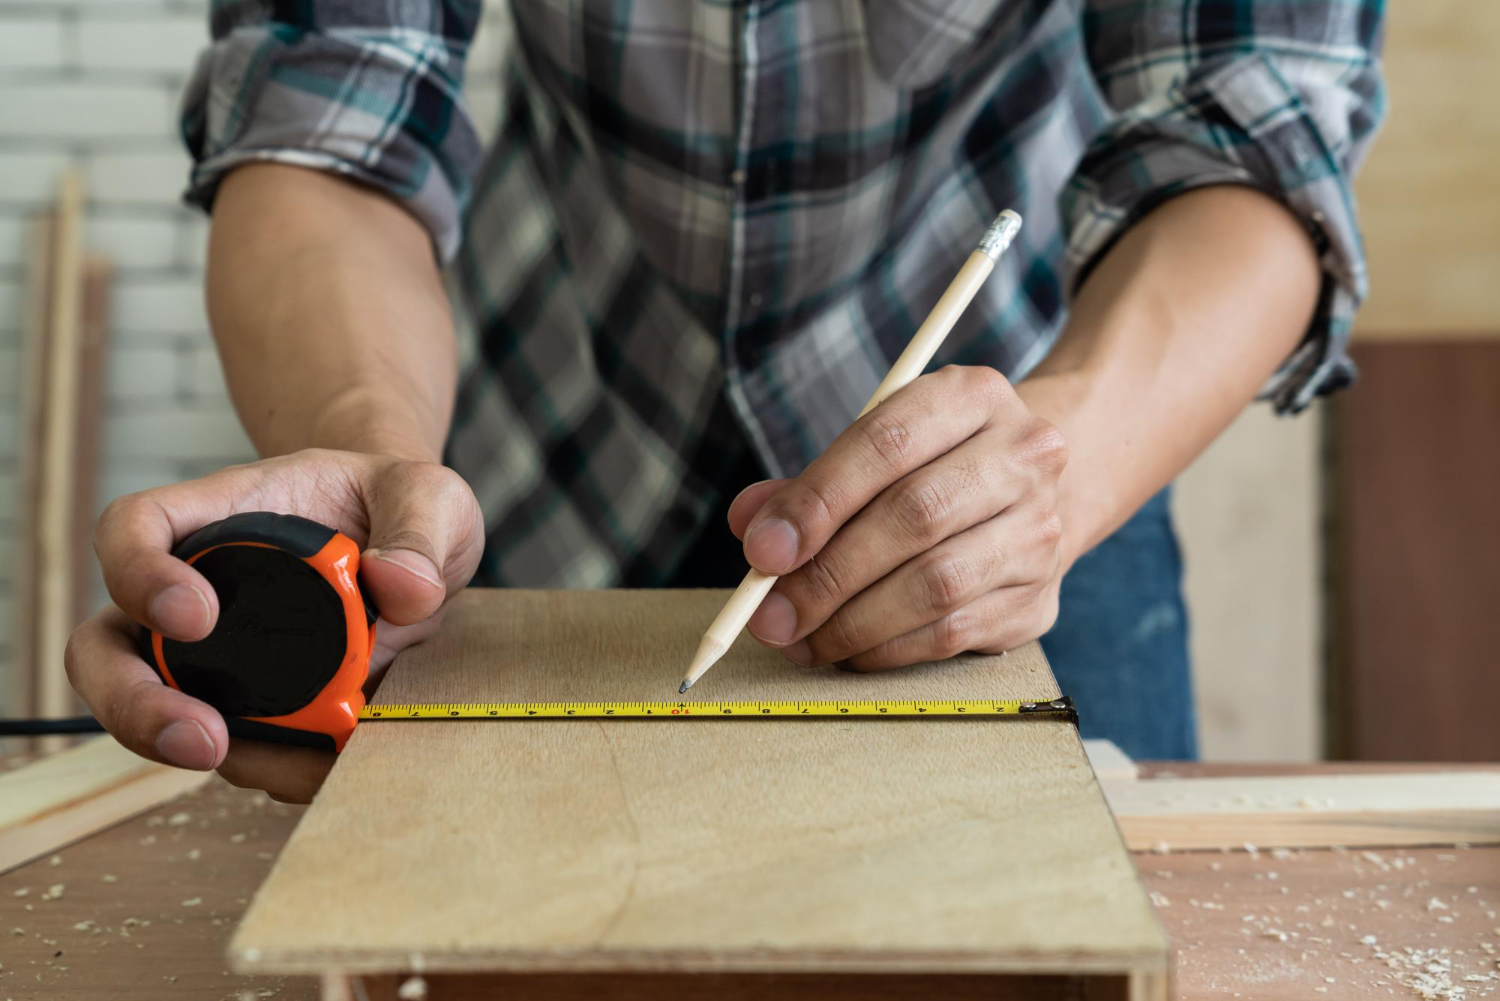
“Measure twice, cut once” is famous advice because it saves people from turning perfectly good materials into oddly shaped regrets. Measurement mistakes are among the most common DIY errors, especially with shelving, curtains, flooring, tile, furniture placement, trim, and hardware installation.
The problem is not always failing to measure. Sometimes it is measuring only once, measuring the wrong area, forgetting to account for clearance, or assuming walls and floors are perfectly square. Homes, especially older homes, are full of charming little inaccuracies. Corners may not be true 90-degree angles. Floors may slope. Walls may bow. Door frames may have their own private opinions.
Always measure carefully and write the numbers down. Do not rely on memory. For items that must fit precisely, measure in more than one place. If you are installing shelves or furniture, check width, height, depth, door swing, drawer clearance, and walking space. If you are hanging curtains, measure the window and the wall around it so the rod and panels look proportional.
When cutting materials, mark clearly and double-check before making the cut. It takes a few extra seconds. It can save a trip back to the store.
Skipping Surface Preparation
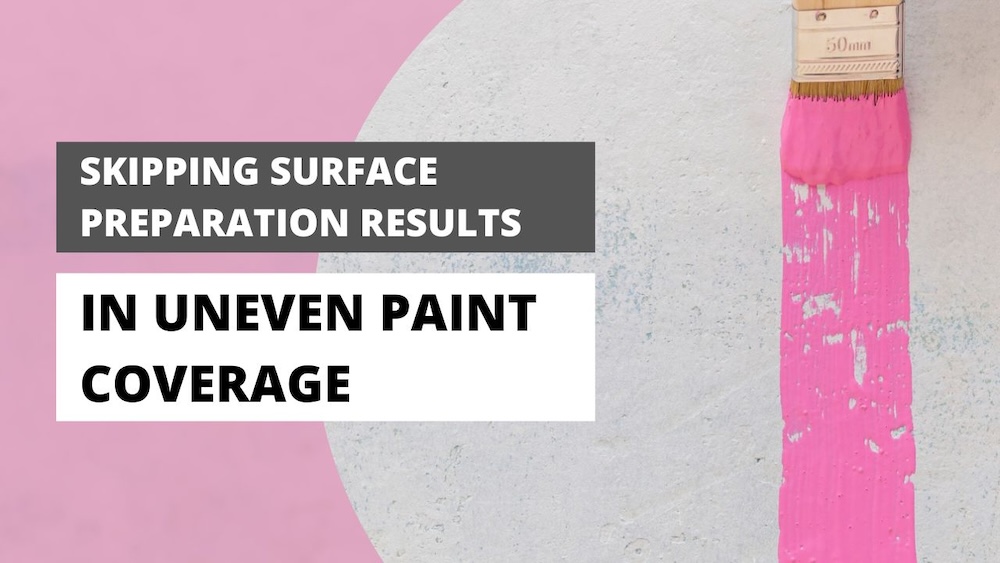
Many DIY projects fail because the visible step gets all the attention and the preparation gets rushed. Painting, staining, caulking, tiling, wallpapering, and refinishing all depend on proper surface prep.
Paint may peel if walls are dirty or glossy. Stain may look blotchy if wood is not sanded correctly. Peel-and-stick tile may fail if the surface is dusty or uneven. Caulk may not adhere if old caulk is not removed. Wallpaper may bubble if the wall is not smooth.
Preparation can feel boring because it does not look like progress at first. But it is the foundation of the finished result. Clean surfaces thoroughly. Patch holes. Sand rough spots. Remove old adhesive or caulk. Prime when needed. Let surfaces dry completely.
Skipping prep is like baking a cake in a dirty pan and hoping frosting will solve everything. It might look acceptable for a minute, but trouble is already lurking underneath.
Using the Wrong Tools
The right tool can make a project easier, safer, and more accurate. The wrong tool can damage materials, create uneven results, or make the work far more frustrating than necessary.
For example, using a dull blade can splinter wood or tear flooring. A cheap brush can leave streaks and shed bristles into paint. The wrong drill bit can crack tile or strip screws. A weak wall anchor can fail under-weight. A poor-quality level can turn a shelf into a tiny ski slope.
Before starting, research the tools required for the job. If you do not own a tool, consider whether it is worth buying, borrowing, or renting. For one-time projects, renting may make more sense than purchasing. For common homeowner tasks, investing in basic quality tools can pay off over time.
At minimum, many homeowners benefit from having a good tape measure, level, stud finder, drill, screwdriver set, utility knife, pliers, hammer, sanding block, safety glasses, and a few clamps. Tools do not need to be fancy, but they should be appropriate.
Ignoring Safety
DIY confidence is wonderful until it starts arguing with electricity, ladders, sharp tools, dust, or plumbing. Safety should always be part of the plan, even for small projects.
Wear eye protection when cutting, sanding, drilling, or using power tools. Use gloves when handling rough materials, chemicals, or sharp edges. Wear a dust mask or respirator when sanding, cutting, painting, or working around fumes. Keep work areas well ventilated. Read labels on paints, adhesives, stains, solvents, and cleaners.
Ladder safety matters too. Use the right ladder for the job, place it on stable ground, and avoid overreaching. Move the ladder instead of leaning too far. The floor is undefeated and does not negotiate.
Know when not to DIY. Electrical work, major plumbing, structural changes, roofing, gas lines, and projects requiring permits may need a qualified professional. Saving money is not worth creating a fire hazard, water damage, injury, or code violation.
Choosing Materials Based Only on Looks
It is easy to choose materials because they look good online or in the store. But materials also need to fit the room, the climate, the household, and the level of use.
A delicate floor may not be ideal for pets and kids. A porous countertop may require more maintenance than you want. A bathroom paint without enough moisture resistance may not hold up well. A trendy light fixture may look great but provide poor illumination. A beautiful rug may be impossible to clean in an entryway.
Before buying materials, ask practical questions. Is it durable? Is it easy to clean? Does it work in moisture? Can it handle sunlight? Is it safe for the area? Does it require special maintenance? Will it still make sense in a few years?
Good design is not just about appearance. It is about choosing materials that can survive real life without becoming a daily nuisance.
Taking on Too Much at Once
Another common mistake is turning one manageable project into five overlapping projects. You start by painting the living room, then decide to change the curtains, replace the rug, refinish the coffee table, rearrange the shelves, and repaint the hallway because now it looks “wrong.” The house becomes a domino field.
Project creep can drain the budget, extend the timeline, and leave multiple rooms unfinished. It can also make decision-making harder because every choice affects another choice.
To avoid this, define the scope before starting. Write down what is included and what is not. If you discover another project along the way, add it to a future list instead of immediately expanding the current one.
Finishing one project well is better than starting five and living among half-completed ambition sculptures.
Rushing the Timeline
DIY projects often take longer than expected. Paint needs to dry. Adhesives need to cure. Materials may need to be ordered. Mistakes need fixing. Tools need finding. Life interrupts. The dog steps on the drop cloth with the emotional confidence of a property inspector.
Rushing can lead to sloppy results. Paint may smudge, tile may shift, caulk may fail, stain may remain tacky, or furniture may be moved back too soon. Many products have instructions for drying, curing, sanding, recoating, and installation timing. Those instructions matter.
Before beginning, read all product labels and tutorials. Build in extra time. If a project affects an essential room, such as a kitchen or bathroom, plan around the disruption. Do not start a major project the day before guests arrive unless you enjoy hosting people in a construction-themed escape room.
Forgetting About Scale and Proportion
Some DIY projects are technically completed correctly but still look off because the scale is wrong. A shelf may be too small for the wall. A light fixture may be too tiny for the room. Curtains may be too short. A rug may not be large enough for the furniture. Art may be hung too high or be too small above a sofa.
Scale and proportion affect whether a space feels polished. Before installing or buying decor, measure the room and the surrounding furniture. Use painter’s tape to outline shelves, art, mirrors, or furniture before committing. This helps you see whether the size feels right.
In general, slightly larger decor often looks more intentional than several tiny pieces scattered around. Curtains usually look better when hung higher and wider than the window. Rugs should anchor furniture rather than float alone in the middle of the room.
A room can look more expensive simply by getting scale right.
Not Testing Before Committing
Testing can prevent costly disappointment. Paint colors should be sampled on the wall before painting an entire room. Stains should be tested on scrap wood or a hidden area. Peel-and-stick products should be tested for adhesion. Cleaning products should be tested on a small spot before being used on a visible surface.
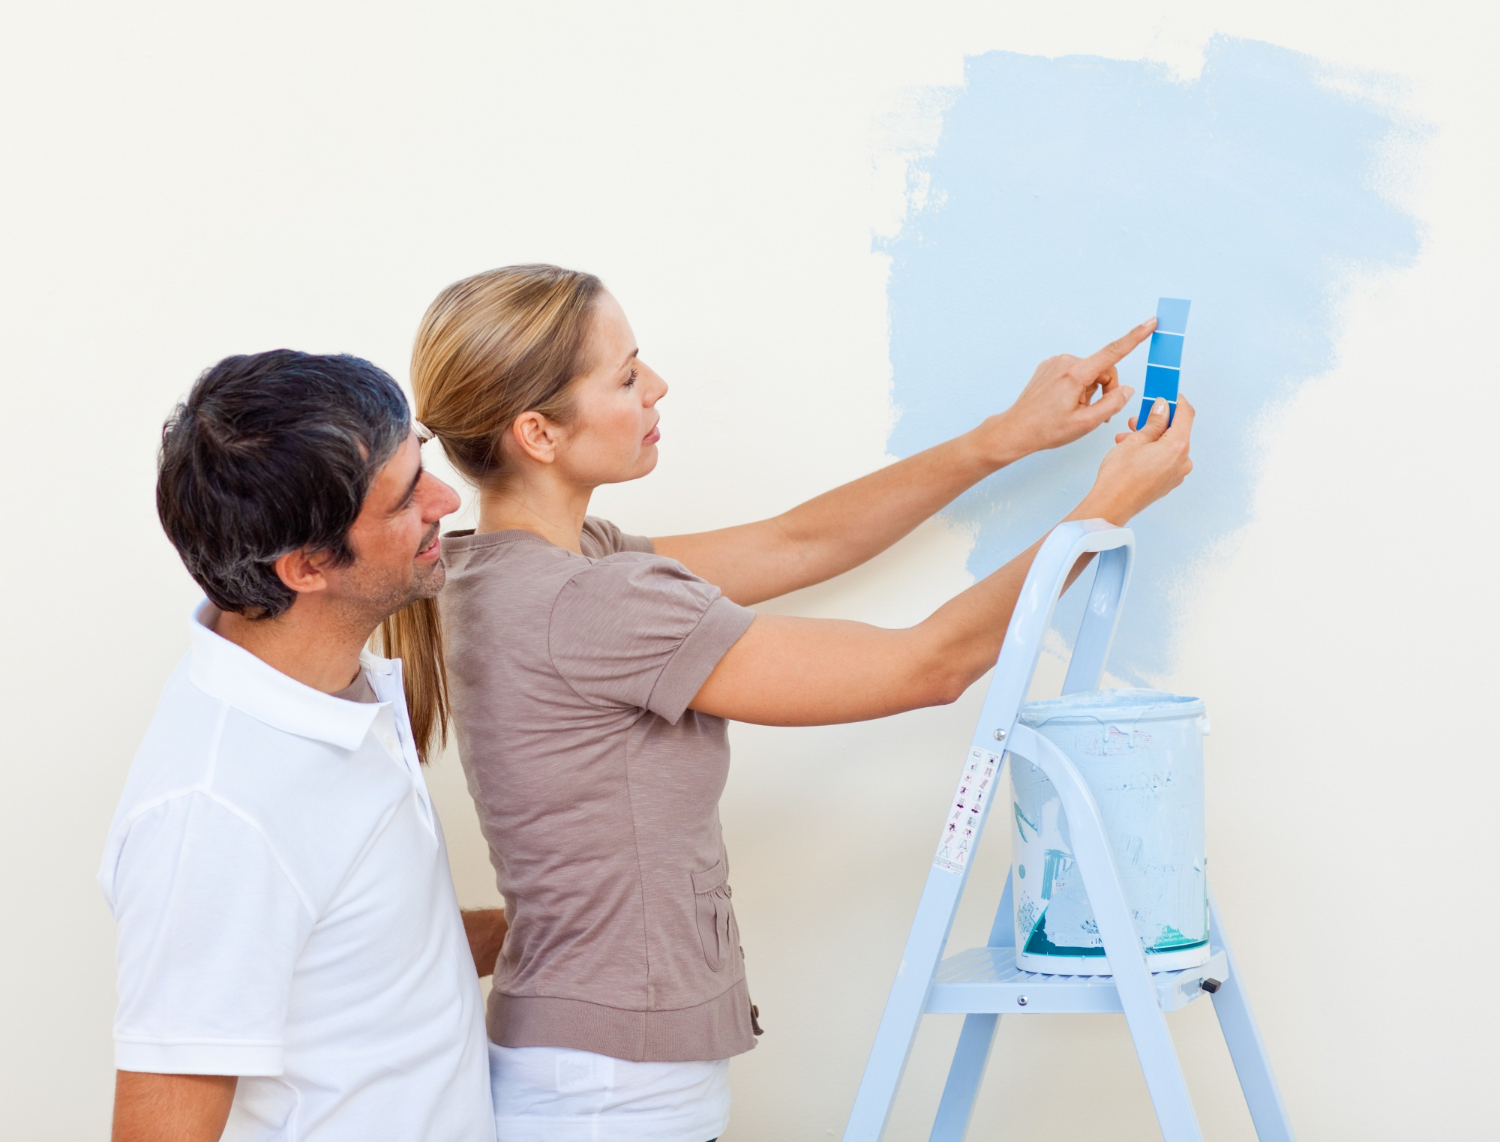
Paint is especially tricky because lighting changes everything. A color that looks warm and neutral in the store may look pink, yellow, blue, or gray at home. Test samples on multiple walls and view them at different times of day.
Testing may feel like an extra step, but it is much easier than undoing a finished project. A small sample can save a large headache.
Ignoring the Instructions
Many DIY mistakes happen because instructions are skimmed, misunderstood, or ignored completely. Every product has requirements. Paint has recommended surfaces and drying times. Adhesives have curing times. Flooring has acclimation instructions. Anchors have weight limits. Tile has layout and spacing recommendations.
Read instructions before starting, not halfway through when something begins behaving like a cursed object. Gather the correct supplies. Follow the order of steps. Respect drying, curing, and safety guidance.
DIY creativity is great, but instructions are not suggestions from a nervous aunt. They are usually there because someone, somewhere, learned the hard way.
Failing to Know When to Stop
Some DIYers keep tweaking until a good project becomes overworked. Too many decor pieces, too many paint colors, too many shelves, or too many “quick additions” can make the result feel cluttered.
Step back during the project. Look at the space from different angles. Take photos. Sometimes a photo helps you notice what your eyes have stopped seeing. Ask whether the project already solves the original problem. If it does, stop before adding complexity.
A finished project does not need to include every idea you had along the way. Editing is part of good DIY.
Final Thoughts
DIY projects can make your home more beautiful, functional, and personal. They can also teach useful skills and create a real sense of accomplishment. But the best results usually come from planning, patience, and respect for the details.
Common DIY mistakes include starting without a plan, underestimating the budget, measuring poorly, skipping prep, using the wrong tools, ignoring safety, choosing impractical materials, taking on too much, rushing the timeline, overlooking scale, failing to test, and ignoring instructions.
The solution is not to avoid DIY. The solution is to approach it thoughtfully. Start with manageable projects. Research before you begin. Buy the right materials. Prepare surfaces properly. Measure carefully. Test first. Follow instructions. Know when to call a professional.
A good DIY project should improve your home, not declare war on your weekend. With a little preparation and a realistic plan, you can avoid the most common mistakes and enjoy the best part of DIY: standing back, admiring the result, and knowing you made your home better with your own two hands.
Also Read: DIY Appliance Repairs: What You Need to Know
FAQs on Common DIY Mistake Homeowners Make
1. What is the most common DIY mistake homeowners make?
Starting a project without proper planning is one of the most common DIY mistakes. It can lead to budget overruns, delays, and poor-quality results.
2. Why is surface preparation important before painting?
Cleaning, sanding, and priming the surface helps paint adhere properly, ensuring a smooth, durable, and even finish.
3. How can I avoid overspending on a DIY project?
Prepare a detailed list of materials, tools, and supplies, and set aside an additional 10–20% of your budget for unexpected expenses.
4. When should I avoid doing a DIY project myself?
Leave electrical work, gas line installations, major plumbing, structural modifications, and roofing projects to qualified professionals for safety and code compliance.
5. Why is measuring accurately important in DIY projects?
Accurate measurements help prevent material wastage, installation errors, and costly rework, resulting in a better-finished project.
6. How do I ensure a successful DIY home improvement project?
Plan thoroughly, use the correct tools and materials, follow product instructions, prioritize safety, and work patiently to achieve professional-looking results.
Author & Expert Review
Written By:  Nidhi Patel | Civil Engineer & Content Writer

| Credentials: B.E. (Mahatma Gandhi Institute of Technical Education and Research Centre), Registered with Gujarat Technological University (GTU). Experience: Civil Engineer with 3+ years of content writing experience, currently writing blogs for Gharpedia, part of SDCPL. Expertise: Specializing in SEO-optimized blogs and long-form articles focused on home improvement, construction, interiors and architect topics. I create well-researched, reader-focused content that balances technical accuracy with clarity, making complex subjects easy to understand. Find her on: LinkedIn |
Verified By Expert: Farhan Shaikh – Senior Manager – Architect, SDCPL | Associate Member – IIA

This article has been reviewed for architectural and interior design accuracy by Farhan Shaikh, Senior Manager – Architect at Sthapati Designers & Consultants Pvt. Ltd. As the lead for all architectural and interior projects at SDCPL and an Associate Member of the Indian Institute of Architects (IIA), he brings hands-on experience in architectural planning, interior design, project coordination, and sustainable strategies. His review ensures the content reflects practical design considerations, industry best practices, and real-world applicability across both architecture and interior spaces.
Find him on : Linkedin