






Table of Contents
Quick Summary
- Punch needle crafts are reshaping home decor with textured, handmade wall art that feels more personal than mass-produced pieces.
- The craft is beginner-friendly, fast to learn, and delivers visually appealing results within hours or a weekend.
- Simple tools like a punch needle, monk’s cloth, yarn, and a hoop are enough to get started effectively.
- Basic techniques focus on proper fabric tension, consistent stitching, and controlled needle movement.
- Finished pieces can be displayed using hoops, canvas frames, or dowel mounts for stylish interiors.
- Beyond decor, punch needle offers calming, mindful benefits, promoting creativity, relaxation, and a strong sense of accomplishment.
Punch needle crafts are now widely popular. Walk into any well-styled home right now, and you’ll spot the same shift: mass-produced prints are being replaced by wall hangings with visible texture, obvious handwork, and a clear sense of personality. It’s not interior design snobbery – it’s a genuine preference for things that feel made rather than ordered.
Punch needle is one of the crafts driving that shift. It’s accessible enough for a complete beginner, fast enough to finish a small piece in a single weekend, and the results look genuinely good on a wall. If you’ve been curious about trying it but weren’t sure where to start and how to get easy punch needle home decor ideas, this guide covers the full picture – what the craft involves, what gear you actually need, how the basic technique works, and how to turn what you make into something you’d actually hang in your home.
What Punch Needle is (and Why It’s Having a Moment)?
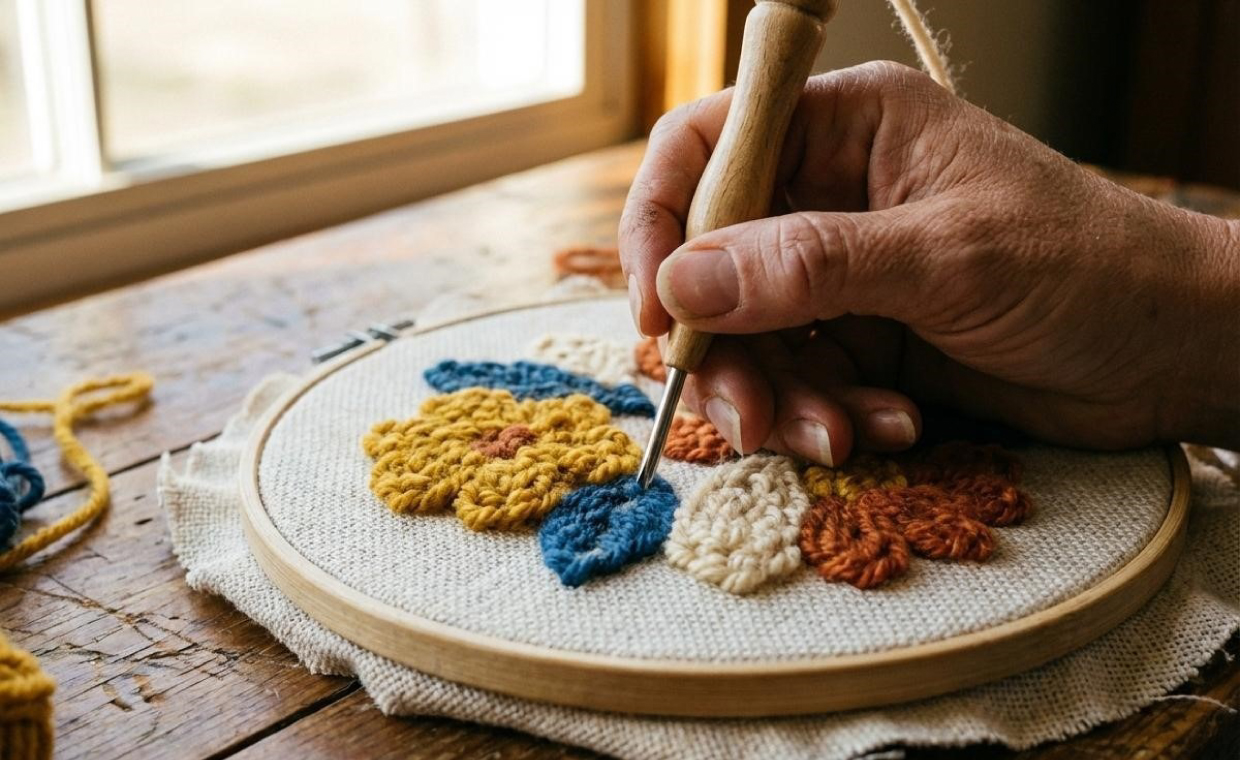
The technique of punch needle crafts for beginners is simple to explain. You push a hollow-stemmed needle through woven fabric from the back, dragging a strand of yarn along. Each push creates a small loop on the front face. Do this thousands of times in a pattern, and you get a textured, rug-like image made entirely of yarn loops. It sits somewhere between embroidery and weaving, but it’s faster than either and has a much shorter learning curve.
Right now, the much-opted simplicity is landing at exactly the right moment. According to a 2025-Digital Journal report on craft industry revenue, the US arts and crafts sector reached approximately $51 billion, and 71% of American consumers are now identifying as crafters. Demand for ready-to-go DIY kits specifically grew by 35% in 2024, according to Future Data Stats. People want to make things – they just don’t want to source 12 separate materials and figure out the prep work before they can even start.
That’s where an all-in-one needle punch kit makes real sense. Everything arrives in one box: the needle tool, pre-cut fabric, yarn, and instructions. No foraging across multiple craft stores, no guesswork about which fabric works with which needle size.
Etsy’s 2025 trend data also named tufted and punch needle textures as among the top wall decor styles people were searching for, which explains why you’re seeing them everywhere from independent boutiques to interior design accounts. The craft industry resurgence isn’t a blip – the Craft Industry Alliance put handmade and kit-based crafts firmly at the center of what consumers were spending on heading into 2025.
What’s Inside a Beginner Punch Needle Kit?
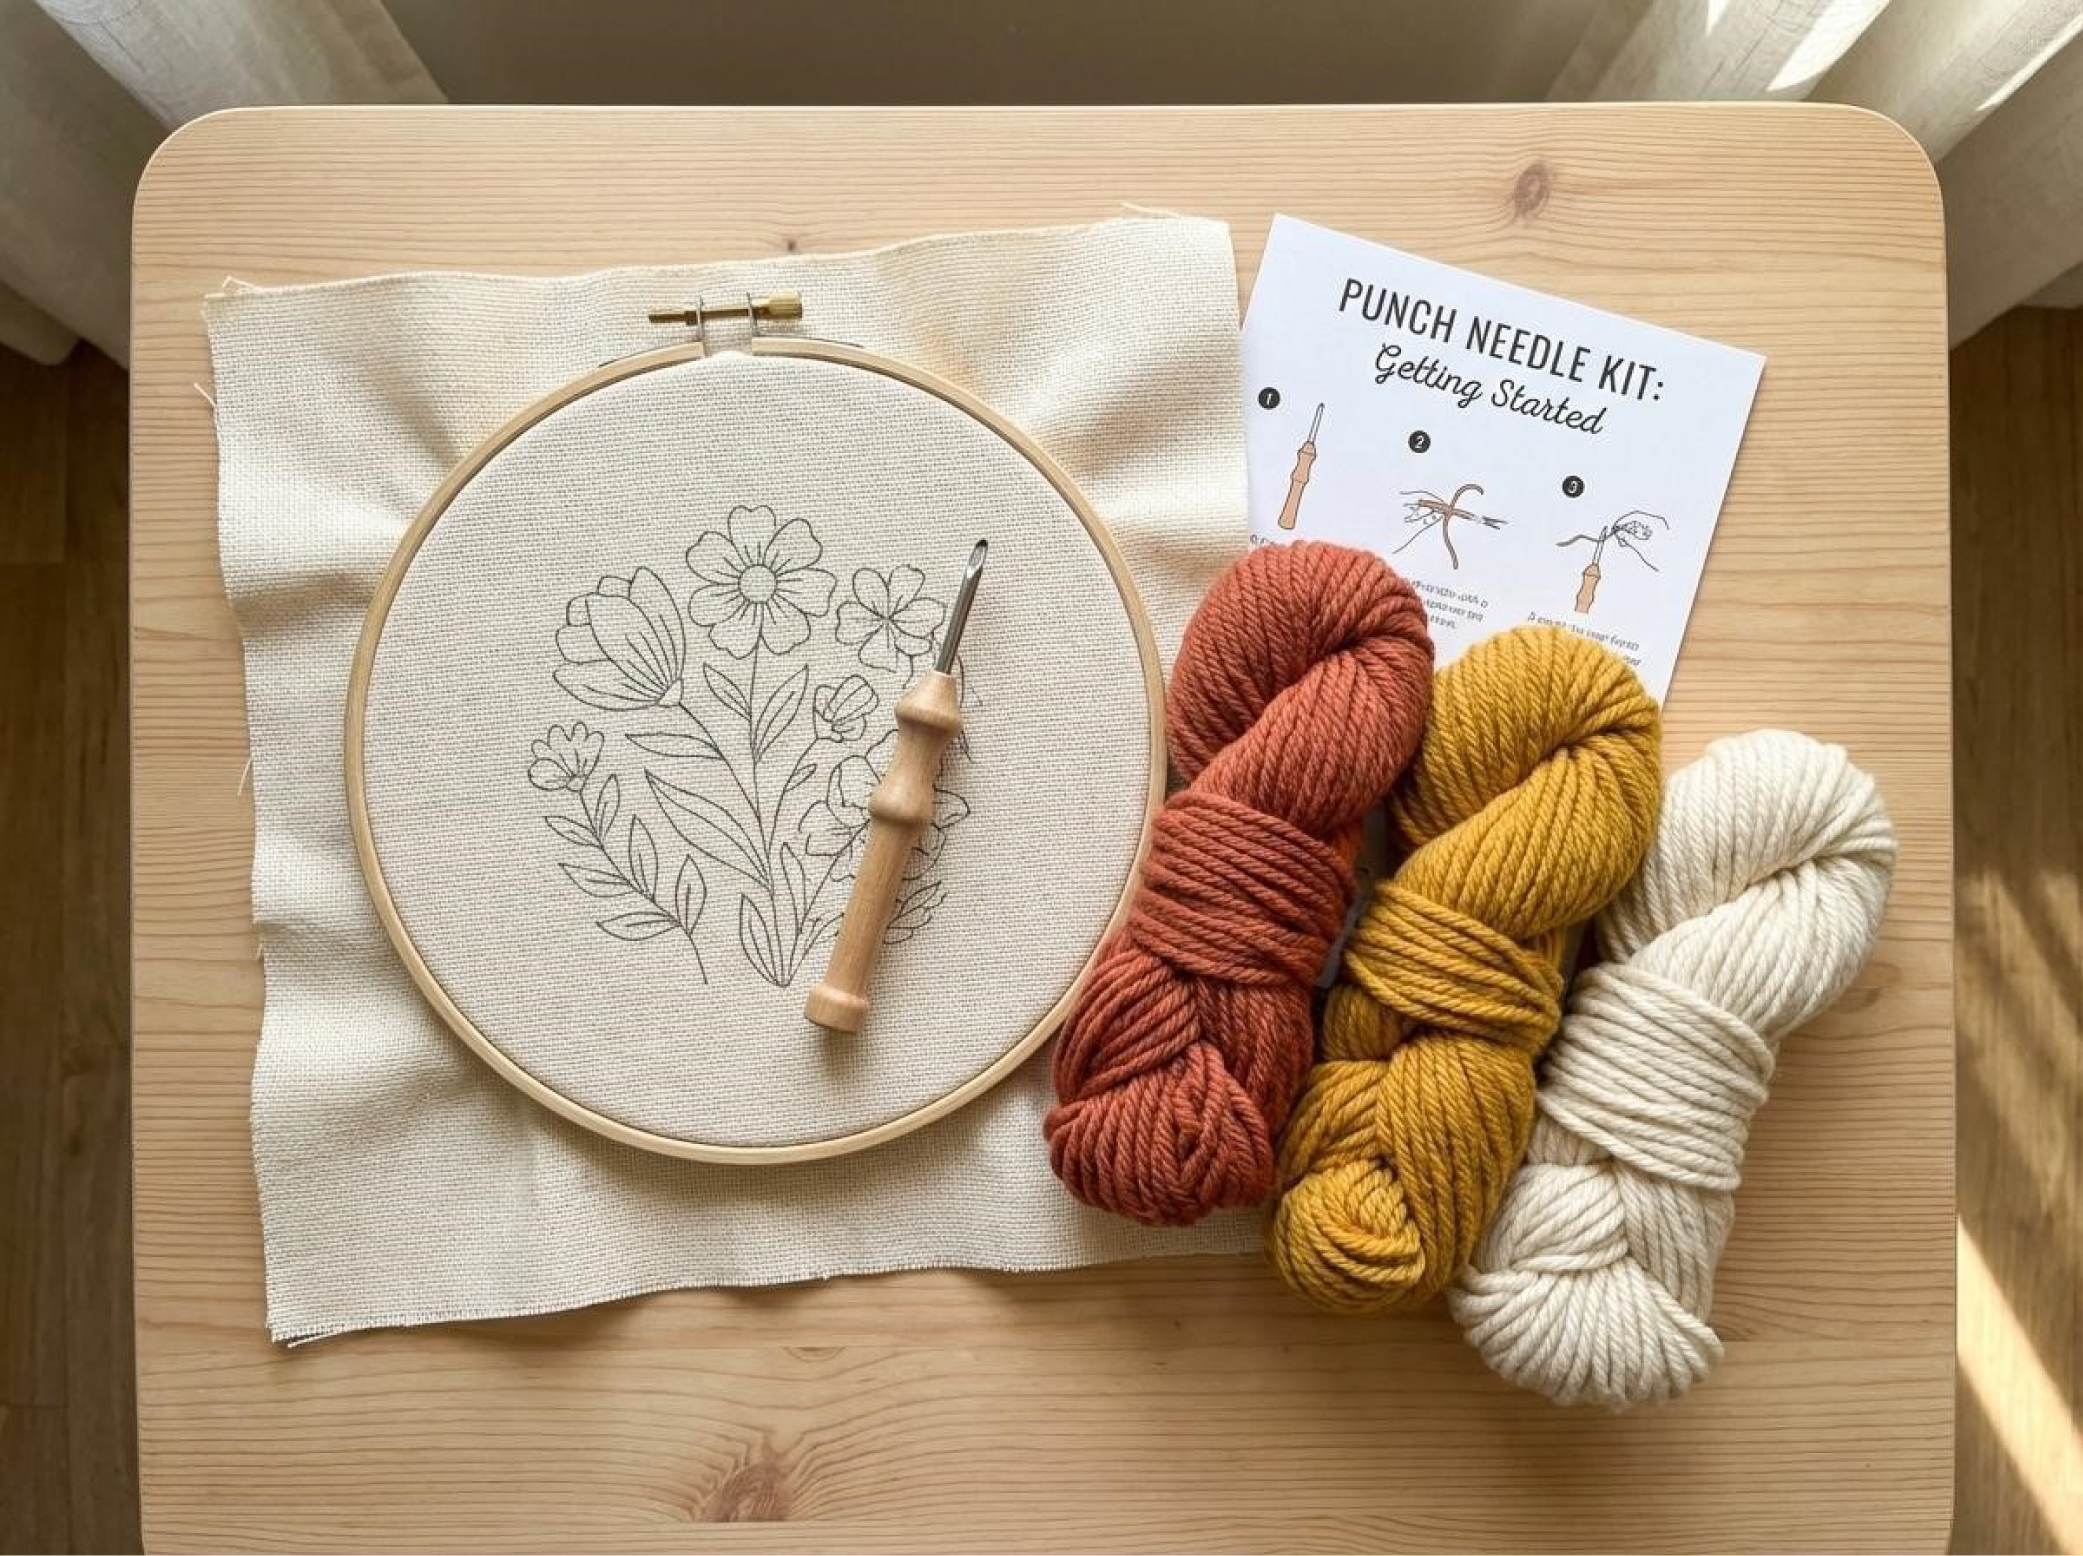
Most beginner kits include four things: a punch needle tool, a piece of monk’s cloth (sometimes pre-printed with a pattern), yarn in multiple colours, and a hoop to keep the fabric taut while you work.
Monk’s cloth is the standard starting fabric for good reasons. It’s a loosely woven cotton with a consistent grid structure, which makes it easy for the needle to pass through cleanly and lets the loops sit tightly without pulling loose. Tighter weaves – like regular cotton canvas – are harder to push through and cause more skipped stitches.
The hoop matters more than beginners expect. If the fabric isn’t drum-tight, the loops fall out almost as fast as you put them in. Wooden embroidery hoops work well, but some kits include a plastic grip hoop that maintains tension better over longer sessions.
Needle sizes vary by yarn weight. Bulky yarn needs a larger needle; fine yarn needs a smaller one. Kits generally match these for you, which is another reason starting with a kit-beats trying to assemble the parts yourself.
Pre-printed fabric – where the pattern outline is already marked directly on the cloth – is the real advantage for first-timers. You don’t need to copy or trace a design. You just follow the lines. That removes one variable from a process that already has several, and it means your first piece actually looks like it’s supposed to.
Starting small is the right call. A coaster-sized piece (roughly 10×10 cm) takes about 90 minutes and teaches you everything the technique requires. Wall hangings around 20×25 cm are achievable in a full Saturday session. Rugs and larger floor pieces are a different project category – do those after you’ve made a few smaller pieces and know how your tension feels.
If you want to see how punch needle fits alongside other handmade decor approaches worth exploring, there’s plenty of crossover with macrame, weaving, and fabric art that uses similar display methods.
The Basic Technique: How to Do It?
How to do punch needle step by step? Getting the setup right matters more than getting the stitching right. Most beginner problems trace back to one or two setup errors, not technique in making DIY punch needle wall hanging.
1. Setting Up
Stretch your fabric over the hoop and tighten it until there’s no give at all when you press the center with a finger. The fabric should feel like a drum skin. Too much slack and the loops won’t hold – they need the resistance of a taut surface to stay in place.
2. The Punching Motion
Hold the needle like a pencil, with the bevelled opening facing the direction you’re moving. Push the needle straight down through the fabric until the handle touches the surface – that’s the stop point, and it sets the loop length. Then drag forward slightly before lifting. Don’t pull the needle high out of the fabric between stitches; just skim it across the surface to the next position. The loops form on the underside (the side facing away from you as you work), which means the textured face of your finished piece is on the bottom while you punch.
3. Common Beginners’ Mistakes
Three problems come up again and again. Fabric too loose is by far the most common – see setup above. Pulling the needle too high between stitches breaks the loop chain, leaving gaps. And inconsistent spacing means some areas look dense while others look patchy. The fix for all three is to slow down and work systematically in rows.
The growing popularity of all-in-one craft kits has pushed manufacturers to include better step-by-step instructions than they used to, so don’t skip whatever guide comes with your kit – most of them address exactly these beginner pitfalls.
How to Turn a Finished Piece into Home Decor
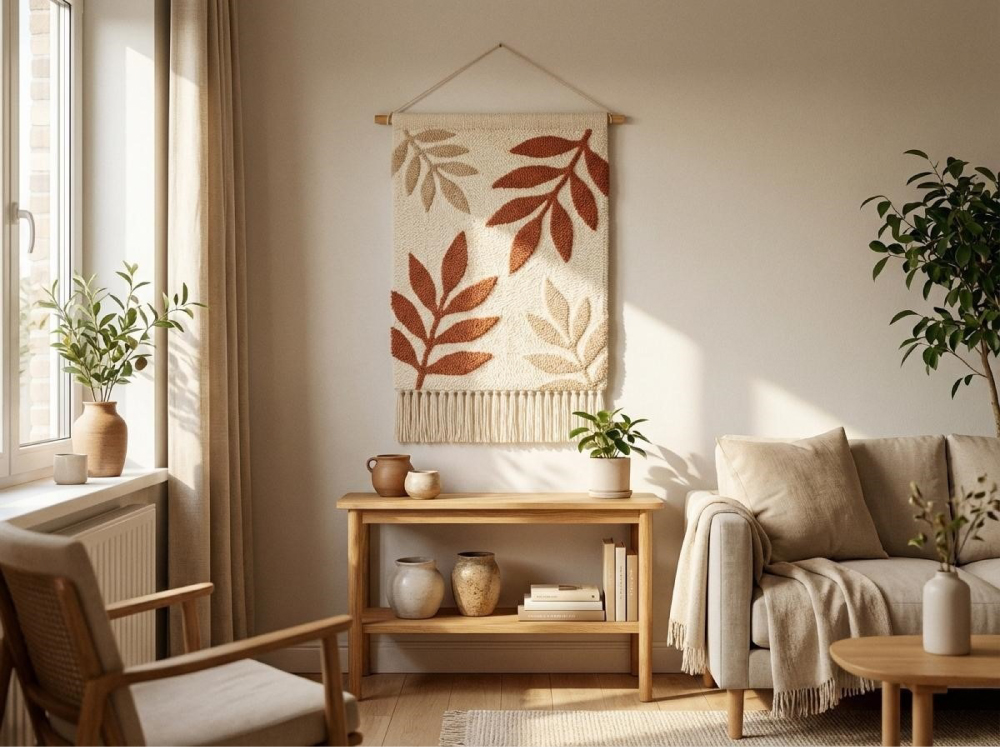
Finishing and displaying a piece is where most tutorials stop being helpful. Here three approaches are described that actually work.
The simplest option is to leave the piece in the hoop and hang it as is. Trim the excess fabric to about 2 cm around the hoop edge, fold it to the back, and hot-glue it in place. The hoop becomes the frame. It’s quick, it looks intentional, and it suits a rustic or bohemian interior well as a DIY punch needle wall hanging.
For a cleaner gallery look, stretch the finished cloth over a small canvas frame – the type used for oil painting. Pull the fabric edges to the back and staple or glue them. This gives you a tight, wall-art finish that reads as a proper framed piece rather than a craft project.
The third option is a dowel mount. Fold the top edge of the fabric over a thin wooden dowel, stitch or glue it, and tie a length of twine to each end for hanging. This is the most-photographed punch-needle display style right now, and it works well in modern or Scandi-influenced rooms.
For placement, punch needle pieces hold up best in low-traffic, low-humidity rooms. The living room accent wall and above a bedroom headboard are both strong choices.
However, it is better to avoid bathrooms or spaces near cooking steam – moisture loosens the loops over time.
Neutral-palette rooms (beige, cream, warm white) give punch-needle pieces room to read as a textural accent rather than compete with other patterns. If your walls are already busy, a piece in a single-color palette (all cream, or all a muted terracotta) tends to sit better than a multi-colour design.
There are plenty of other low-cost ways to refresh your walls that pair well with handmade textile art if you want to build a full accent wall rather than a single statement piece.
The Calming Side of the Craft
This part doesn’t get enough attention in most craft guides, but it’s probably why so many people stick with punch needle after their first project.
A 2024 scoping review published in a nursing journal and indexed on PubMed – the needlecraft and mental health research study examined 25 separate studies on the subject – found that needlecraft has an overwhelmingly positive effect on mental well-being. The review identified four major benefit areas: mental well-being directly, social connection, sense of purpose and achievement, and self-identity. That’s a lot of ground for something that looks like a hobby.
The mechanism isn’t mysterious. The repetitive motion of the punch needle keeps your hands occupied and your attention anchored in a narrow, manageable task. It’s enough focus to prevent your mind from cycling through whatever’s been stressing you out, but not so demanding that it creates its own pressure. Neuroscientists describe this as a state similar to mindfulness meditation – cortisol levels drop, the nervous system settles, and the session ends with a visible result rather than just the absence of stress.
That visible result matters. You didn’t just sit and breathe – you made something awesome. According to Customcy’s 2025 compilation of craft statistics, 52% of hobbyists spend more than five hours a week with their craft work. That’s not occasional dabbling. For many people, a regular craft session is an integral part of how they manage their week.
The practical upshot for home decor: every finished punch needle piece is the product of actual time spent doing something good for you. That’s a different relationship to an object on your wall than buying a print and hanging it up.
If you’re already thinking about other DIY projects worth adding to your routine, the combination of creative output and the calming quality of handwork is hard to beat among the options available to someone without specialist skills.
Start Small, Display Proudly
Punch needle earns its current moment because it delivers on the promise: a beginner can sit down with a kit, follow the steps, and have something genuinely displayable within a few hours. That’s not true of every craft, and it’s worth saying plainly.
The path is short. Get a kit that includes the basics. Make something small first – a single flower, a simple geometric shape, anything that fits in your hoop. Get the tension right and learn how the needle feels when it’s working properly.
Now it’s time. Hang the finished piece somewhere you’ll see it.
Final Thoughts
Once you have the technique, scaling up is straightforward. The same motion that makes a coaster makes a rug – just more of it, over more sessions. The skill doesn’t change. The tools don’t change. What changes is the scale of what ends up on your wall, or eventually your floor.
Also Read: Mesmerising Small Home Décor Ideas
FAQs on Punch Needle Crafts
1. Is Punch Needle Craft Easy for Complete Beginners?
Yes, punch needle is beginner-friendly. It requires simple tools and basic techniques, which allows almost everyone to create textured decor pieces within hours.
2. What Materials do I Need to Start Punch Needle Crafts?
You need a punch needle tool, monk’s cloth fabric, yarn, an embroidery hoop, and a beginner kit for easy setup.
3. How Long Does It Take to Finish a Punch Needle Project?
Small punch needle projects take about one to two hours. However, larger wall hangings may require longer time frame, like a full weekend session.
4. Why is My Punch Needle Not Forming Proper Loops?
Loose fabric tension, incorrect needle handling, or pulling the needle too high often causes loops to loosen or fail to form correctly.
5. Can Punch Needle Crafts be Used as Home Decor?
Yes, punch needle pieces make stylish wall hangings, cushions, and rugs. The DIY décor pieces can add texture and a handmade aesthetic to interiors.
Author & Expert Review
Written By:  Swagata Chatterjee | SEO Content Writer & Editor

| Credentials: MA (Calcutta University, Kolkata). Experience: Content Writer and Editor with 19 years’ experience of business content writing and editing, currently writing SEO-optimized, readers’-friendly articles for Gharpedia, part of SDCPL. Expertise: Specializes in writing well-researched content on lifestyle, home décor, , lifestyle, safety, home appliances and gadgets, on-site SEO Optimization, blending technical accuracy with general reader’s ability to learn the topics. Find her on : Linkedin |
Verified By Expert: Mansi Shah – Architect & Architectural Content Writer, SDCPL | B.Arch.
 Mansi Shah – Architect & Architectural Content Writer,
 This article has been reviewed for architectural and interior design accuracy by Mansi Shah, an Architect associated with Sthapati Designers & Consultants Pvt. Ltd. (SDCPL). With over 25 years of professional experience in architectural planning, design development, detailing, and on-site execution of residential, commercial, and institutional projects, she brings deep expertise in architecture and interior planning, material selection, construction practices, and building bylaws. Her review ensures the content reflects practical design principles, interior space efficiency, and industry-aligned architectural standards.
Find him on: LinkedIn