





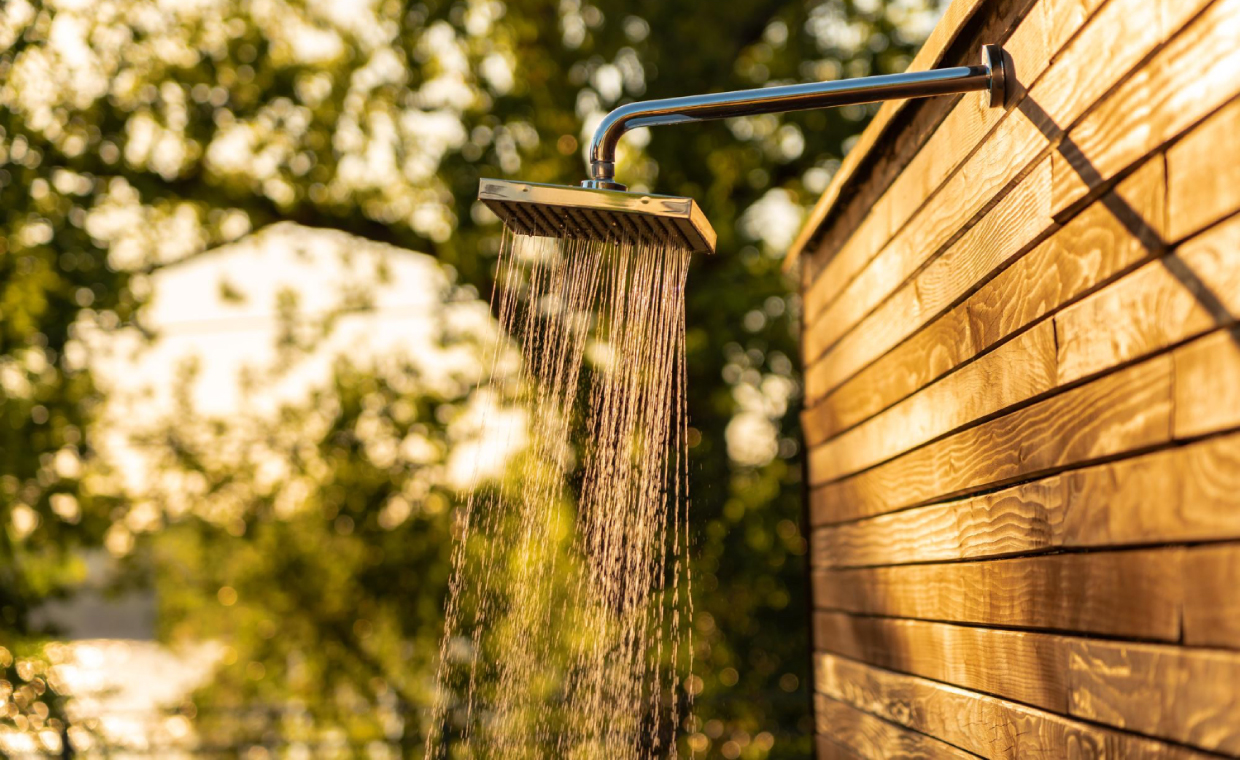
Table of Contents
Quick Summary
- Plan the shower location around access from the pool, garden or house, while considering sunlight, wind and nearby windows.
- Allow enough room for comfortable movement, towels, footwear and a small bench.
- Choose suitable plumbing arrangements based on seasonal use, hot water requirements and local regulations.
- Manage wastewater carefully to prevent pooling, muddy patches and moisture problems near the house.
- Select slip-resistant flooring that drains well and remains comfortable under bare feet.
- Improve privacy with screens, planting and carefully positioned overhead elements.
- Make maintenance easier by keeping drainage points, valves and floor edges accessible.
- Prepare the shower for seasonal changes and add practical accessories to keep towels and clothing dry.
Courtesy - Magnific
A well-placed outdoor shower turns the trip in from a pool, garden, or beach into a simple reset. It catches sand, chlorine, and muddy footprints before they reach the house, while giving the yard a useful place to slow down after time outdoors.
The appealing finishes come later. A shower works when the route to it, the path water takes away from it, and the views around it are considered together. Start with those decisions, then let the enclosure and fixtures follow.
Start with the Route
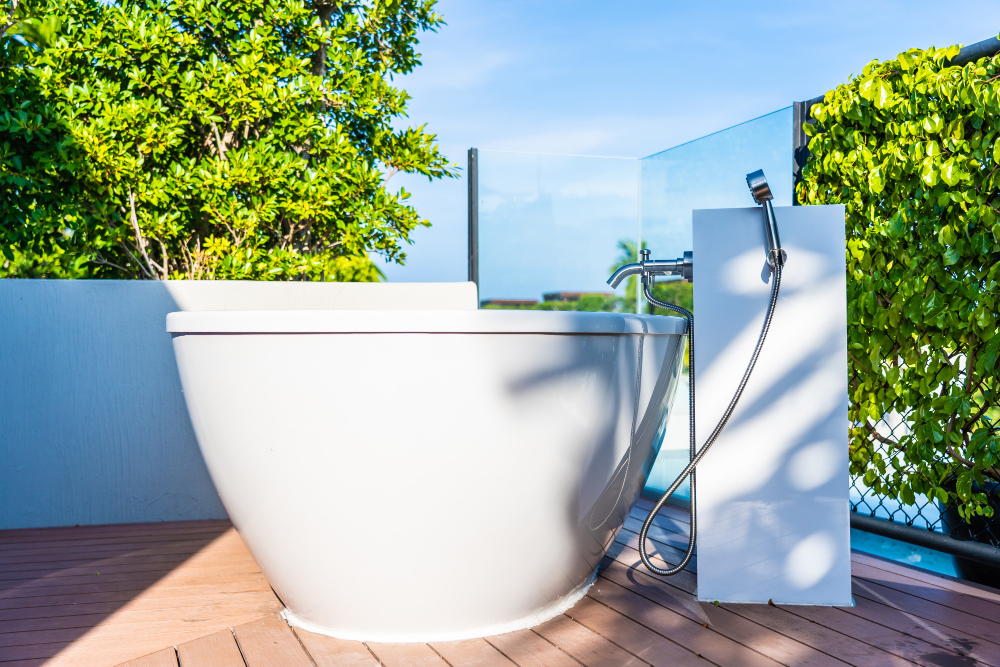
Courtesy: Magnific
Begin by walking the route a wet person will actually take. A shower near the pool gate, back door, or garden path can intercept mess without sending someone across a slippery deck. It should feel easy to reach with bare feet and should not turn the laundry-room door into the only changing area.
Stand at the proposed spot at different times of day. Notice sun, wind, runoff, neighboring windows, and the distance to a water connection. Keeping the wet zone away from the foundation matters just as much as giving it a pleasant view. A simple sketch of routes, doors, and existing drains often reveals a more practical location than the first empty corner.
Allow Room to Move
A showerhead on an exterior wall needs more than a patch of paving below it. Leave enough room to turn, reach a towel, set down sandals, and rinse off a child or a dog without bumping into a fence. A small ledge or bench also gives dry clothing a place to wait outside the splash zone.
Set The Plumbing Scope
A seasonal cold-water rinse station has different needs from a permanent hot-and-cold shower. Decide which one the household needs before framing an enclosure. New supply lines, electrical work, wastewater connections, and freeze protection may involve local requirements, so this is the point to consult the local authority or a qualified professional.
Plan the Water Path
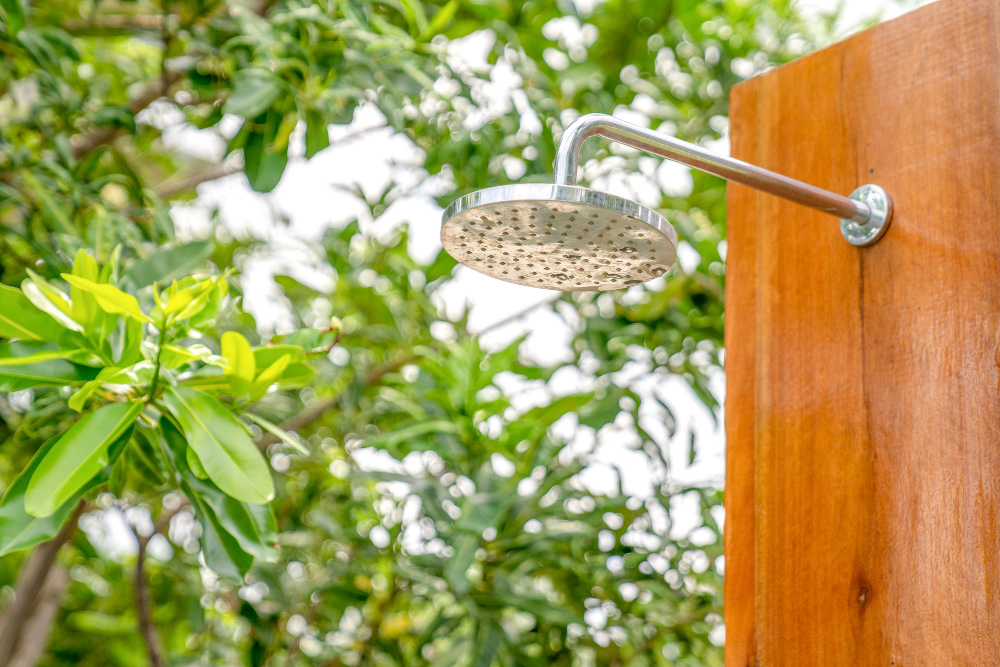
Courtesy - Magnific
Water management deserves attention before a floor material is chosen. A handsome stone surface still becomes a nuisance if runoff collects beside the house or leaves a muddy edge around the shower. The site’s slope, soil, amount of use, and whether soap will be used all affect the drainage approach.
For a light rinse station, a permeable bed of gravel or stone may suit the site where local rules allow it. A shower used often, installed over hardscape, or placed near a building may call for more directed drainage. The useful question is not whether every shower needs the same drain, but where the water will go on its wettest day.
Choose Barefoot Footing
Look for texture, stable footing, and a surface that sheds water. Slatted wood, textured pavers, pebbles, and concrete each behave differently in sun, rain, and bare feet. Test how hot a material gets in direct light and whether gaps or joints can trap leaves. A floor that is easy to sweep will stay inviting longer.
Keep Maintenance Visible
Leave drainage edges accessible instead of hiding every gap under decorative stones or dense planting. Valves, cleanout points, and the floor perimeter should be easy to inspect after a heavy rain. This makes it easier to notice a slow leak, settling surface, or blocked outlet before the problem spreads toward the house.
Shape Privacy in Layers
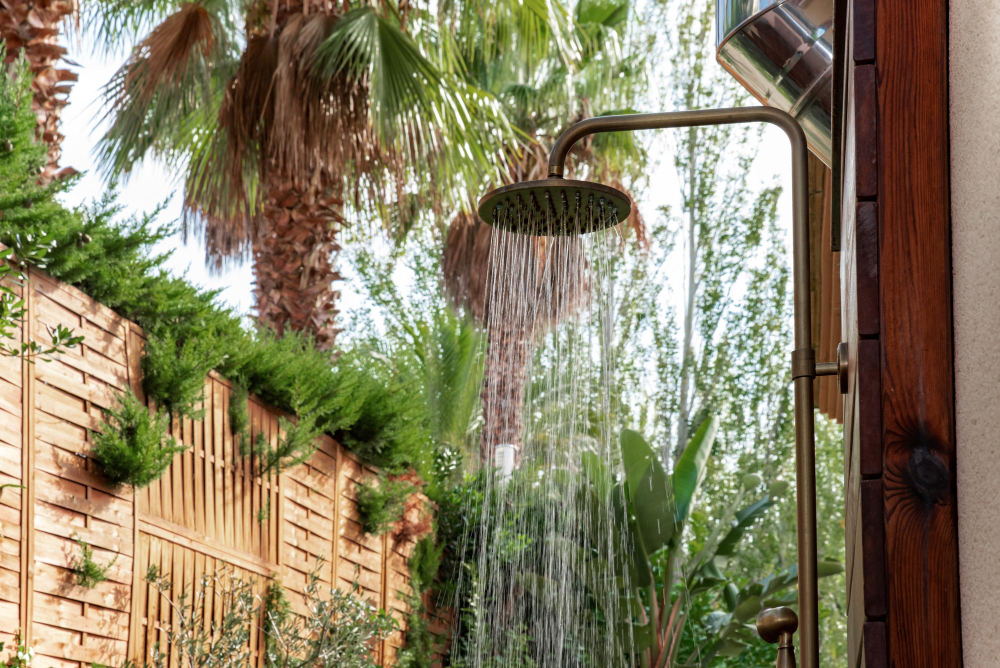
Courtesy - Magnific
Privacy begins with sightlines rather than a fence catalog. Look from the street, the pool chairs, an upstairs bedroom, and a neighbor’s yard toward the intended shower. The view down into the space can matter as much as the view across it, especially on a small lot.
A solid panel can block the critical view, while planting softens the edge and preserves the garden feeling. Slatted screens work when their angle is planned for the actual viewpoint. A partial overhead element can help with higher windows, but it should still allow daylight and moving air through the enclosure.
Repeat A Yard Detail
The shower will look more settled when it borrows one cue from the house or landscape: the tone of a deck board, the rhythm of a screen, a stone already used on a path, or the finish of nearby hardware. That connection lets a compact utility area feel intentional without making it overly decorated.
Leave Space to Dry
Fresh air is part of the experience and part of the upkeep. Keep enough opening above or beside the screen for the floor and walls to dry after use. Avoid surrounding the space with plants that constantly drop leaves into the drain area, and leave a route for cleaning behind the enclosure.
Finish The Rinse Routine
The smallest details make an outdoor shower feel ready rather than improvised. Put hooks where a towel stays dry, choose a shelf that does not collect water, and keep a basket for sandals or pool toys nearby. A non-glass soap holder and a place to rest a phone outside direct spray reduce the scramble after a swim.
- Hang towels on a hook set beyond the main spray.
- Keep a bench or ledge clear for dry clothes.
- Choose hardware rated for wet outdoor exposure.
A dry hook-and-bench zone also makes the transition back to the patio feel less rushed. Someone can rinse off, reach for a swim dress for women, and join the group without carrying wet items through the house. The point is to give every item a dry landing place, not to make the shower area larger than the routine requires.
Prepare For the Season
In freezing climates, keep shutoff valves and drain-down points reachable when the weather changes. Removable hoses, shower accessories, and textiles can be stored before winter, while a spring check can look for leaks or loose hardware. In warmer areas, a regular rinse of fixtures and an occasional floor cleanup keep the space ready for frequent use.
- A thoughtful outdoor shower follows a clear sequence: catch the mess, move water safely, screen the right views, and support the change back into everyday life. When those decisions lead the design, the finished space feels calm, practical, and easy to use from the first warm day through the last.
Also Read: 9 Relaxing Indoor Pool Design Ideas and Its Maintenance
FAQs – Outdoor Shower Guide
Q1. Where should an outdoor shower be installed?
An outdoor shower should be placed near a pool, garden path or exterior entrance for convenient access. Consider privacy, sunlight, wind exposure, plumbing access and drainage before choosing the location.
Q2. How should an outdoor shower drain?
Drainage depends on the soil, site slope, frequency of use and local regulations. A permeable gravel bed may suit a light rinse station where permitted, while frequently used showers may require a more directed drainage system.
Q3. Which flooring is best for an outdoor shower?
Textured pavers, suitable slatted timber, pebbles and textured concrete are possible options. Choose a surface that provides good grip when wet, drains effectively and is comfortable under bare feet.
Q4. How can you maintain privacy in an outdoor shower?
Use solid panels, angled slatted screens or strategically placed plants to block views from neighbouring properties and upper-floor windows. Check sightlines from different angles before finalising the enclosure.
Q5. How do you maintain an outdoor shower during winter?
In freezing climates, shut off the water supply, drain exposed pipes and hoses, and follow the plumbing system’s winterisation requirements. Inspect the fixtures, drainage and flooring again before regular use resumes.
Courtesy - Featured Image(Magnific)
Author & Expert Review
Written By:  Gaurav Mishra | Civil Engineer & Content Writer

| Credentials: B.E. (Mahavir Swami College, Surat), Registered with Bhagwan Mahavir University (BMU). Experience: Civil Engineer with 5+ years of content writing experience, currently writing impactful articles for Gharpedia, part of SDCPL. Expertise: Specializes in writing well-researched content on residential construction, construction materials, design planning, on-site practices, and safety, blending technical accuracy with everyday clarity. Find him on: LinkedIn |
Verified By Expert: Ravin Desai – Co Founder – Gharpedia | Co Founder – 1 MNT | Director – SDCPL

This article has been reviewed for technical accuracy by Ravin Desai, Co-Founder of Gharpedia and Director at Sthapati Designers & Consultants Pvt. Ltd. With a B.Tech. in Civil Engineering from VNIT Nagpur and an M.S. in Civil Engineering from Clemson University, USA, and over a decade of international and Indian experience in the construction and design consultancy sector, he ensures all technical content aligns with industry standards and best practices.
Find him on: LinkedIn