






Table of Contents
Quick Summary
- Confirm cabinet sizes, countertop materials, fixtures, and appliance dimensions prior to demolition to prevent scheduling delays.
- Designate a quiet area with basic appliances like a microwave, kettle, and mini-fridge to keep daily meal prep manageable.
- Protect the rest of your home by sealing doorways with plastic sheeting, covering walkways, and emptying all cabinets completely.
- Ensure clear access to main water, gas, and electrical shutoffs, and keep fire extinguishers and first-aid kits within reach.
- Set ground rules for crew entry points, parking, and pet safety while informing neighbours about expected noise or deliveries.
- Reserve a 10% to 20% cushion in your budget to absorb unexpected structural, plumbing, or electrical repairs.
Courtesy - Magnific
A kitchen renovation changes more than the room itself. For several weeks, sometimes months, the space where meals are made, dishes are washed, and the household gathers becomes a work zone. Homeowners who plan only for the finished result often find the construction period harder than expected, with dust drifting into other rooms, disrupted meals, and unexpected questions that need quick decisions.
That preparation matters whether the project involves a few targeted updates or a full kitchen transformation with new cabinetry, surfaces, appliances, and a revised layout. Groundwork done before demolition starts helps protect the rest of the home, keeps daily routines manageable, and avoids delays caused by unmade decisions.
Settle the Major Decisions Before Work Begins
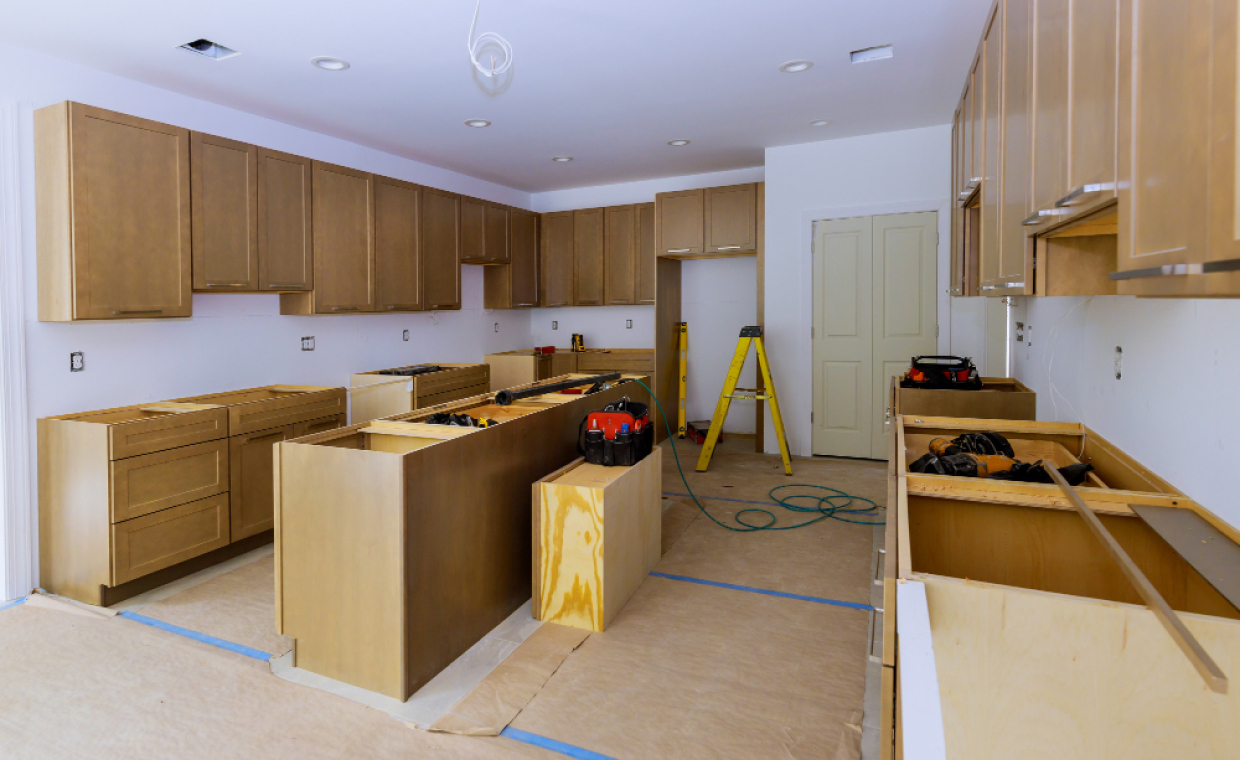
Major selections such as cabinetry, countertops, flooring, fixtures, and appliances should ideally be confirmed before demolition begins. Many of these items have lead times of several weeks, and custom cabinetry or a specific stone slab can take longer. If the crew arrives while key materials are still on order, the schedule stalls and the kitchen stays unusable for longer than it needs to.
Appliance specifications deserve particular attention because cabinet openings, electrical connections, and ventilation all depend on exact dimensions. Having final models chosen, or at least confirmed measurements, lets installers and cabinet makers work from accurate numbers instead of estimates.
Set Up a Temporary Kitchen

Courtesy - Magnific
Living without a kitchen is manageable with some advance setup. A corner of the dining room, a utility room, or another suitable area away from the construction zone can hold a refrigerator, microwave, toaster oven, kettle, and a slow cooker or portable burner. A folding table works as counter space, and a plastic basin can handle dishwashing when no sink is available.
Temporary cooking equipment calls for a little caution. Avoid plugging several high-wattage appliances into the same circuit, and follow the manufacturer’s clearance and ventilation instructions for anything that produces heat. Planning meals ahead helps too. Simple dishes built around a microwave or a single pot reduce the temptation to order takeout every evening. Keeping a small set of lightweight dishes, cups, and utensils within reach also cuts down on cleanup when washing options are limited.
Protect the Rest of the House

Courtesy - Magnific
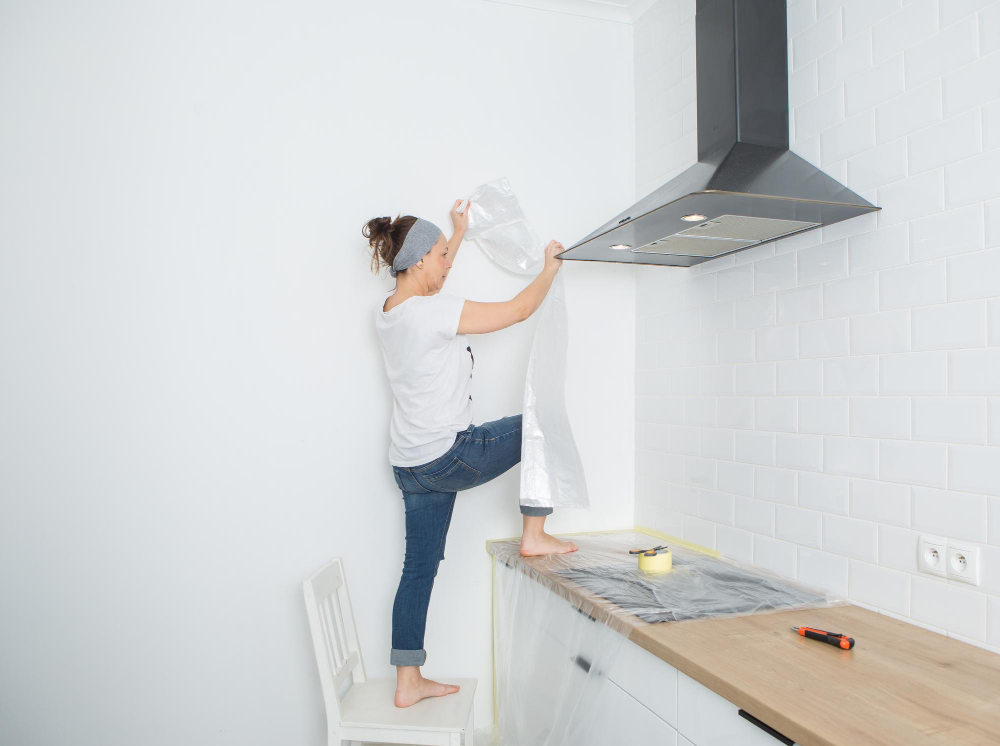
Dust travels much farther than most people expect. Demolition, cutting stone or tile, and sanding all release fine particles that settle in adjacent rooms. Sealing doorways with plastic sheeting and covering the floors along the route workers will use keeps much of it contained, and furniture, rugs, and decor near the kitchen should be moved out or covered. It is also worth asking the contractor how the work area will be isolated from the rest of the house, including how HVAC registers and return-air pathways will be handled during dusty work.
Cabinets and shelves need to be fully emptied before work begins, so it helps to decide early what to store, donate, or discard. Sorting these things in advance turns a stressful last-minute scramble into a manageable weekend task.
Know Where Utilities and Safety Equipment Stand
Courtesy - Magnific
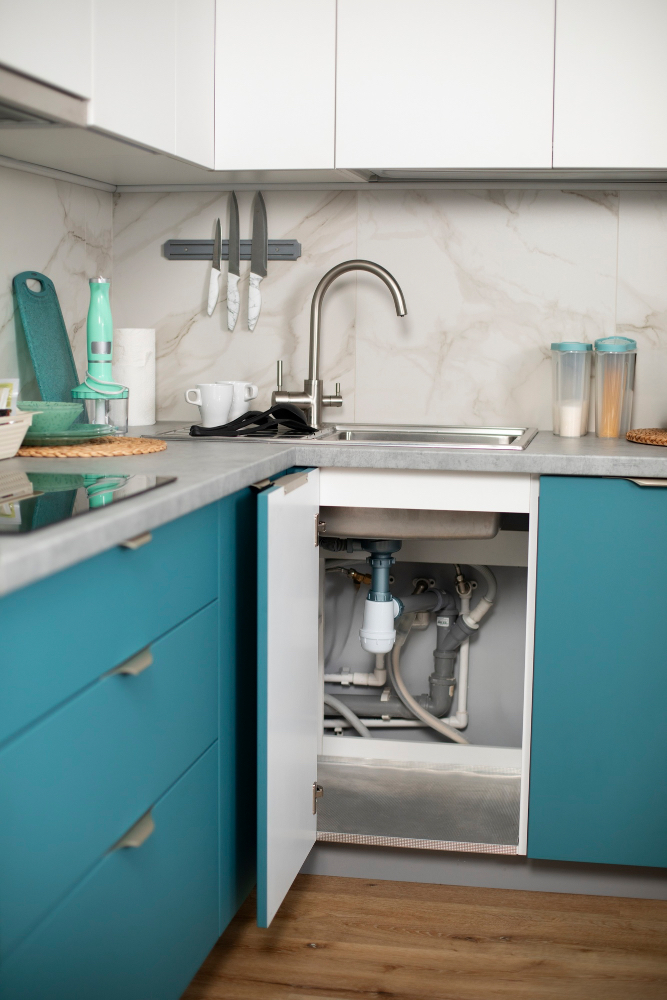
Homeowners should know where the main water, gas, and electrical shutoffs are, and make sure the contractor can reach them when needed, since plumbers and electricians will need to cut service at certain stages. A fire extinguisher and a basic first aid kit should stay within reach of the temporary kitchen, particularly if a portable burner is in use. Paints, adhesives, sealants, and other products may also require ventilation while they cure, so it makes sense to follow the product instructions and the contractor’s plan for maintaining indoor air quality.
Plan for Noise, Access, and Daily Routines
Renovation work typically runs during daytime hours, which affects anyone working from home, children studying, or family members who need quiet. Agreeing on entry points, parking, and bathroom use with the crew keeps daily interactions simple. Households with pets or small children should also have a clear plan for keeping them away from tools, open walls, and stored materials. Letting neighbours know about the schedule, especially if deliveries or a dumpster will block shared space, helps avoid unnecessary complaints or confusion.
Allow for Hidden Conditions and Schedule Changes
Even well-managed projects run into unexpected findings. Opening a wall can reveal outdated wiring, plumbing that needs relocating, or moisture damage that was invisible beforehand. Permit inspections can also shift timing, and requirements vary by location. In Renton, Washington, for example, residential remodelling work may require separate approvals for electrical, plumbing, and mechanical work. Homeowners working with Renton kitchen renovation contractors should confirm which permits and inspections apply before construction begins.
A contingency of roughly 10 to 20 percent can provide breathing room for unexpected conditions, particularly in older homes. It is also sensible to leave flexibility in the schedule rather than planning an important event or move-in date around the earliest possible completion. Keeping a running list of open decisions, along with one point of contact for the crew, helps questions get answered before they hold up the work.
Final Thoughts
A temporary kitchen, a clear plan for access and dust control, confirmed product selections, and realistic expectations around timing can make the construction period much easier to live through. The renovation may still be disruptive, but it does not have to take the entire household by surprise.
Also Read: 11 Tips for Hiring A Kitchen Renovation Contractor!
How to Prepare for a Kitchen Renovation FAQs
1. How long before demolition should I start preparing for a kitchen renovation?
You should begin preparing at least two to three weeks before demolition. This gives you enough time to empty your cabinets, clear nearby living spaces, order long-lead materials, and set up a functional temporary kitchen.
2. How do I set up a temporary kitchen during construction?
Choose an area away from the construction zone, such as a dining room or utility room. Set up a folding table with essential plug-in appliances like a microwave, toaster oven, kettle, and portable burner, along with a plastic basin for washing dishes.
3. How do I keep renovation dust from spreading to other rooms?
Seal doorways connecting to the work area with heavy plastic sheeting and tape off HVAC vents to prevent fine particles from traveling through ductwork. You should also cover nearby furniture, rugs, and high-traffic floor pathways.
4. What primary keyword step is most critical for avoiding project delays?
Confirming exact product selections and appliance specifications before work starts is essential. Materials with long lead times, like custom cabinets or stone slabs, can stall the entire schedule if not ordered early.
5. How much contingency money should I set aside for unexpected costs?
It is recommended to allocate a contingency fund of 10% to 20% above your base budget. Opening up walls often reveals hidden issues such as outdated wiring, plumbing adjustments, or moisture damage.
Courtesy - Featured Image(Magnific)
Author & Expert Review
Written By:  Nidhi Patel | Civil Engineer & Content Writer

| Credentials: B.E. (Mahatma Gandhi Institute of Technical Education and Research Centre), Registered with Gujarat Technological University (GTU). Experience: Civil Engineer with 3+ years of content writing experience, currently writing blogs for Gharpedia, part of SDCPL. Expertise: Specializing in SEO-optimized blogs and long-form articles focused on home improvement, construction, interiors and architect topics. I create well-researched, reader-focused content that balances technical accuracy with clarity, making complex subjects easy to understand. Find her on: LinkedIn |
Verified By Expert: Farhan Shaikh – Senior Manager – Architect, SDCPL | Associate Member – IIA

This article has been reviewed for architectural and interior design accuracy by Farhan Shaikh, Senior Manager – Architect at Sthapati Designers & Consultants Pvt. Ltd. As the lead for all architectural and interior projects at SDCPL and an Associate Member of the Indian Institute of Architects (IIA), he brings hands-on experience in architectural planning, interior design, project coordination, and sustainable strategies. His review ensures the content reflects practical design considerations, industry best practices, and real-world applicability across both architecture and interior spaces.
Find him on : Linkedin