







Table of Contents
Quick Summary
- A dedicated sink helps handle muddy shoes, gardening tools, pets, and bulky cleaning tasks without bringing messes into the kitchen or bathroom.
- Pick a sink size and depth suited to what you wash most often, and confirm door swings, walkway clearance, and proper drain slope before choosing a spot.
- Installing a utility sink in a mudroom requires checking water supply connections, pipe conditions, and code-compliant venting and trap protection.
- Choose splash-friendly floors, washable walls, and moisture-resistant cabinet finishes while keeping shutoff valves, traps, and fittings easy to reach.
- Schedule plumbing before closing walls or finishing floors, confirm local permit and inspection rules, and inspect for leaks and drainage issues after installation.
Courtesy - Pexels
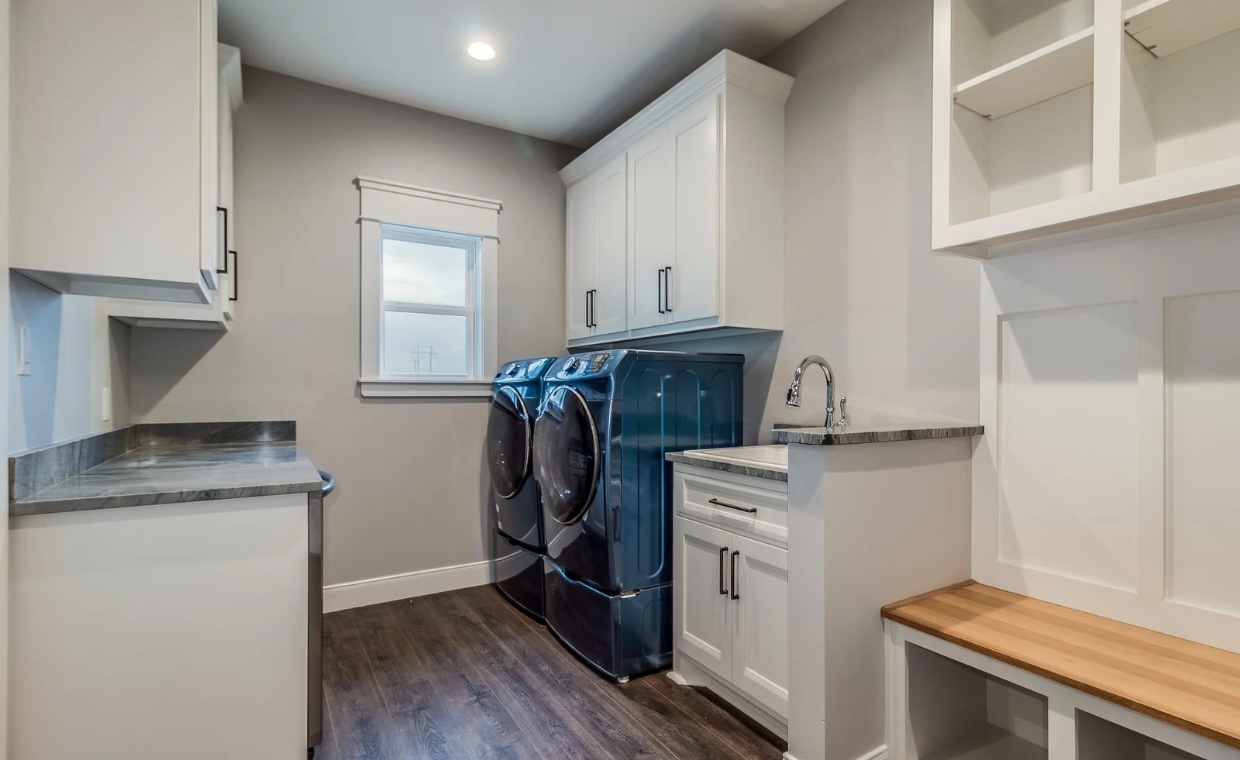
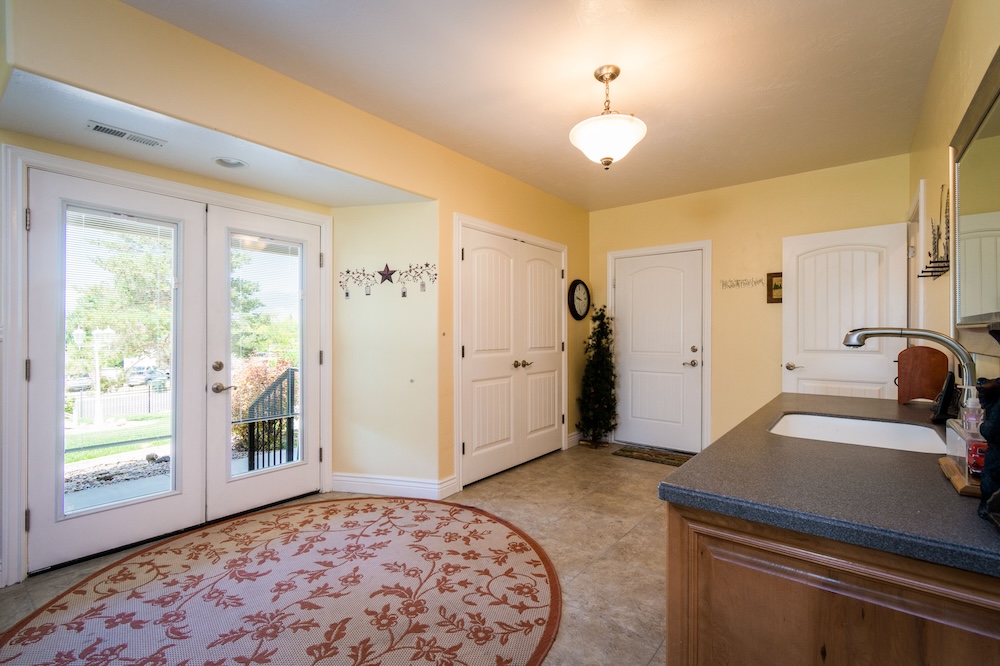
A mudroom often becomes the place where muddy shoes, wet jackets, gardening tools, and other outdoor items end up. Adding a utility sink can make cleaning these things more convenient, especially when the alternative is carrying dirty items through the kitchen or bathroom.
However, installing a sink involves more than finding an empty corner and choosing a suitable basin. The room needs access to water supply lines, a properly connected drainage system, and enough space for the plumbing to remain accessible.
Before making changes, homeowners should consider how the sink will be used, whether the existing plumbing can support it, and how the installation will affect the surrounding walls, floors, and cabinetry.
Why a Utility Sink Can Make a Mudroom More Practical
Courtesy - Magnific
Everyday Tasks That Benefit from a Dedicated Sink
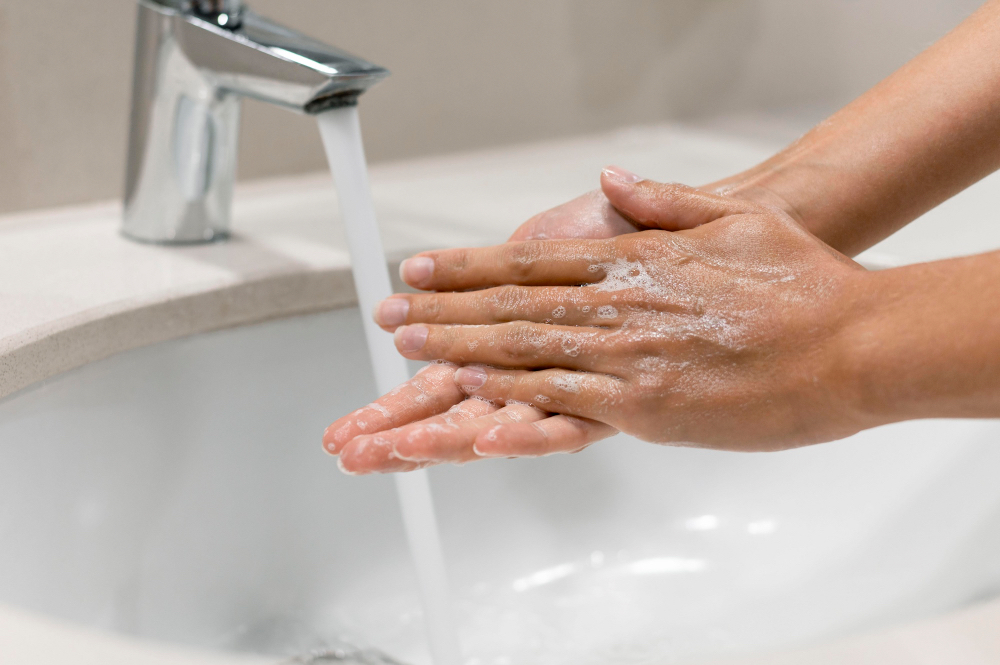
A utility sink provides a separate washing area for tasks that may be inconvenient or messy in the kitchen. Rinsing muddy gardening tools, cleaning reusable containers, filling a mop bucket, and washing dirt from footwear are common examples.
For households with children or pets, having water available near the entrance can also reduce the need to carry muddy belongings through other rooms.
Still, not every mudroom needs a large sink. The appropriate size depends on how frequently it will be used and what homeowners expect to wash. A basin intended for occasional handwashing may not need the same depth as one used for buckets or bulky equipment.
Before buying, check whether the largest item you plan to wash fits comfortably inside the basin.
Choosing the Right Location Within the Mudroom
The sink should be easy to reach without interfering with doors, storage benches, or the usual movement through the room. A location near existing plumbing may simplify installation, but the drain must slope to a suitable connection. Floor framing, wall space, and pipe elevation can limit otherwise convenient locations.
Homeowners should also consider how much clearance they will need when standing at the sink or carrying large objects. Installing a deep basin in a narrow walkway could make the mudroom less functional despite adding a useful feature.
Mark the sink footprint, open nearby doors, and check walkway clearance. Confirm the drain route before finalizing the position.
Check the Existing Plumbing Before Finalizing the Layout

Courtesy - Magnific
Finding Suitable Hot and Cold-Water Connections
Adding a sink usually requires connecting it to the home’s water supply system. Existing lines serving a nearby laundry room, kitchen, or bathroom may provide possible connection routes. The nearest line might be difficult to reach or unsuitable for the added demand.
A plumber may need to examine pipe material, water pressure, line sizing, and whether the new branch could affect other fixtures. Reaching connections behind finished walls or floors may also increase the work involved. New supply lines must meet local requirements.
In colder climates, pipe placement deserves additional attention. Routing water lines through poorly insulated exterior walls or other areas exposed to freezing temperatures can increase the risk of damage. Ask which finished surfaces must be opened to run new lines; this can substantially affect project scope.
Determining Where the Sink Drain Will Connect
Wastewater usually flows downhill through drainage piping. The height of the existing drain and the route needed to maintain proper slope can limit where the new sink can go. A utility sink needs a trap that holds water to block sewer gases, along with properly sized drainage and code-compliant venting. Venting helps prevent pressure changes from emptying the trap’s water seal.
As a model-code example, Section 901.2 of the International Code Council’s plumbing venting provisions addresses protection of fixture trap seals. Chapter 31 of the International Residential Code covers venting for homes within that model code’s scope.
A nearby drain is not automatically a suitable connection. For example, a drain in the adjacent laundry room may be at the wrong elevation or have an arrangement that cannot accept another fixture as proposed. A plumber should check its size, capacity, connection point, and venting before the layout is approved.
Consider the Floor and Wall Materials Around the Sink

Courtesy - Magnific
Choosing Surfaces That Can Handle Frequent Splashes
Mudrooms are often exposed to water from wet shoes and clothing. Adding a sink creates another source of moisture that the surrounding materials must withstand.
Flooring should be easy to clean and suitable for occasional splashes. Materials such as properly installed porcelain tile or water-resistant resilient flooring may be practical choices, depending on their installation requirements.
Homeowners should pay particular attention to joints, edges, and transitions where water could reach the subfloor. A water-resistant floor surface does not necessarily make the seams or the underlying assembly waterproof.
Walls behind the sink may also need additional protection. A washable backsplash can help prevent repeated splashing from damaging painted surfaces or other moisture-sensitive finishes.
Inspect cabinet joints and pipe openings as well as the backsplash; leaks can affect hidden surfaces.
Protecting Cabinets and Walls From Moisture
A utility sink installed within a cabinet can conceal plumbing connections, making small leaks harder to notice. Water that collects beneath the basin may damage cabinet panels, flooring, or nearby wall materials before it becomes visible outside the enclosure.
The U.S. Environmental Protection Agency emphasizes controlling moisture and drying water-damaged materials promptly, generally within 24–48 hours, to reduce the likelihood of mold growth.
Homeowners can reduce avoidable moisture exposure by selecting suitable cabinet materials, sealing vulnerable edges, and keeping the space below the sink accessible for inspection.
A leak-detection device may provide an additional warning, particularly when storage items would otherwise conceal water accumulating inside the cabinet.
Select a Sink That Fits the Room’s Intended Use

Courtesy - Magnific
Comparing Freestanding and Cabinet-Mounted Utility Sinks
Freestanding utility sinks generally have an exposed basin supported by legs or another suitable frame. They can be practical in work-oriented mudrooms where appearance is less important than easy cleaning and access.
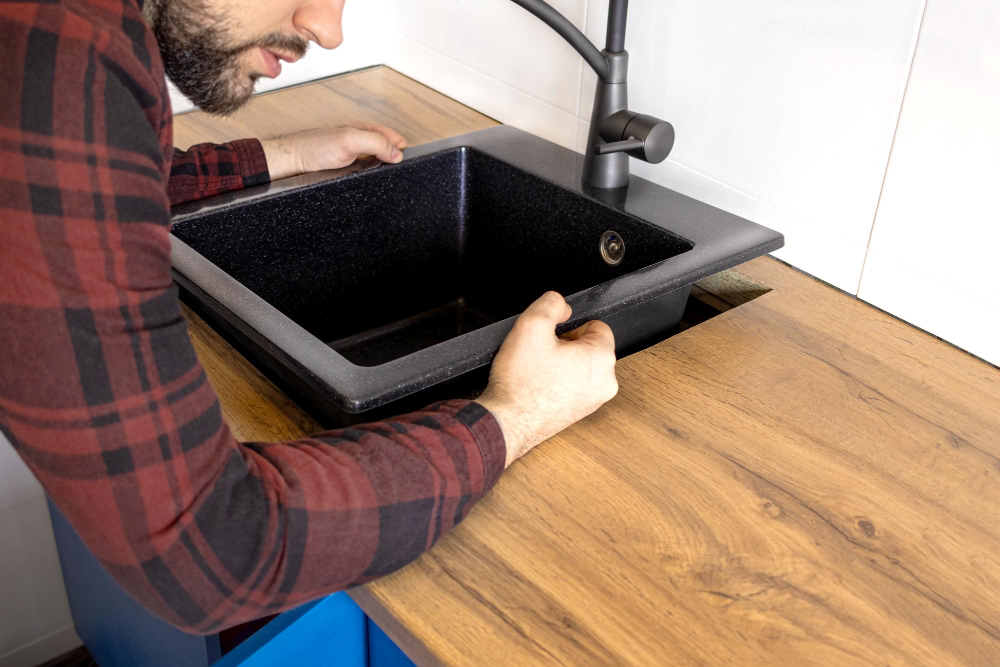
Cabinet-mounted sinks provide enclosed storage and may fit better with a mudroom designed around built-in furniture. Cabinets may need cutouts for plumbing, and moisture-resistant interiors can be easier to inspect and clean. Drawers or shelves should not prevent access to fittings.
Compare outside dimensions, usable basin space, supports, and connection locations against the actual opening.
Choosing the Right Sink Depth and Faucet Design
A deeper sink can accommodate buckets, muddy footwear, and other items that are difficult to wash in a standard bathroom basin.
However, depth should not be considered in isolation. The overall sink height, faucet clearance, and space required for the drain assembly also affect usability. A deep basin may reduce space for the trap inside a cabinet.
A faucet with a pull-out sprayer may make rinsing easier, while a high-arc faucet can provide additional clearance for larger containers. Test the expected bucket or container under the faucet before committing to a combination.
Fixtures should be durable, easy to clean, and compatible with the plumbing. Section 405.1 of the 2024 International Plumbing Code addresses preventing backflow, the reverse flow that can bring contaminants into drinking-water piping. The necessary protection depends on the faucet and any hose or sprayer attachments under locally adopted rules.
Plan the Plumbing Installation Around the Cabinetry
Courtesy - Magnific
Keeping Pipes and Shutoff Valves Accessible
A finished mudroom may include built-in benches, drawers, and cabinets. These features should be positioned so plumbers can reach important connections without removing permanent panels.
For example, Sections 606.2 and 606.3 of the 2024 International Plumbing Code address shutoff-valve locations and access. The locally adopted code controls the installation. At a utility sink, valves should be reachable so water can be shut off quickly during a leak or repair.
The International Plumbing Code’s provisions for fixture installation separately address access for cleaning and protection of fixture water supplies.
Before construction, agree on valve locations, pipe penetrations, and any removable cabinet panels needed for service. For renovations in the Knoxville area, homeowners can consult Plumbers in Knoxville TN to review plumbing access and connection locations before cabinetry is installed.
A cabinet that hides the valves behind fixed storage may look finished but complicate an urgent shutoff. For renovations with new plumbing connections, consulting a residential plumbing contractor before cabinetry is built can reveal problems with the proposed layout.
Allowing Enough Space for Drain Connections and Repairs
A sink cabinet can lose much of its usable space once the trap, supply lines, and valves are installed. Drawers, fixed shelves, or support panels may collide with pipe runs or block repairs.
Review the sink manufacturer’s specifications and the plumber’s proposed connection points before finalizing cabinet dimensions, especially when choosing a deep basin. The trap and other serviceable connections should remain reachable without cutting into built-in finishes.
A practical test is whether someone could replace a faucet or remove the trap through the planned cabinet opening, not merely whether the piping fits when first installed.
Coordinate the Plumbing Work With the Renovation
Scheduling Installation Before Walls and Flooring Are Finished
Include plumbing work in the renovation schedule rather than treating the sink as a final addition. Supply and drain lines may need openings through walls, floors, or framing. Concealed framing and drain elevation can make changes more expensive after surfaces are finished.
A typical project may involve assessing existing plumbing, preparing the required connections, completing any necessary inspections, and then installing the sink and surrounding cabinetry. The exact sequence depends on the extent of the renovation and local inspection procedures.
Check whether estimates include finish repairs, permits, inspections, and cabinet changes. Record pipe locations before closing walls.
Checking Local Plumbing Requirements and Permits
For qualifying one- and two-family homes and townhouses, Section R101.2 and Chapters 25–33 of the 2024 International Residential Code describe the model-code scope and residential plumbing rules. International Code Council model codes do not become law automatically; local adoption and amendments determine which code and edition apply.
For example, Sections R105.1 and R105.2 of the 2024 International Residential Code address plumbing permits and exemptions. Whether the work needs a permit or inspection depends on the locally adopted rules and the project’s scope.
When contacting the local building department, explain whether the work adds a fixture, extends drainage, changes venting, alters supply piping, or simply replaces an existing sink. Ask which permits, contractor qualifications, and inspections apply.
Confirm who will obtain any required permit and whether piping must remain visible for a rough-in inspection before cabinetry or wall finishes conceal the connections. Keep permit and inspection records with the home’s renovation documents for future reference.
Inspect the Finished Sink Installation
Courtesy - Magnific
Checking for Leaks and Proper Drainage
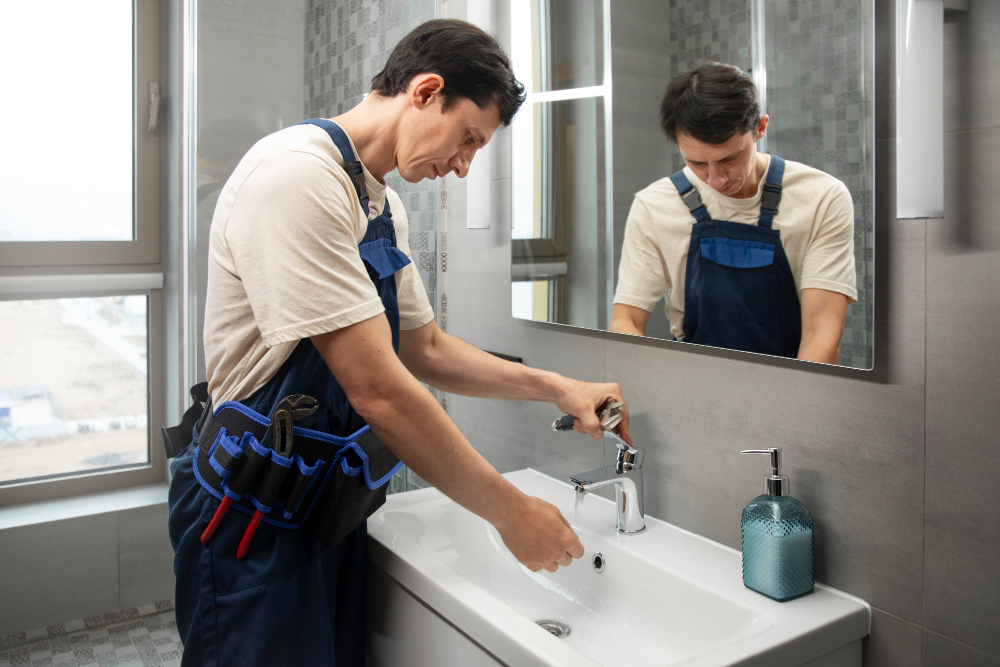
Once the sink has been installed, its operation should be checked before it becomes part of the household’s normal routine. The installer should examine the water supply connections, faucet fittings, shutoff valves, drain assembly, and joints for leaks.
Running water and filling and emptying the basin can help reveal visible drainage problems, although these observations do not replace any testing or inspection required by local authorities.
Homeowners should also look beneath the sink while water is running and after the full basin drains. Recheck after the first several uses, when small drips may become easier to spot.
Slow drainage, persistent odors, dripping fittings, or unexpected dampness should be investigated rather than treated as normal characteristics of a new fixture.
Keeping Connections Accessible for Future Maintenance
Even a properly installed sink may eventually need maintenance: faucets wear out, traps clog, and connections can develop leaks. Avoid packing cleaning supplies or shoes tightly around pipe joints, where they can conceal early signs of moisture.
Check beneath the basin occasionally, particularly after heavy use, and keep the shutoff valves within reach. It is also helpful to know where the home’s main water shutoff is located in case a local valve cannot stop a leak.
If water appears under the sink, find and correct its source promptly rather than allowing the cabinet to remain damp.
Also Read: Lighting Ideas for Entry Mudrooms: Hooks, Benches and Boots That Actually Show Up
FAQs on Utility Sink in Mudroom
1. What everyday tasks make a sink useful near the entrance?
It gives you a separate spot to rinse muddy footwear, clean gardening tools or reusable containers, fill mop buckets, and wash up after kids or pets without tracking dirt through the kitchen or bathroom.
2. How do you decide on the right size and style for the sink?
Match the basin size and depth to the largest item you expect to wash, and choose between a freestanding basin for utility and easy access or a cabinet-mounted sink for enclosed storage and a built-in look.
3. What should homeowners check before adding a utility sink in a mudroom?
They should check whether nearby water supply lines and drains can support the new fixture, confirm proper slope and venting, plan room for shutoff valves and trap access inside cabinetry, protect surrounding surfaces from splashes and moisture, and verify local permit and inspection requirements.
4. Why does plumbing timing matter during a mudroom renovation?
Running water supply and drain lines often requires opening walls, floors, or framing and passing rough-in inspections before finishes go up, making changes much costlier once surfaces and cabinetry are complete.
5. How can you prevent hidden water damage after the sink is installed?
Test water flow, drainage, and shutoff valves right away, recheck beneath the basin after early uses, avoid packing items tightly over pipe joints, and address any drips or dampness promptly.
Courtesy - Featured Image(Canva)
Author & Expert Review
Written & Verified By:  Farhan Shaikh – Senior Manager – Architect, SDCPL | Associate Member – IIA

| Credentials: Senior Manager – Architect at Sthapati Designers & Consultants Pvt. Ltd. and Associate Member of the Indian Institute of Architects (IIA). Experience: Architect with hands-on experience leading architectural and interior design projects at SDCPL, including architectural planning, interior design, project coordination, and sustainable design strategies. Expertise: Specializing in architectural planning, interior design, project coordination, and sustainable design. He reviews content to ensure it reflects practical design considerations, industry best practices, technical accuracy, and real-world applicability across architecture and interior spaces. Find him on: Linkedin |