






Table of Contents
Quick Summary
- Understand why choosing the correct artificial grass adhesive is essential for durable, well-finished turf seams.
- Identify common mistakes, including selecting incompatible glue, neglecting surface preparation and ignoring weather conditions.
- Learn how to apply the right adhesive quantity, align grass fibres and position joining tape correctly.
- Discover why adequate pressure and proper curing time help prevent seam separation.
- Explore the role of kiln-dried sand, infill materials, stable bases and suitable fixing methods.
- Follow a step-by-step process for bonding artificial grass safely and effectively.
- Troubleshoot lifting edges, uneven seams and visible adhesive marks.
- Estimate adhesive requirements and recognise when professional installation is worthwhile.
Courtesy - Magnific
Installing artificial grass may seem straightforward until you reach the joining stage. The turf has been measured, trimmed and positioned, but a poorly bonded seam can leave visible gaps, raised edges or sections that gradually separate.
Artificial grass adhesive plays an important role in creating secure joins and helping synthetic turf remain in place where the installation system requires bonding. However, using the wrong product, applying too much glue or working in unsuitable weather can affect the finished result.
For Australian homeowners and landscapers, these mistakes can lead to unnecessary repairs, wasted materials and an uneven-looking lawn. Many problems are preventable with careful preparation, the right application method and enough curing time.
This guide explains the most common artificial grass adhesive mistakes, why they happen and how to avoid them for a cleaner, more durable installation.
Why Correct Artificial Grass Adhesive Application Matters
Using the right artificial grass adhesive helps create secure bonds between compatible synthetic turf materials, joining tape and approved surfaces. When applied correctly, the adhesive helps maintain seam alignment and reduces the likelihood of the turf edges separating during normal use.
However, adhesive performance depends on more than the glue itself. The condition of the turf backing, surface preparation, application thickness, temperature and curing conditions all influence bond quality.
How Artificial Grass Adhesive Works
Courtesy - Magnific
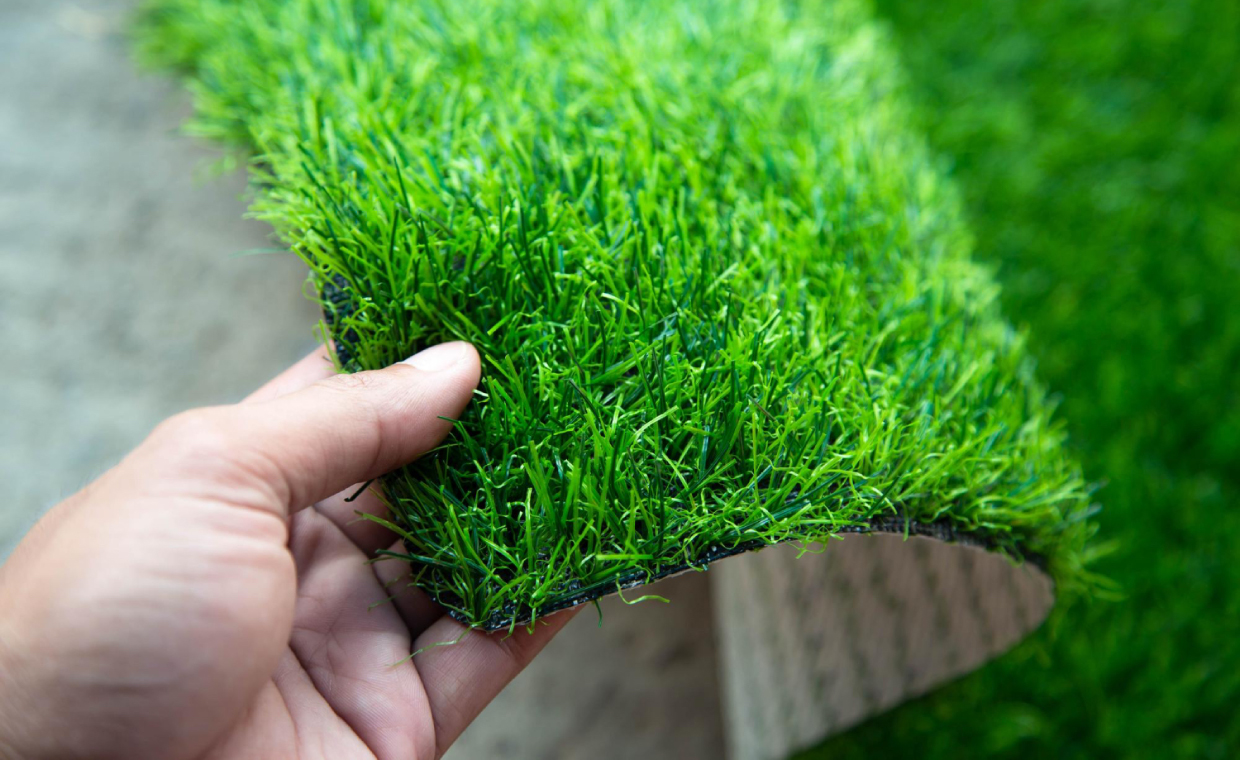
Synthetic turf adhesives are formulated to bond suitable materials together.
Some products are designed specifically for joining artificial grass using seam tape. Others may be suitable for bonding turf to concrete, paving or other approved surfaces.
Different adhesive technologies are available, including moisture-curing and two-component formulations. Their application procedures, working times and curing requirements can vary.
This means an application method suitable for one product may not work for another.
Always follow the technical data sheet for the adhesive being used.
Where Is Artificial Grass Adhesive Used?
Adhesive may be required in several artificial turf applications, depending on the installation design.
Common uses include:
- Joining separate rolls of synthetic grass.
- Securing turf to compatible seam tape.
- Bonding selected turf edges to suitable hard surfaces.
- Installing synthetic grass in certain indoor or outdoor areas.
- Repairing compatible turf seams that have separated.
- Securing specific sections where the manufacturer’s installation method requires adhesive.
Not every artificial grass installation needs the turf bonded directly to the entire ground surface.
Many landscape installations use a prepared compacted base, mechanical perimeter fixings and adhesive joining tape at the seams.
Understanding where glue is required helps prevent unnecessary application and drainage problems.
Mistake 1: Choosing the Wrong Adhesive for the Surface
One of the most common installation mistakes is assuming that all outdoor adhesives are suitable for synthetic turf.
Ordinary construction glue, household adhesive and general-purpose sealants may not provide the compatibility, flexibility or weather resistance required by a particular turf system.
Choosing the wrong product can lead to weak bonding, premature separation or damage to the backing material.
Why Adhesive Compatibility Matters
Artificial grass backing materials vary between manufacturers.
The adhesive must be suitable for the specific backing and any joining tape or surface involved.
For example, an adhesive formulated for bonding turf to concrete may have different application requirements from one intended for use with synthetic turf joining tape.
Before purchasing, check the product information for:
- Suitable artificial grass backing materials.
- Approved bonding surfaces.
- Indoor or outdoor suitability.
- Application temperature requirements.
- Moisture conditions.
- Working and curing times.
- Recommended application tools.
- Safety and storage instructions.
If compatibility is unclear, contact the adhesive supplier before installation.
How to Avoid This Mistake
Select an adhesive specifically recommended for your intended artificial grass application.
Review the technical data sheet and confirm that the product is compatible with the turf backing and joining method.
For large installations, a small compatibility test may help identify potential issues, provided it follows the manufacturer’s instructions.
Do not assume that an adhesive is suitable simply because its packaging says it can be used outdoors.
Mistake 2: Applying Adhesive to a Dirty or Poorly Prepared Surface
Courtesy - Magnific
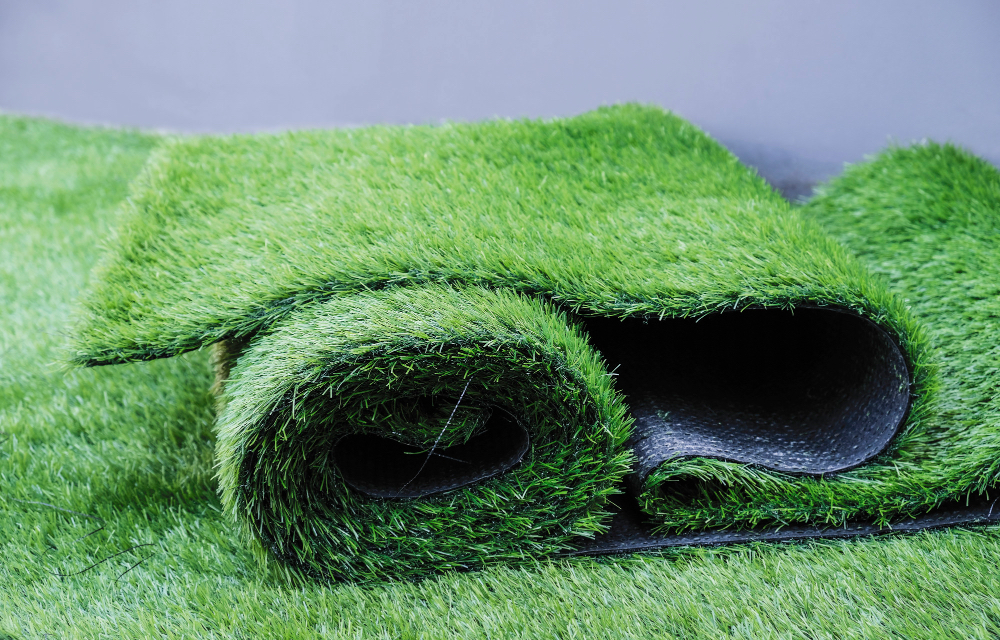
Even a suitable adhesive may struggle to bond if the surface contains dust, loose fibres, oil or other contaminants.
Artificial grass installations often take place around soil, sand and landscaping materials, making contamination easy to overlook.
A clean bonding surface helps the adhesive make consistent contact with the intended materials.
Why Surface Preparation Matters
Loose particles can form a barrier between the adhesive and the turf backing.
This may reduce the effective bonding area and contribute to weak sections along a seam.
Dust and grit can also interfere with the positioning of joining tape.
The same principle applies when bonding to concrete or paving. The substrate must meet the adhesive manufacturer’s preparation requirements.
How to Prepare the Area
Before applying adhesive:
- Position the artificial grass and check the proposed seam.
- Fold back the turf edges carefully.
- Remove loose fibres, dust and other contaminants.
- Inspect the backing for damage or loose material.
- Prepare the joining tape or substrate as directed.
- Check the required moisture conditions before bonding.
Avoid applying glue over loose sand, damp contaminants or unstable surfaces unless the adhesive system expressly permits the conditions.
For porous substrates, confirm whether priming or other preparation is required.
Mistake 3: Ignoring Moisture and Weather Conditions
Australian weather can create challenges during artificial grass installation.
Unexpected rain, high humidity, hot surfaces and changing temperatures may affect adhesive application and curing.
Some products require dry bonding surfaces, while others are designed to tolerate particular moisture conditions.
There is no single weather rule that applies to every artificial turf adhesive.
Why Moisture Can Affect Bonding
Moisture can interfere with certain adhesive systems if the product is applied outside its specified conditions.
Some moisture-curing adhesives use atmospheric moisture as part of the curing process, but this does not automatically mean they can be applied to wet turf or standing water.
Excess moisture may affect adhesion, curing behaviour or the finished bond, depending on the formulation.
Always distinguish between a moisture-curing adhesive and one approved for application to wet surfaces.
How to Avoid Weather-Related Problems
Check the weather forecast before beginning the joining work.
Review the adhesive’s specified application temperature, surface condition and protection requirements.
If rain is expected before the adhesive can reach the required curing stage, reschedule the work unless the product is specifically approved for those conditions.
Avoid assuming that direct sunlight will always improve curing.
High temperatures can also affect working time and the dimensions of exposed turf materials.
Mistake 4: Using Too Much or Too Little Adhesive
Applying the correct amount of glue is important for achieving a consistent bond.
Too little adhesive may leave parts of the turf backing inadequately bonded. Excessive adhesive can create mess, uneven surfaces or unwanted contact with the grass fibres.
The correct quantity depends on the product, joining tape and application method.
Problems Caused by Too Little Adhesive
Insufficient adhesive may result in incomplete contact between the joining tape and turf backing.
Weak areas can become more noticeable as the lawn experiences foot traffic, movement or temperature changes.
Over time, a poorly bonded seam may begin to separate.
The solution is not simply to apply as much glue as possible.
A consistent application following the manufacturer’s specified coverage is more reliable.
Problems Caused by Excess Adhesive
Excess glue can spread beyond the intended bonding area.
If it reaches the visible grass fibres, it may create hardened patches or an untidy seam.
Depending on the adhesive and joining method, overly thick application may also interfere with achieving a flat, even join.
How to Apply the Right Amount
Follow the manufacturer’s recommended coverage rate and application pattern.
Some adhesives require a notched trowel, while others are applied using a cartridge gun or specialised equipment.
Do not substitute one application method for another without checking the product instructions.
Before joining the turf, make sure the adhesive is distributed across the required bonding area without contaminating the visible fibres.
Mistake 5: Failing to Align the Artificial Grass Before Gluing
Even a strong adhesive cannot correct poorly aligned artificial grass.
If two sections are joined with mismatched edges or different pile directions, the seam may remain visible after installation.
Accurate alignment should happen before any adhesive is applied.
Why Pile Direction Matters
Artificial grass fibres often have a directional appearance.
Light reflects differently depending on the angle of the blades, which can make adjoining sections look like different shades even when they are made from the same product.
When laying multiple rolls, check that the pile direction is consistent across the installation.
This helps create a more uniform appearance.
How to Position Turf Seams
Lay the grass sections in their intended positions before preparing the adhesive.
Check that the edges meet evenly without excessive gaps or overlapping.
Trim the backing carefully, following the turf manufacturer’s installation method.
Avoid cutting through visible fibres unnecessarily.
Once the seam looks correct, mark the position or use suitable temporary alignment methods so the sections can be returned accurately after the joining tape is placed.
Mistake 6: Installing Joining Tape Incorrectly
Joining tape provides a bonding surface beneath adjacent turf sections.
When positioned correctly and used with a compatible adhesive, it helps connect the backing of both pieces.
However, incorrect tape placement can create uneven bonding or allow sections of the seam to lift.
Common Joining Tape Errors
Problems can occur when installers:
- Use tape that is incompatible with the adhesive.
- Position the tape off-centre beneath the seam.
- Allow the tape to move during application.
- Leave folds or wrinkles in the tape.
- Apply adhesive unevenly.
- Fail to achieve adequate contact with both turf edges.
Tape width and construction vary between products.
Always use the joining tape specified or approved for the installation system.
How to Position Joining Tape Correctly
Begin by aligning the turf sections and identifying the centre of the proposed join.
Fold the edges back and position the joining tape beneath the seam according to the manufacturer’s instructions.
Keep the tape flat and secure so it does not shift during adhesive application.
Apply the adhesive using the recommended method, then lower the turf edges carefully.
Ensure both backing edges contact the intended bonding area.
For self-adhesive joining tape, follow the tape manufacturer’s instructions rather than adding separate glue unless the combination is expressly approved.
Mistake 7: Allowing Glue to Contact the Grass Fibres
Courtesy - Magnific
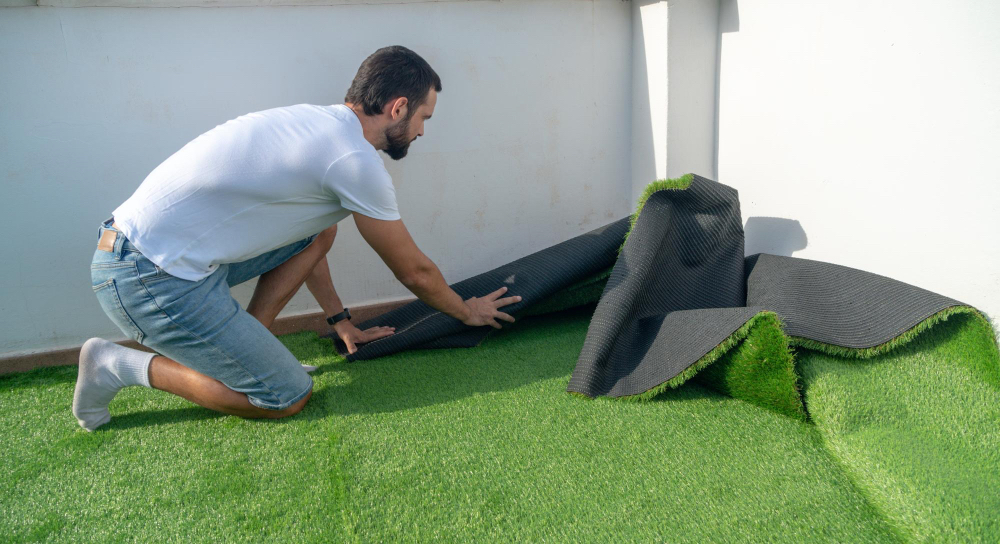
Artificial grass adhesive should normally bond the specified backing surfaces rather than the visible synthetic blades.
If glue reaches the fibres, it can affect their movement and appearance.
Once the adhesive cures, removing it without damaging the turf may become difficult.
Why Fibre Contamination Is a Problem
Adhesive caught between grass blades can cause them to stick together.
This may leave a hard or flattened patch along the seam.
Excess glue can also create a visible line that makes the installation look less natural.
The problem is particularly noticeable when the adhesive contrasts with the turf colour.
How to Prevent Adhesive Marks
Keep the turf edges folded back while applying glue to the joining tape.
Use the recommended amount and avoid placing adhesive outside the specified bonding area.
Lower each section carefully so loose fibres do not become trapped beneath the backing.
Use your fingers or a suitable brush to separate blades along the join before the adhesive cures, provided this can be done safely and without disturbing the bond.
If adhesive reaches the visible fibres, follow the manufacturer’s cleaning instructions immediately.
Avoid applying unfamiliar solvents, as they may damage synthetic grass materials.
Mistake 8: Not Applying Enough Pressure to the Seam
Placing two turf edges onto adhesive does not always create a complete bond.
The backing must contact the adhesive properly across the intended joining area.
Without sufficient contact pressure, sections of the seam may remain poorly bonded.
Why Pressure Helps
Appropriate pressure helps bring the materials into contact and supports consistent adhesive transfer.
Some installation systems recommend a seam roller or another specified method to apply pressure.
The correct tool and technique depend on the turf backing, adhesive and joining tape.
Avoid placing excessive loads on the seam if they could distort the turf or interfere with the curing process.
How to Secure the Join
After aligning the turf edges, apply pressure according to the manufacturer’s instructions.
Work systematically along the seam to maintain even contact.
Some products require additional pressing during a particular stage of curing.
Do not repeatedly lift or reposition sections once the adhesive has begun setting unless the product instructions allow it.
Unnecessary movement can weaken the developing bond.
Mistake 9: Rushing the Adhesive Curing Process
One of the easiest installation mistakes is allowing foot traffic or other work to disturb the turf before the adhesive has cured sufficiently.
Artificial grass may look finished immediately after the seam is joined, but the adhesive may still be developing its final strength.
Working time, initial setting and full curing are different stages.
Understanding Working Time and Curing Time
Working time refers to the period during which the adhesive can be applied and the materials positioned.
Initial setting occurs as the adhesive begins to develop sufficient strength to hold the joined materials.
Full curing is the stage at which the adhesive achieves its intended cured condition.
These periods vary according to the formulation, temperature, moisture conditions and application thickness.
Some adhesives may require extended protection from traffic, rain or disturbance.
Never assume that a seam is ready for normal use just because the surface feels dry.
How to Avoid Premature Movement
Plan the installation so joined sections can remain undisturbed for the required period.
Keep people, pets and equipment away from the bonded area until the manufacturer permits access.
Do not begin heavy brushing, infill spreading or other work that could move the seam prematurely.
If the adhesive requires protection from rain or temperature extremes during curing, follow those instructions.
Mistake 10: Ignoring the Role of Kiln Dried Sand and Infill
Artificial grass installations often involve more than turf, joining tape and adhesive.
Some systems use infill materials to support the fibres, influence surface performance or help stabilise the installation.
However, infill does not replace proper seam bonding.
How Kiln Dried Sand Is Used
Where the turf manufacturer specifies sand infill, suitable kiln dried sand may be distributed through the artificial grass fibres as part of the installation process.
The required amount and particle grading depend on the turf product and its intended use.
Some artificial grass systems are designed for particular infill materials, while others may not require sand infill.
Follow the turf manufacturer’s specifications rather than assuming every product needs the same treatment.
Why Installation Sequence Matters
Applying infill before completing the seams can contaminate the bonding area.
Loose sand may become trapped between the backing and adhesive, interfering with proper contact.
For this reason, the joining process and infill application need to follow the approved installation sequence.
Some adhesive systems allow subsequent work after an initial setting period, while others require longer curing before infill is applied.
Check both the adhesive and turf instructions before proceeding.
Avoid Using Sand to Hide Poor Seams
Sand infill may influence the appearance and stability of certain turf systems, but it cannot repair an inadequately bonded seam.
If edges are separating or the join is uneven, identify the cause before adding infill.
Correcting the underlying problem is more reliable than trying to conceal it beneath the fibres.
Mistake 11: Bonding Artificial Grass to an Unsuitable Base
A stable, properly prepared base is essential for a successful artificial grass installation.
Adhesive cannot compensate for loose, moving or poorly prepared ground.
The correct base construction depends on whether the turf is installed over compacted aggregate, concrete, paving or another approved surface.
Problems With Unstable Bases
If the material beneath the turf moves or settles unevenly, the surface may develop wrinkles or depressions.
This can place additional stress on the seams and perimeter.
Poor drainage may also allow water to accumulate beneath the installation.
These problems are not necessarily caused by adhesive failure, but they can affect the completed lawn.
How to Prepare the Base
For landscape turf installed over a compacted granular base, follow the turf supplier’s requirements for excavation, grading, drainage and compaction.
Remove unsuitable material and establish a stable surface before laying the grass.
For concrete or paving installations, check whether the adhesive is approved for the substrate.
Some bonding methods may require particular surface preparation, priming or moisture conditions.
Do not assume that applying more adhesive will correct an unstable or contaminated base.
Mistake 12: Gluing the Entire Lawn Without Checking the Installation Method
Courtesy - Magnific
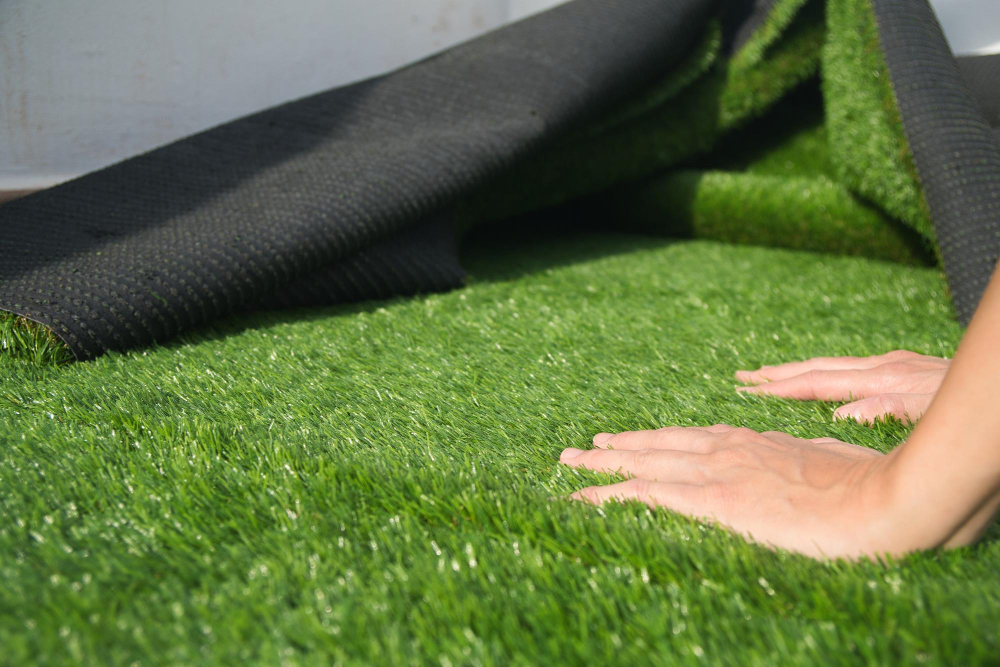
Another common misunderstanding is that artificial grass must always be glued across its full underside.
In many residential landscape installations, this is unnecessary.
The turf may instead be secured using an approved combination of perimeter fixings and bonded seams.
Why Full-Surface Bonding May Be Unsuitable
Applying adhesive across an entire area without following the manufacturer’s instructions can interfere with the intended installation method.
Depending on the substrate and adhesive coverage, it may also restrict drainage or make future turf replacement more difficult.
Some specialised installations do require full-surface bonding, but these should use an adhesive system designed for that purpose.
Choose the Correct Fixing Method
Before installation, identify whether the project requires:
- Bonded seams.
- Mechanical perimeter fixings.
- Edge bonding to suitable hard surfaces.
- Full-surface adhesive application.
- A combination of approved fixing methods.
The correct approach depends on the turf product, location, base and intended use.
Always follow the complete system specification rather than applying one method to every project.
Mistake 13: Overlooking Adhesive Safety and Storage
Artificial grass adhesives are chemical products that must be handled according to their safety instructions.
Different formulations may have different hazards involving skin contact, vapours, flammability or chemical reactions.
Safe storage and handling help protect both installers and other people using the area.
Read the Safety Information
Before beginning work, review the product label, technical data sheet and safety data sheet.
Follow the specified protective equipment and ventilation requirements.
Depending on the adhesive, suitable protection may include gloves, eye protection or other equipment.
Keep children and pets away from the work area and uncured adhesive.
Do not use an outdoor-rated product in an enclosed area unless the manufacturer permits that application and appropriate ventilation is provided.
Store Adhesive Correctly
Adhesive products may be sensitive to heat, moisture or prolonged storage.
Some formulations can begin reacting if exposed to moisture before use.
Keep containers sealed and store them according to the manufacturer’s temperature and shelf-life requirements.
Check the product condition and expiry information before beginning an installation.
Do not use adhesive that has hardened, separated or otherwise deteriorated unless the manufacturer confirms it remains suitable.
How to Apply Artificial Grass Adhesive Correctly
A careful installation process helps reduce the risk of visible seams and weak joins.
The following sequence provides general guidance for a typical bonded seam. The exact procedure must follow the selected adhesive, turf and joining tape instructions.
Step 1: Prepare and Position the Turf
Lay the artificial grass sections in their intended locations.
Check the pile direction, edge alignment and overall fit.
Allow the turf to settle where required by the manufacturer.
Trim the backing carefully so the adjoining edges meet correctly.
Step 2: Prepare the Bonding Surfaces
Fold back the turf edges to expose the underside.
Remove dust, loose fibres and other contamination.
Confirm that the backing and joining tape meet the adhesive’s specified moisture and surface conditions.
Step 3: Position the Joining Tape
Place the approved joining tape beneath the proposed seam.
Keep it centred and flat.
Secure the tape using the method recommended by the installation system.
Avoid allowing it to shift during adhesive application.
Step 4: Apply the Adhesive
Apply the specified adhesive to the required area.
Use the recommended nozzle, trowel or application equipment.
Follow the correct coverage rate, working time and any mixing instructions.
For two-component products, mixing ratios and working periods must be followed precisely.
Step 5: Join the Turf Sections
Lower the turf edges onto the adhesive carefully.
Keep the backing aligned and avoid trapping visible fibres beneath the seam.
Apply the required pressure using the specified method.
Check that the finished join lies flat and matches the surrounding lawn.
Step 6: Allow the Adhesive to Cure
Protect the joined area from movement, traffic and unsuitable weather conditions.
Follow the adhesive manufacturer’s requirements before carrying out further installation work.
Do not rush the curing process to finish the lawn sooner.
Step 7: Complete the Installation
Once the bonding system permits further work, complete any required perimeter fixing, brushing and infill application.
Inspect the finished lawn for raised edges, visible gaps and inconsistent pile direction.
Correct installation defects before the area is placed into normal use.
Troubleshooting Common Artificial Grass Adhesive Problems
Even with careful installation, problems can occasionally appear.
Understanding the likely causes can help determine whether a minor correction is possible or professional repair is needed.
Seams Are Separating
Separation may result from inadequate adhesive coverage, contamination, poor alignment or movement before curing.
Inspect the affected area to identify whether the backing, tape or adhesive bond has failed.
Do not simply apply glue over dirty or loose material.
The damaged section may need to be lifted and prepared again using an approved repair method.
The Join Is Raised or Uneven
A raised seam may be caused by overlapping turf edges, wrinkled joining tape or excessive material beneath the join.
Check whether the problem is associated with the turf backing, base or adhesive application.
If the adhesive has fully cured, correction may require replacing or rebuilding the affected seam.
Adhesive Is Visible on the Fibres
Visible glue can create an untidy appearance.
If the adhesive has not cured, follow the manufacturer’s instructions for removing excess material.
Once cured, some products are difficult to remove without damaging the grass.
Avoid aggressive scraping or unsuitable solvents.
The Turf Is Lifting at the Edges
Lifting edges may indicate inadequate perimeter fixing, unsuitable bonding or movement in the underlying base.
Check the installation method and determine whether the perimeter was meant to be glued, mechanically fixed or secured using another approved arrangement.
Repairing the symptom without addressing the fixing method may lead to repeated problems.
How Much Artificial Grass Adhesive Do You Need?
The amount of adhesive required depends on the project and the product being used.
A narrow seam between two turf rolls has different coverage requirements from bonding artificial grass to an approved hard surface.
There is no universal quantity suitable for every adhesive.
Factors That Affect Adhesive Quantity
Coverage can be influenced by:
- Total length of the seams.
- Width and construction of the joining tape.
- Adhesive application method.
- Turf backing characteristics.
- Substrate condition.
- Manufacturer-specified coverage rate.
- Expected installation waste.
Measure the total seam length before purchasing materials.
Then use the adhesive supplier’s coverage guidance to estimate the required quantity.
Avoid Guessing Coverage Rates
Using too little glue can leave sections inadequately bonded.
Purchasing excessive quantities may result in unnecessary waste, particularly with products that have limited working or storage life.
For two-component adhesives, only mix quantities that can be applied within the specified working time.
If the project has numerous seams or unusual requirements, ask the supplier to confirm the estimated material quantity.
When Should You Hire a Professional Artificial Grass Installer?
Small, straightforward artificial grass projects may be suitable for experienced DIY homeowners.
However, projects involving large areas, complex joins, difficult drainage or specialised bonding systems may benefit from professional installation.
The cost of correcting a poorly bonded lawn can outweigh the savings from attempting unfamiliar work.
Situations Where Professional Installation May Help
Professional assistance may be useful when:
- The lawn requires several long or complex seams.
- The installation area has poor drainage.
- Turf must be bonded to concrete or paving.
- The surface has unusual shapes or levels.
- A commercial or high-traffic installation is planned.
- The project uses a specialised adhesive system.
- Previous seams have failed repeatedly.
An experienced installer can review the complete system rather than focusing only on the adhesive.
Questions to Ask Before Hiring
Ask whether the installer follows the turf and adhesive manufacturers’ requirements.
Confirm how seams will be aligned, which joining materials will be used and how the installation will be protected during curing.
Also ask about workmanship warranties and how any bonding problems will be addressed after installation.
Clear expectations can help prevent disputes and unnecessary repairs.
Get Better Results from Your Artificial Grass Installation
Artificial grass adhesive can help create secure, tidy seams, but the finished result depends on the entire installation process.
Choosing a compatible product, preparing clean bonding surfaces, aligning the turf correctly and allowing sufficient curing time are all essential for reliable performance.
Avoid applying excessive glue, working in unsuitable weather or using adhesive to compensate for poor ground preparation. Taking the time to follow the manufacturer’s instructions can reduce preventable failures and help maintain the lawn’s appearance.
Preparing for an artificial grass installation? Explore the outdoor synthetic grass adhesive and installation materials available from Down Under Synthetics. Contact their team to discuss suitable products, joining requirements and material quantities before starting your project.
Also Read: Why Artificial Grass is Perfect for Busy Families Who Love Outdoor Living?
Frequently Asked Questions About Artificial Grass Adhesive
1. What type of artificial grass adhesive should I use?
The best artificial grass adhesive depends on the turf backing, bonding surface and installation method. Products formulated specifically for synthetic turf are generally preferable to ordinary household glues. Some adhesives are designed for use with joining tape, while others can bond turf to compatible concrete or paving surfaces. Check the manufacturer’s technical data sheet for approved materials, application conditions and curing requirements. If you are uncertain about compatibility, contact the supplier before purchasing or applying the adhesive.
2. How long does artificial grass adhesive take to dry?
Artificial grass adhesive drying and curing times vary according to the product formulation, temperature, moisture conditions and application thickness. Some products develop an initial bond relatively quickly but require a longer period to reach their intended cured condition. Working time, initial setting and full curing are not interchangeable. Follow the manufacturer’s instructions before allowing foot traffic, brushing, infill application or other activities that may disturb the seam. Protecting the join during curing helps reduce the risk of premature movement and bond failure.
3. Can artificial grass adhesive be applied when the ground is wet?
Whether artificial grass adhesive can be applied in wet conditions depends on the specific product and the materials being bonded. Many systems require clean, dry turf backing and joining tape, while certain specialised adhesives are formulated for particular moisture conditions. A moisture-curing formulation is not automatically suitable for application to wet surfaces. Always check the technical data sheet for surface moisture and weather requirements. If the conditions fall outside the approved range, postpone installation until the bonding surfaces are suitable.
4. Do I need to glue down the entire artificial grass lawn?
No, many residential artificial grass installations do not require adhesive across the entire underside of the turf. Depending on the system, installers may use bonded joining tape between rolls and mechanical fixings around the perimeter. Some specialised installations over hard surfaces may require partial or full-surface bonding. The correct method depends on the turf backing, substrate, drainage requirements and manufacturer’s instructions. Applying glue unnecessarily can complicate future removal and may interfere with the intended installation method.
5. Why is my artificial grass adhesive not sticking properly?
Poor artificial grass adhesive bonding may result from incompatible materials, contaminated surfaces, incorrect application thickness or unsuitable weather conditions. Other causes include misaligned joining tape, inadequate contact pressure and movement before the adhesive has cured. Start by checking the manufacturer’s instructions and inspecting the affected seam. Avoid applying fresh glue directly over loose dirt or failed adhesive without preparing the surface. If the problem is widespread or the underlying base is unstable, professional repair may be necessary.
Courtesy - Featured Image(Magnific)
Author & Expert Review
Written & Verified By :  Ravin Desai – Co Founder – Gharpedia | Co Founder – 1 MNT | Director – SDCPL

| Credentials: B.Tech. in Civil Engineering from VNIT Nagpur and M.S. in Civil Engineering from Clemson University, USA. Co-Founder of Gharpedia and Director at Sthapati Designers & Consultants Pvt. Ltd.. Experience: Civil engineering professional with over a decade of international and Indian experience in the construction and design consultancy sector, with expertise in technical review and industry practices. Expertise: Specializes in reviewing technical content related to civil engineering, construction, design consultancy, materials, and industry practices. He ensures content is technically accurate, aligned with industry standards, and reflects practical construction and design best practices. Find him on: LinkedIn |